
Apple iPhone 13, 14, 15 and 16 Cinematic Mode Explained: Enhancements in 2025
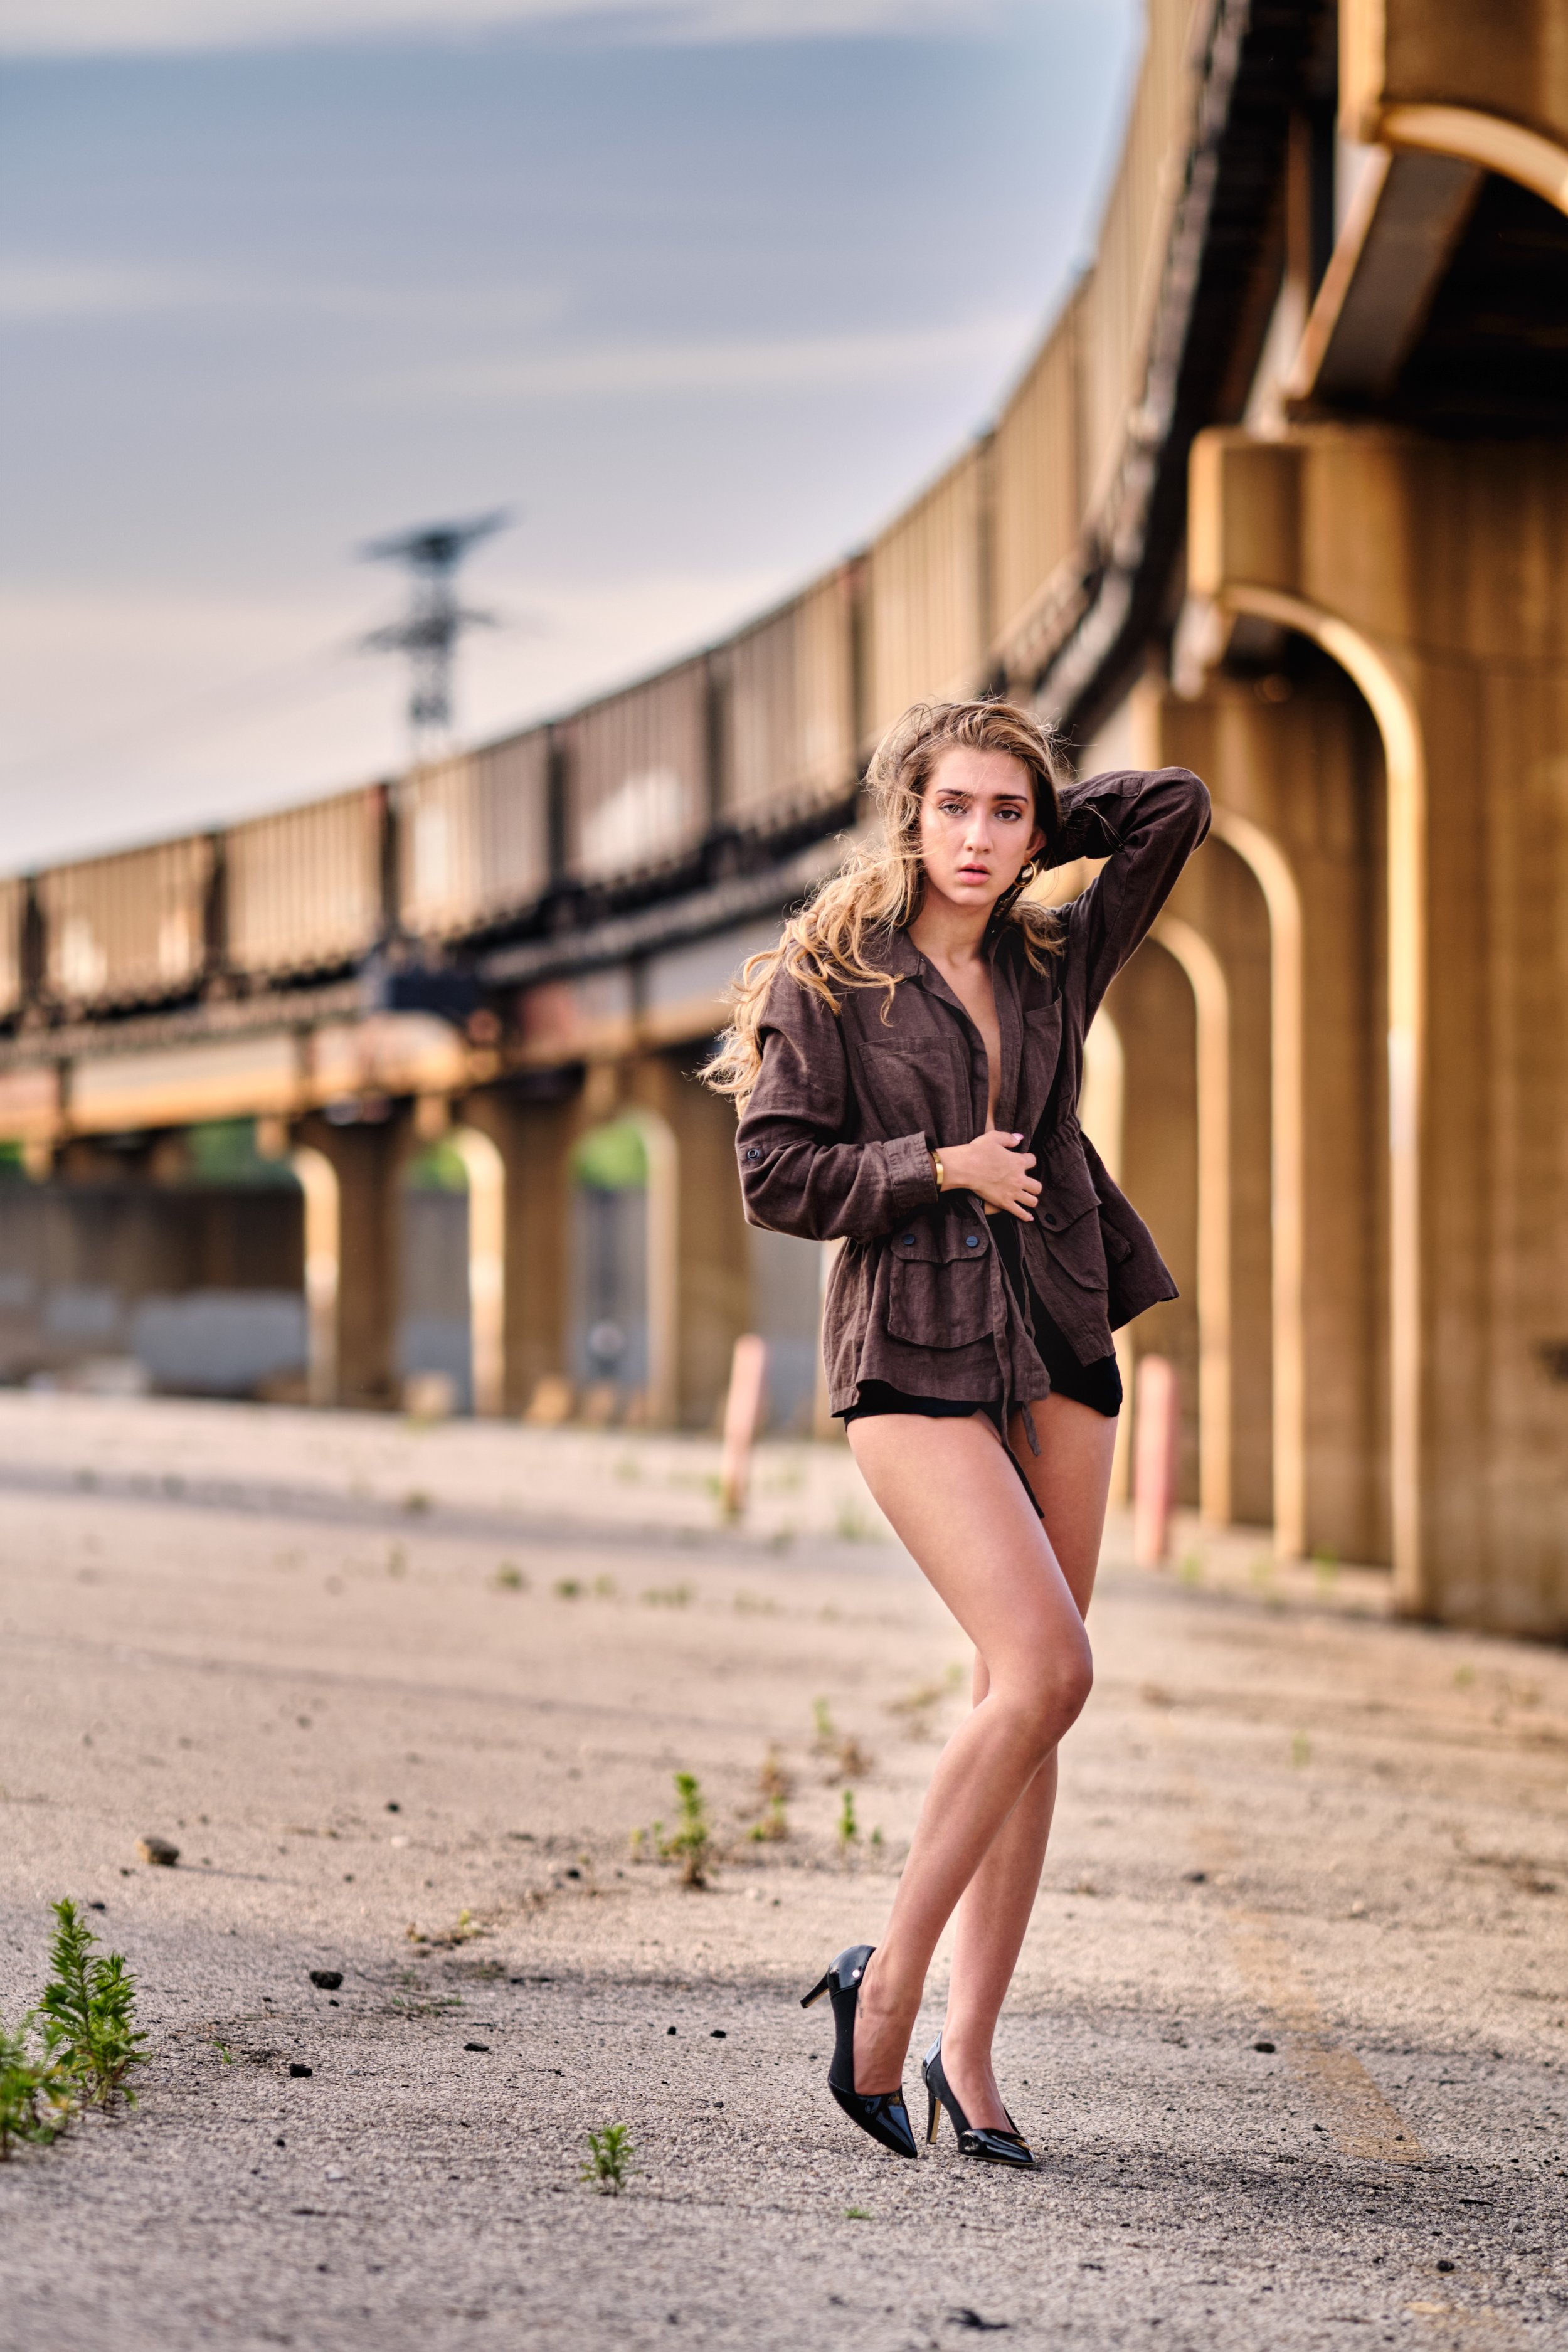
The neat thing about the Cinematic Mode effect is that if you have multiple subjects, the iPhone camera will figure out which subject you want to have in focus, and seamlessly shift focus between your subjects. That’s a trick that usually requires an on set “focus puller” to manually monitor and adjust in real-time. With the iPhone Cinematic Mode, simply re-center the camera towards the subject you want to have in focus, or have them walk into the frame, and the camera will smoothly pull focus to the new subject, making them sharp and blurring out the background.

With the release of the iPhone 16, Apple has further refined its Cinematic Mode, enabling users to capture videos with enhanced focus tracking and more natural background blurring. This update builds upon the foundations laid by the iPhone 13, 14 and 15, offering even more control and quality for mobile videography enthusiasts.
Cinematic Mode allows you to record videos with automatic focus racking and blurred backgrounds.
Updated Content:
Building upon its initial introduction, Cinematic Mode in the iPhone 16 offers significant enhancements:
Higher Resolution and Frame Rates: Users can now record in 4K Dolby Vision at up to 30 fps, providing crisper and more detailed cinematic footage.
Advanced Focus Control: The improved AI algorithms offer more precise subject detection and smoother focus transitions, allowing for professional-grade rack focusing effects.
Post-Recording Adjustments: The Photos app now enables users to modify the depth-of-field effect and focal points even after recording, granting greater flexibility in post-production editing.
These advancements make achieving a cinematic look more accessible to all users, regardless of their videography experience.
How does Cinematic mode work?
“With Cinematic mode, your iPhone camera can record videos with a shallow depth of field and add beautiful focus transitions for a cinema-grade look... Cinematic mode applies a depth-of-field effect that keeps the subject of your video sharp while creating a beautifully blurred foreground and background. iPhone automatically identifies the subject of the video and keeps it in focus throughout the recording; if a new subject is identified, iPhone automatically transitions the point of focus. You can also manually adjust the point of focus while you record, or change it later in the Photos app. Cinematic mode is available on all iPhone 13 models and iPhone 14 models.”
What is the depth-of-field effect?
In photography and cinematography, depth of field is the distance between the nearest and farthest objects in a scene that appear in sharp focus. A shallow depth of field means that only a small part of the scene is in focus, while a deep depth of field means that most or all of the scene is in focus. Depth of field is controlled by the aperture of the lens, which determines how much light is let in and how much of the scene is in focus.
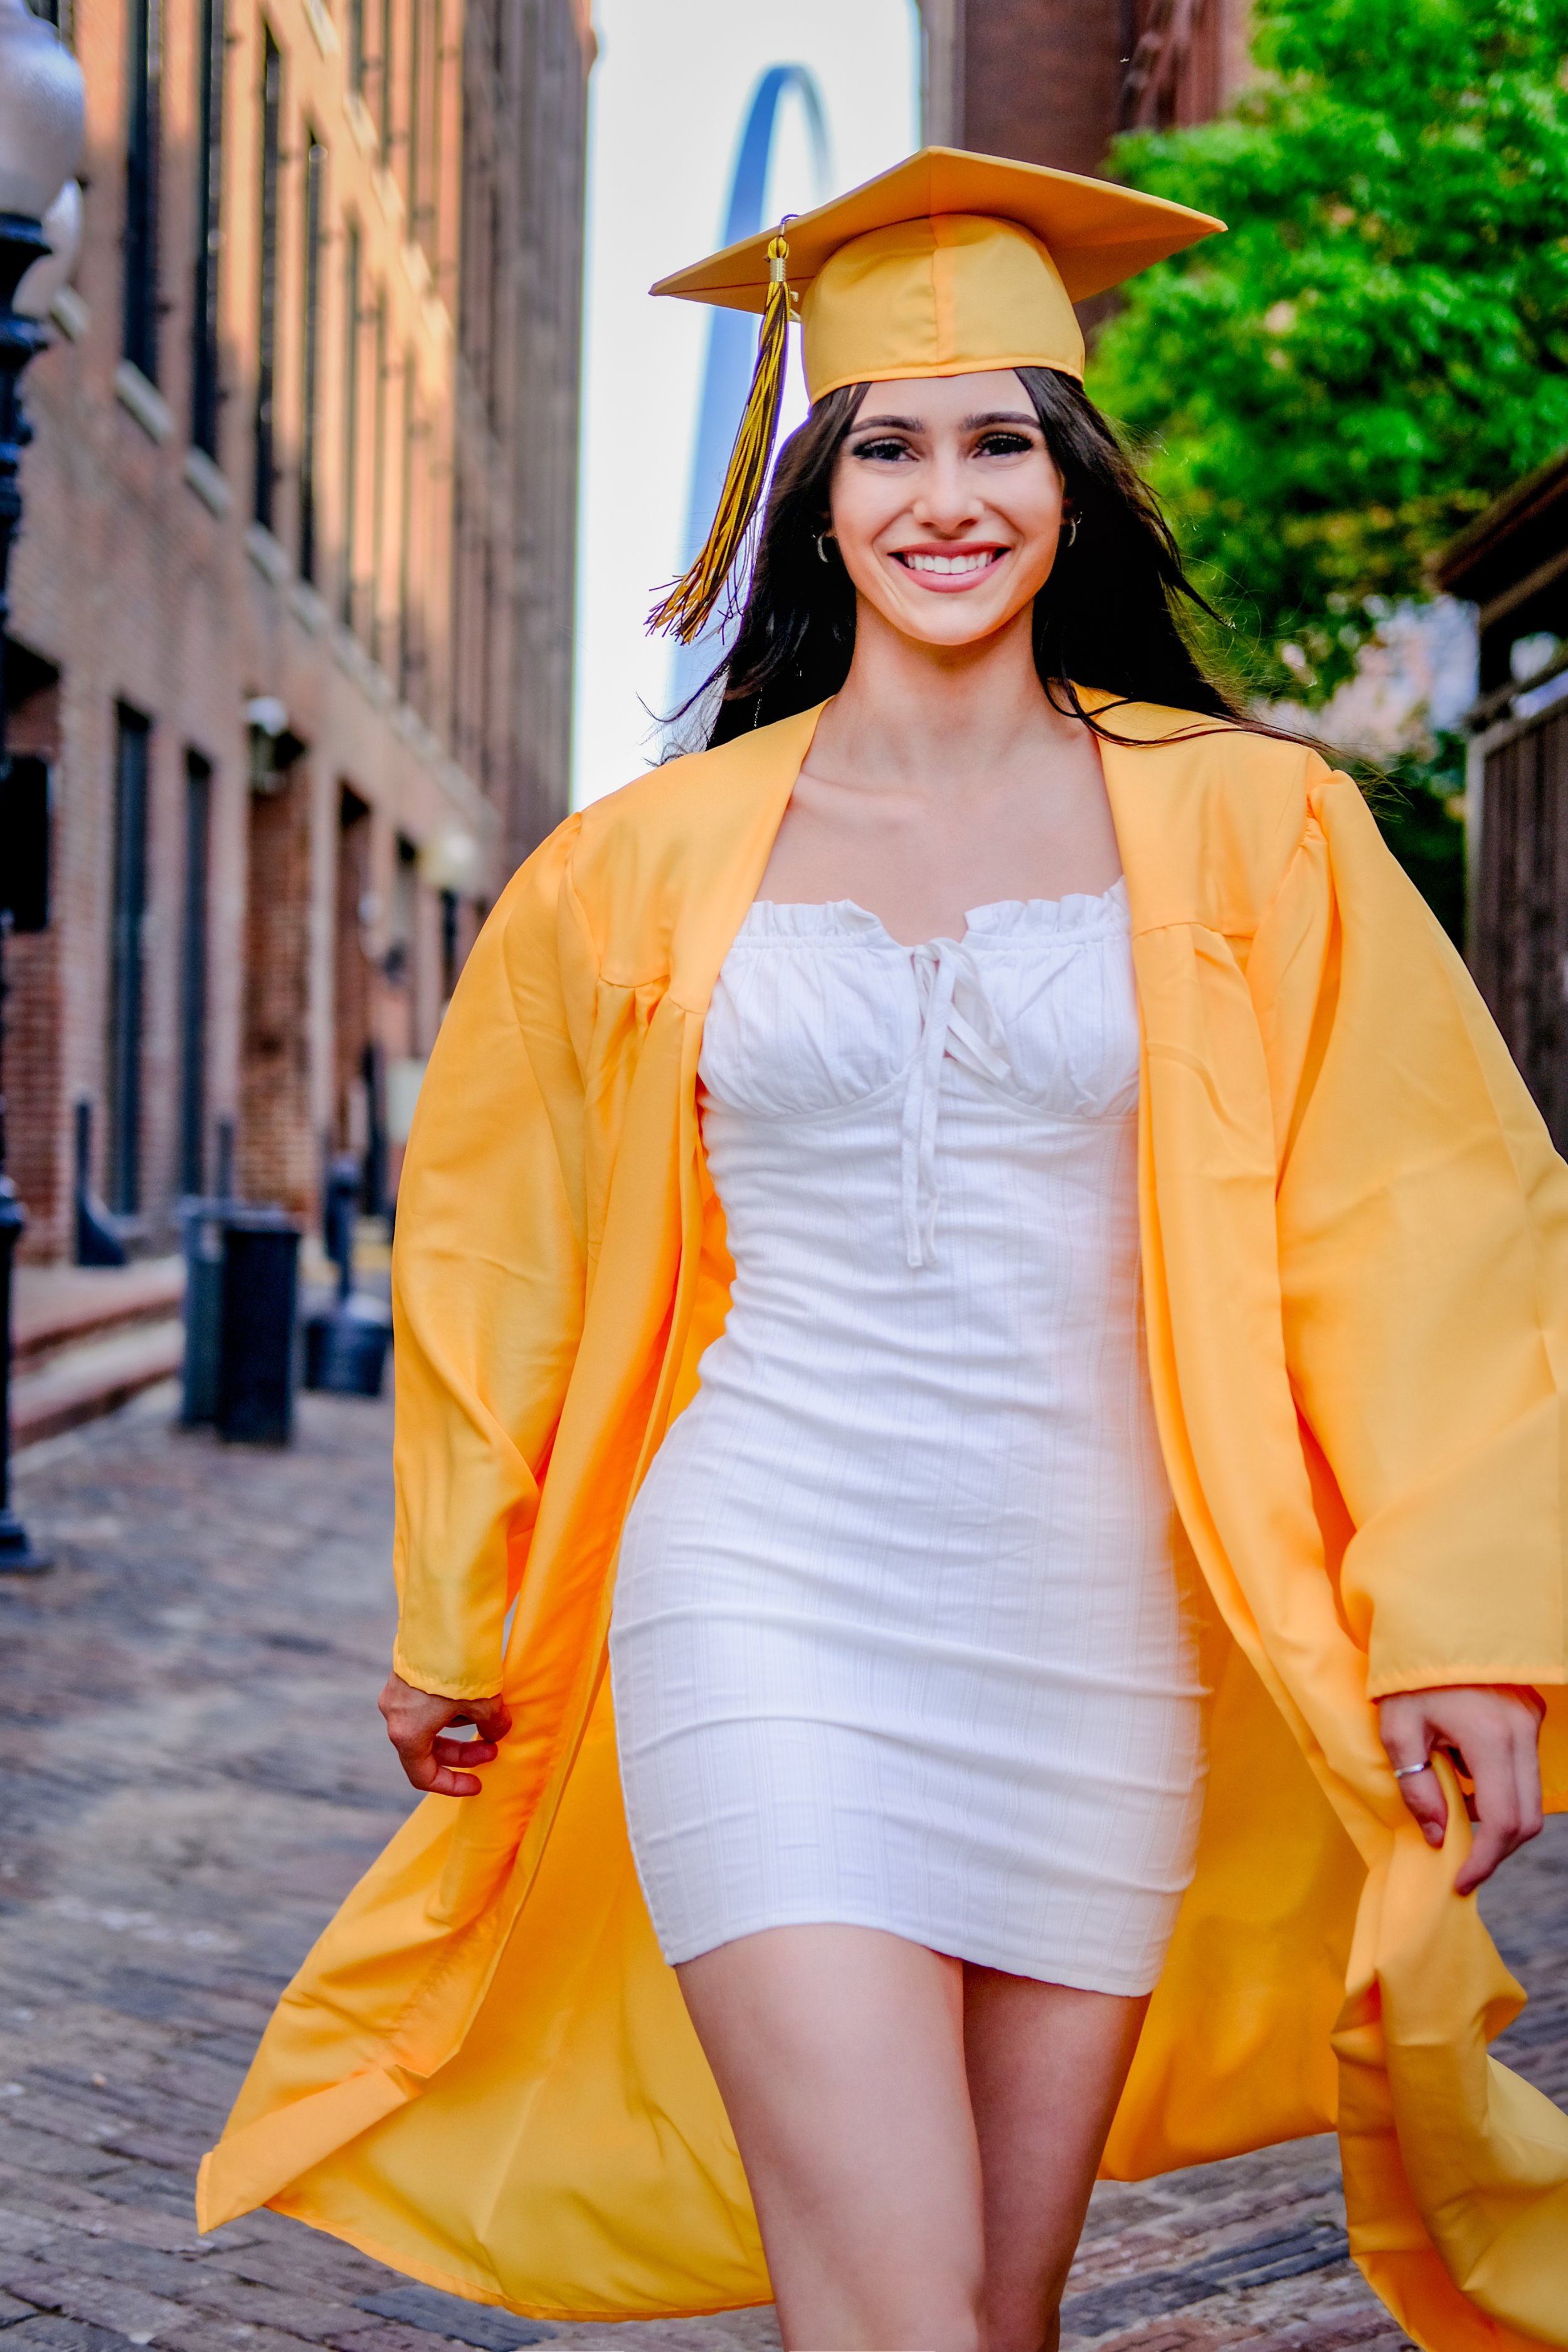
What Apple is referring to as a depth-of-field effect is the blur or soft “bokeh,” in stark contrast to the sharpness of the subject.

“Bokeh balls,” soft blurring of the background from the depth-of-field effect
The neat thing about the Cinematic Mode effect is that if you have multiple subjects, the iPhone camera will figure out which subject you want to have in focus, and seamlessly shift focus between your subjects. That’s a trick that usually requires an on set “focus puller” to manually monitor and adjust in real-time. With the iPhone Cinematic Mode, simply re-center the camera towards the subject you want to have in focus, or have them walk into the frame, and the camera will smoothly pull focus to the new subject, making them sharp and blurring out the background.
With advancements in computational photography, the iPhone 16 simulates this effect using sophisticated software algorithms, allowing for adjustable background blur and focus effects that closely mimic those produced by professional cameras.
Will my videos really look like a film just by using Cinematic Mode?
While filmmakers and photographers often do make use of shallow depth of field, it’s not the only technique that can make a video or photo look cinematic.

There are many factors that can make a video look cinematic. Some of these include:
The use of a wide-angle lens to capture a scene, which can give the image a more expansive and immersive feel.
Careful composition of the shots, with the use of techniques such as the rule of thirds or leading lines to create a sense of depth and movement within the frame.
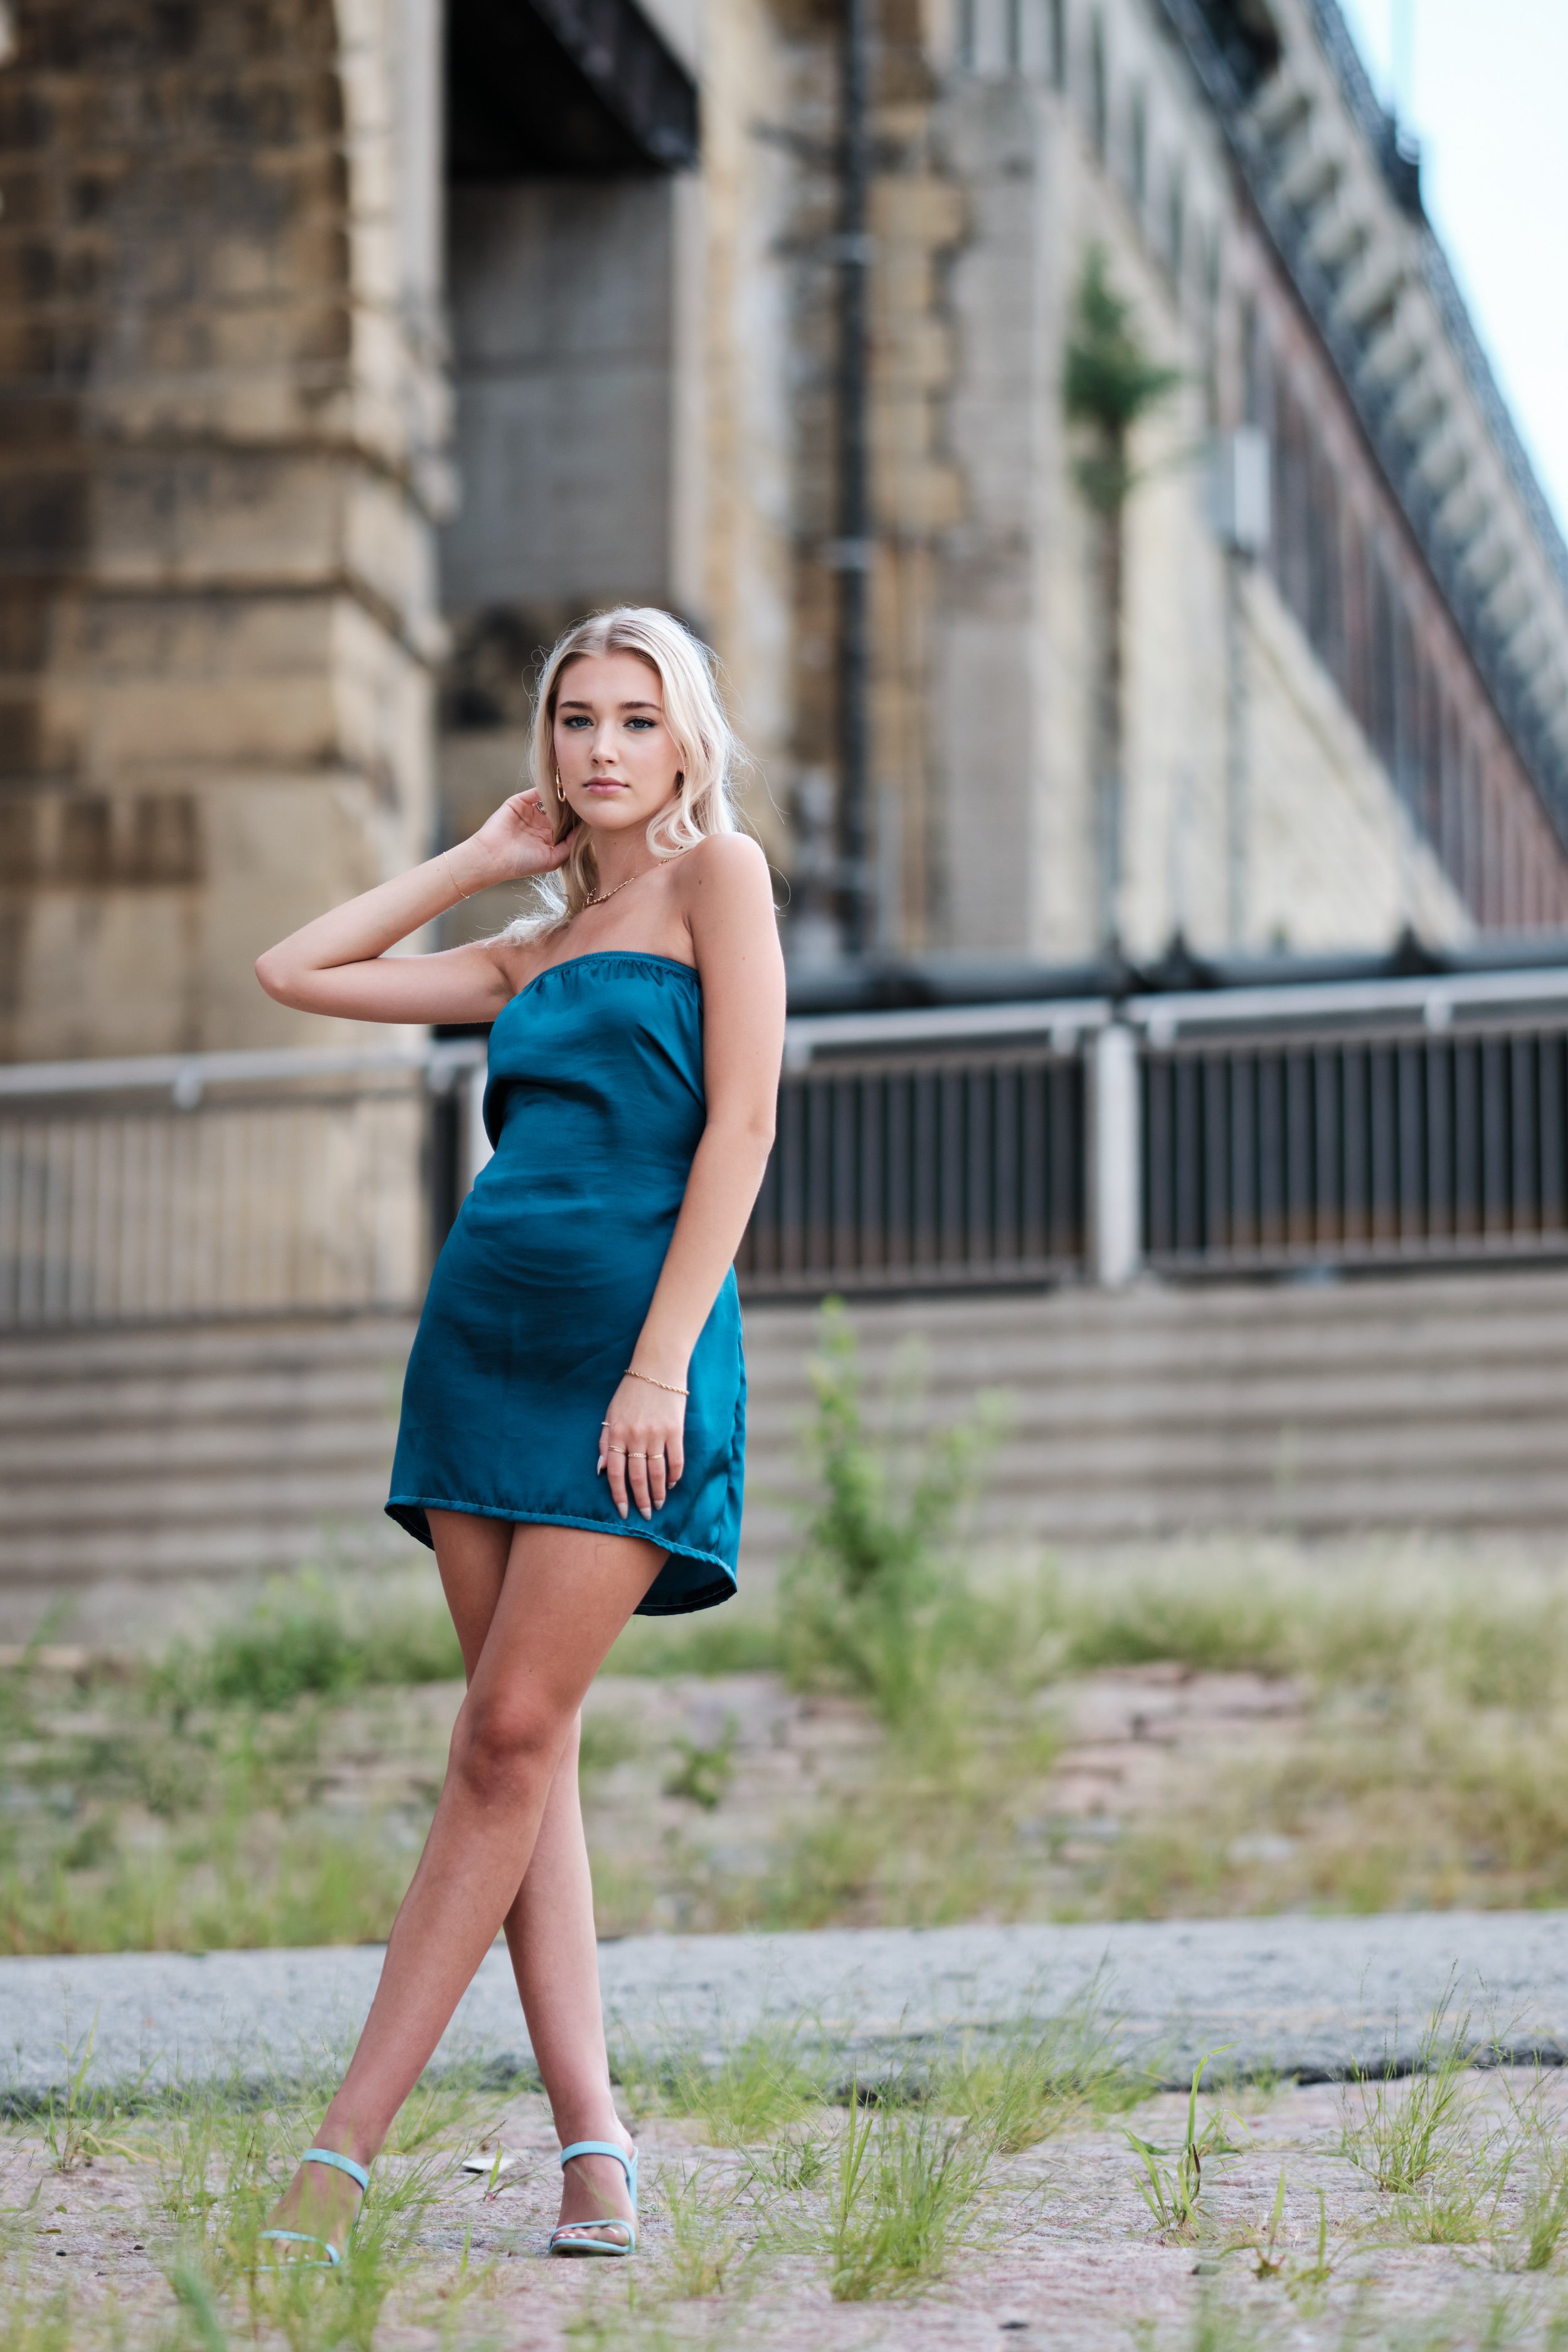
The use of color grading to create a specific visual aesthetic, such as a cool blue tone for a dramatic scene or a warm golden hue for a romantic one.
The use of creative lighting techniques, such as backlighting or rim lighting, to add depth and dimension to the images.
The use of visual effects and other post-production techniques to enhance the overall look and feel of the video.
Overall, achieving a cinematic look often involves a combination of these and other techniques, as well as a strong artistic vision and attention to detail.
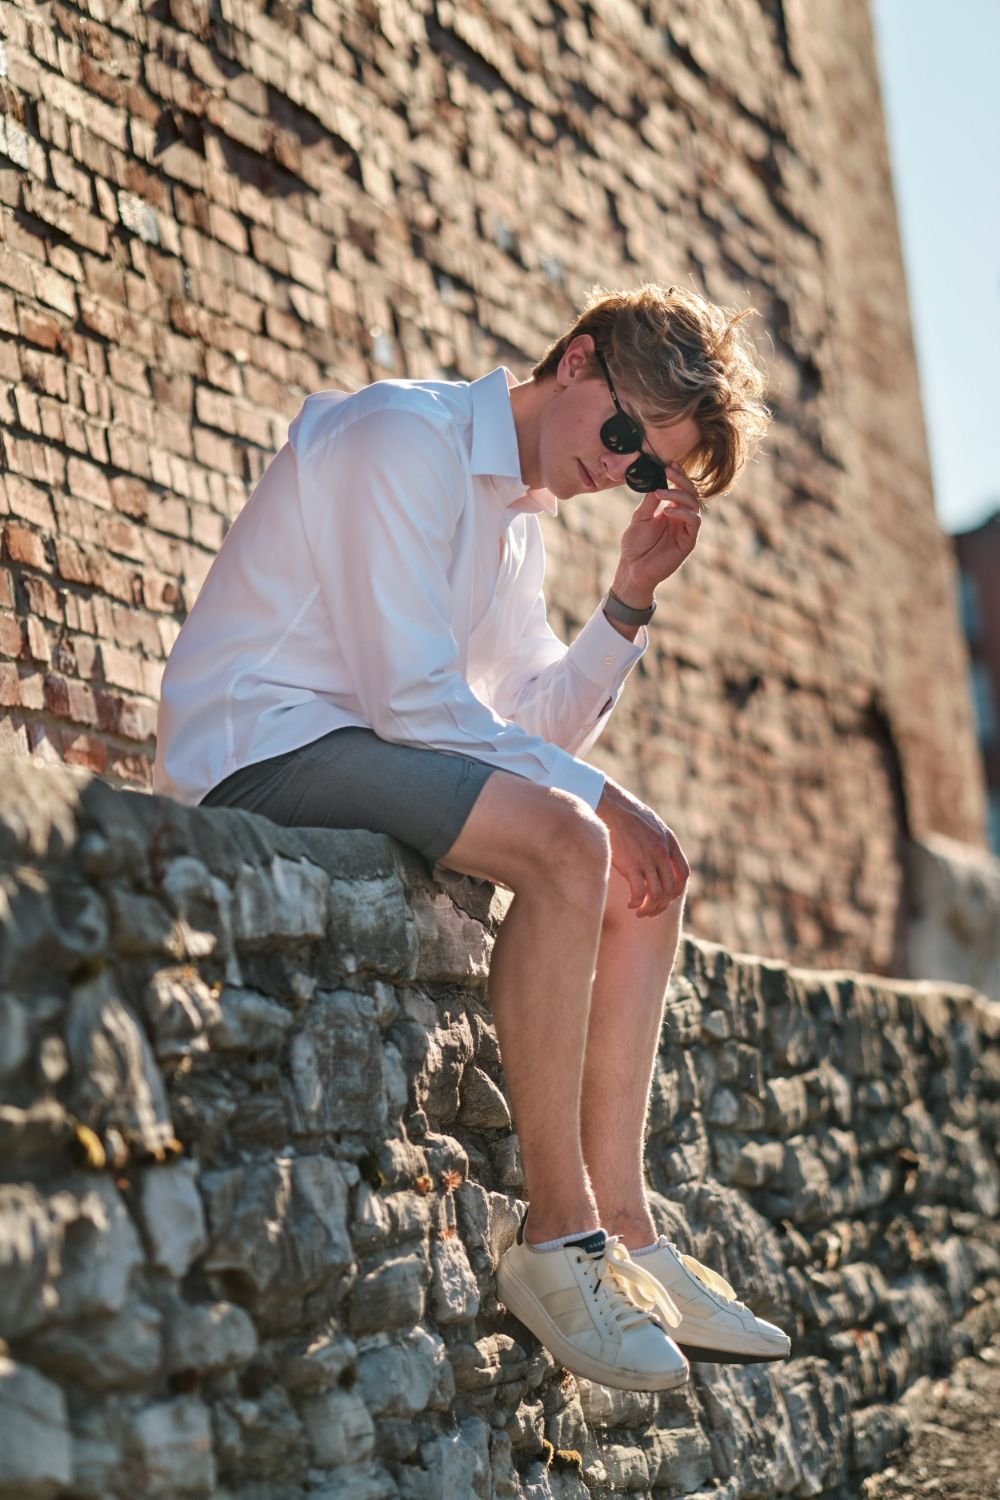
Thoughts on Backlighting
In 2025, backlighting continues to be a powerful technique in creating cinematic visuals. With the iPhone 16's advanced camera capabilities, including improved dynamic range and low-light performance, capturing well-exposed backlit scenes has become more attainable. To effectively utilize backlighting:
Exposure Control: Use the iPhone's exposure adjustment tools to prevent overexposure of the background while keeping the subject well-lit.
Reflectors: Employ portable reflectors to bounce light onto the subject, reducing shadows and enhancing details.
Time of Day: Shooting during golden hours (early morning or late afternoon) provides softer backlight, adding warmth and depth to your footage.
iPhone Product Links - Cinematic mode is available on the following iPhone models:

iPhone 16 Camera Upgrades: Guide to Features, Comparisons, and Buying Advice
The iPhone 16 Pro Max excels with a larger 48 MP sensor, 5x telephoto zoom, and USB-C for faster workflow—perfect for pro-level creators. The Pro offers similar features in a smaller size. Compared to the iPhone 15, the 16 adds better low-light performance and a more powerful A18 chip. Casual creators can opt for the 16 Plus, which balances price and performance, while older iPhones like the 14 lack advanced camera tech like ProRes 4K and Night Mode improvements.
Main Camera: Sharper and Smarter
iPhone 16 Camera Upgrades: A Photographer's Perspective
The iPhone 16 series offers four variations: iPhone 16, 16 Plus, 16 Pro, and 16 Pro Max. The Pro models stand out for content creators due to their advanced features, such as a larger 48 MP sensor for better low-light performance, 5x telephoto zoom (on the Pro Max), and USB-C for faster data transfers. The A18 Pro chip ensures superior performance for video editing, making the Pro Max ideal for those who demand top-tier capabilities. For casual creators, the 16 Plus strikes a balance between price and capability.
TL;DR: iPhone 16 for Content Creators
The iPhone 16 Pro Max excels with a larger 48 MP sensor, 5x telephoto zoom, and USB-C for faster workflow—perfect for pro-level creators. The Pro offers similar features in a smaller size. Compared to the iPhone 15, the 16 adds better low-light performance and a more powerful A18 chip. Casual creators can opt for the 16 Plus, which balances price and performance, while older iPhones like the 14 lack advanced camera tech like ProRes 4K and Night Mode improvements.
Main Camera: Sharper and Smarter
48MP Sensor: Like the iPhone 15, the iPhone 16 has a 48MP sensor, but Apple seems to have fine-tuned its performance. The larger quad-pixel design improves dynamic range, especially in tricky lighting. For portrait or landscape work, this means fewer compromises between highlights and shadows.
Improved Low-Light Performance: The upgraded ultra-wide lens (f/2.2) allows for better indoor and night shots without resorting to flash.
Spatial Video: A Game-Changer if you have Apple Vision Pro!
For photographers or videographers dabbling in 3D storytelling, spatial video opens up possibilities. It’s built for Apple Vision Pro but could also inspire new ways to shoot immersive, narrative-driven content. Imagine capturing a family moment in 3D and experiencing it like a memory bubble later—it's more emotional than traditional video.
Enhanced Macro Capabilities
While I love using macro photography to highlight textures or tiny details, the iPhone 16’s refinements make this mode sharper and more intuitive. It’s ideal for hobbyists or pros who like to experiment.
Video Recording Upgrades
120fps Dolby Vision in 4K: This is a leap forward. The buttery-smooth footage at 120fps could make slow-motion shots feel cinematic, whether you’re filming nature, weddings, or personal projects.
Audio Enhancements: The addition of studio-quality mics and wind noise reduction isn’t something to overlook. Clean audio means less post-production work—something I always appreciate when recording interviews or live events.

How Does it Compare?
The iPhone 16 builds on Apple’s reputation for mobile photography innovation, offering features that make it a serious contender for both casual users and professionals. The main improvements include spatial photography for AR/VR experiences, better low-light performance through its wider ultra-wide aperture, and 4K video recording at 120 fps for cinematic storytelling.
The 48MP sensor, introduced in the iPhone 15, remains but is more refined on the iPhone 16, delivering improved detail and dynamic range. Macro photography capabilities also stand out, making it easier to capture intricate textures and details. Video upgrades, like Dolby Vision HDR at higher frame rates, and studio-quality microphones, are perfect for creators looking for pro-level results with minimal gear.

Who Should Upgrade?
Content Creators: If you rely on your phone for shooting client work or social media, the iPhone 16's video upgrades and spatial photography are worth it.
As someone who shoots both professionally and personally, here’s what stood out in testing:
The spatial video feature has incredible potential for creating immersive content. While testing it during a family outing, the 3D effect added an emotional layer to moments that regular video couldn’t capture.
Shooting at night was much smoother with the iPhone 16. In one test, I photographed cityscapes under dim streetlights, and the details in shadows and highlights were impressive compared to the iPhone 15.
Macro mode let me explore textures in new ways. For instance, capturing dew on a spiderweb produced stunning results that rival my dedicated macro lens.
Photography Enthusiasts: For someone who pushes the limits of mobile photography, the improved dynamic range and low-light performance could replace or supplement your camera.
Casual Shooters with Older Phones: If you're coming from the iPhone 14 or older, the jump is noticeable—higher resolution, better stabilization, and new creative tools.

iPhone 16 is ideal for content creation: If you regularly post videos, run a YouTube channel, or shoot social content, the iPhone 16’s 4K/120fps video and studio microphones make it a fantastic portable rig.
Do You Need It?
For me, the iPhone 16 isn’t just about specs. It’s a creative tool. If you find joy in capturing the world, whether through stills or video, it’s worth considering. However, if you already have the iPhone 15 and don’t feel limited, you’re not missing much!
If you’re ready to elevate your mobile photography, the iPhone 16 is worth a closer look. Buy the new iPhone 16 on Amazon.

SmallRig RC220D Continuous Light Review: Great Performance with a Design Flaw
As a portrait and headshot photographer, I've been using the SmallRig RC220D as my main continuous key light, and overall, it performs exceptionally well. The light provides powerful, clean daylight output with excellent color accuracy, making it a go-to for professional shoots. I appreciate the Bowens mount, which is compatible with a wide range of light modifiers. It’s an ideal setup for both photography and video work.
As a portrait and headshot photographer, I've been using the SmallRig RC220D as my main continuous key light, and overall, it performs exceptionally well. The light provides powerful, clean daylight output with excellent color accuracy, making it a go-to for professional shoots. I appreciate the Bowens mount, which is compatible with a wide range of light modifiers. It’s an ideal setup for both photography and video work.

Umbrella stem and power cord block one another in the SmallRig RC220D.
However, there is one frustrating issue: the placement of the umbrella mount. While the Bowens mount is well-designed, the umbrella mount is positioned in a way that conflicts with the AC adapter plug. They press against each other, which led to damage in my setup—my power plug failed, and the umbrella itself developed a bow. Although SmallRig replaced the power adapter promptly, the core issue with the mounting design remains unfixed.
Aside from that, the light is extremely bright and efficient, reaching almost 100,000 lux at one meter with the included reflector. It's great for handling any lighting needs, even in more demanding setups. The light stays cool thanks to a quiet fan system that only kicks in when necessary - and it really is quiet - and it’s compact and portable for on-location shoots.
For those looking for a high-performing continuous light with great value with accurate daylight color, the SmallRig RC220D is worth considering—just keep the umbrella mount flaw in mind. You can buy the SmallRig RC220D here.
Key specs for the SmallRig RC220D continuous LED light, ideal for professional photography and videography:
Power Output: 220W
Brightness: 98,700 lux at 1 meter (with included hyper-reflector)
Color Temperature: Daylight balanced at 5600K
Color Accuracy: CRI 95+, TLCI 96+
Dimming Range: 1% to 100% stepless dimming
Beam Angle: 60°
Cooling System: Active, ultra-quiet fan (30dB noise at 1 meter)
Control: App-based via the SmallGoGo app (Bluetooth)
Power Options: AC adapter or optional V-Mount battery
Mount: Standard Bowens mount for compatibility with various modifiers

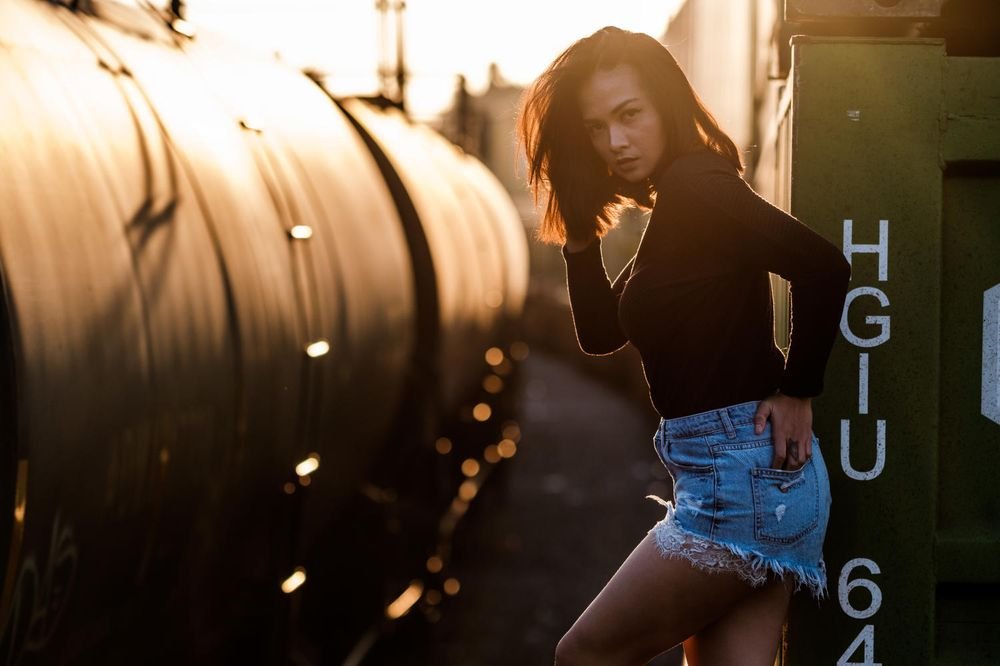
A Medium Format Film Fashion Shoot with the Pentax 6x7, SMC Takumar 105mm F/2.4, and Kodak Tri-X 400 Film
The process of shooting film slows me down in the best possible way, making me think more about composition, expression, and making each image count.
It may not have the sharpness of digital, but for painterly portraiture, film is able to achieve a look that can take a lot of processing and editing to get out of a digital image.

Pentax 6x7, Takumar 105mm F/2.4 shot wide open. Model: McKenna Vereeke
The Camera
After some months of shooting on digital only, I was excited to bring out my beloved Pentax 6x7 again, this time for a fashion and beauty studio shoot with the very talented McKenna Vereeke (West Model Agency).
I started out in digital photography and I’m just now discovering the world of film photography. For someone who has only used DSLRs, the Pentax 6x7 offers a body style that is familiar, unlike a Hasselblad medium format camera or a Twin Lens Reflex camera like the Rolleiflex. The Pentax 6x7 is built like a tank, it’s easy to operate, and the built in light meter is very accurate.
The Lens
The Pentax Super Multi Coated Takumar 105mm F/2.4 is one of the most sought after medium format lenses. A perfect focal length for portraits, it’s a legendary lens that is sharp (enough) wide open with exceptionally beautiful rendering. Yes, it can be a challenge to nail focus at at F/2.4 but it’s worth taking the time to try! I highly recommend mounting the camera on a tripod.
The Film Stock
Kodak Tri-X is quickly becoming my favorite film stock. It is high contrast, but not in a way that overpowers the microcontrast transitions between highlights and shadows. The rendering is painterly, with deep shadows and blacks that have an dark, syrupy richness that I’ve found hard to achieve with other film stocks.
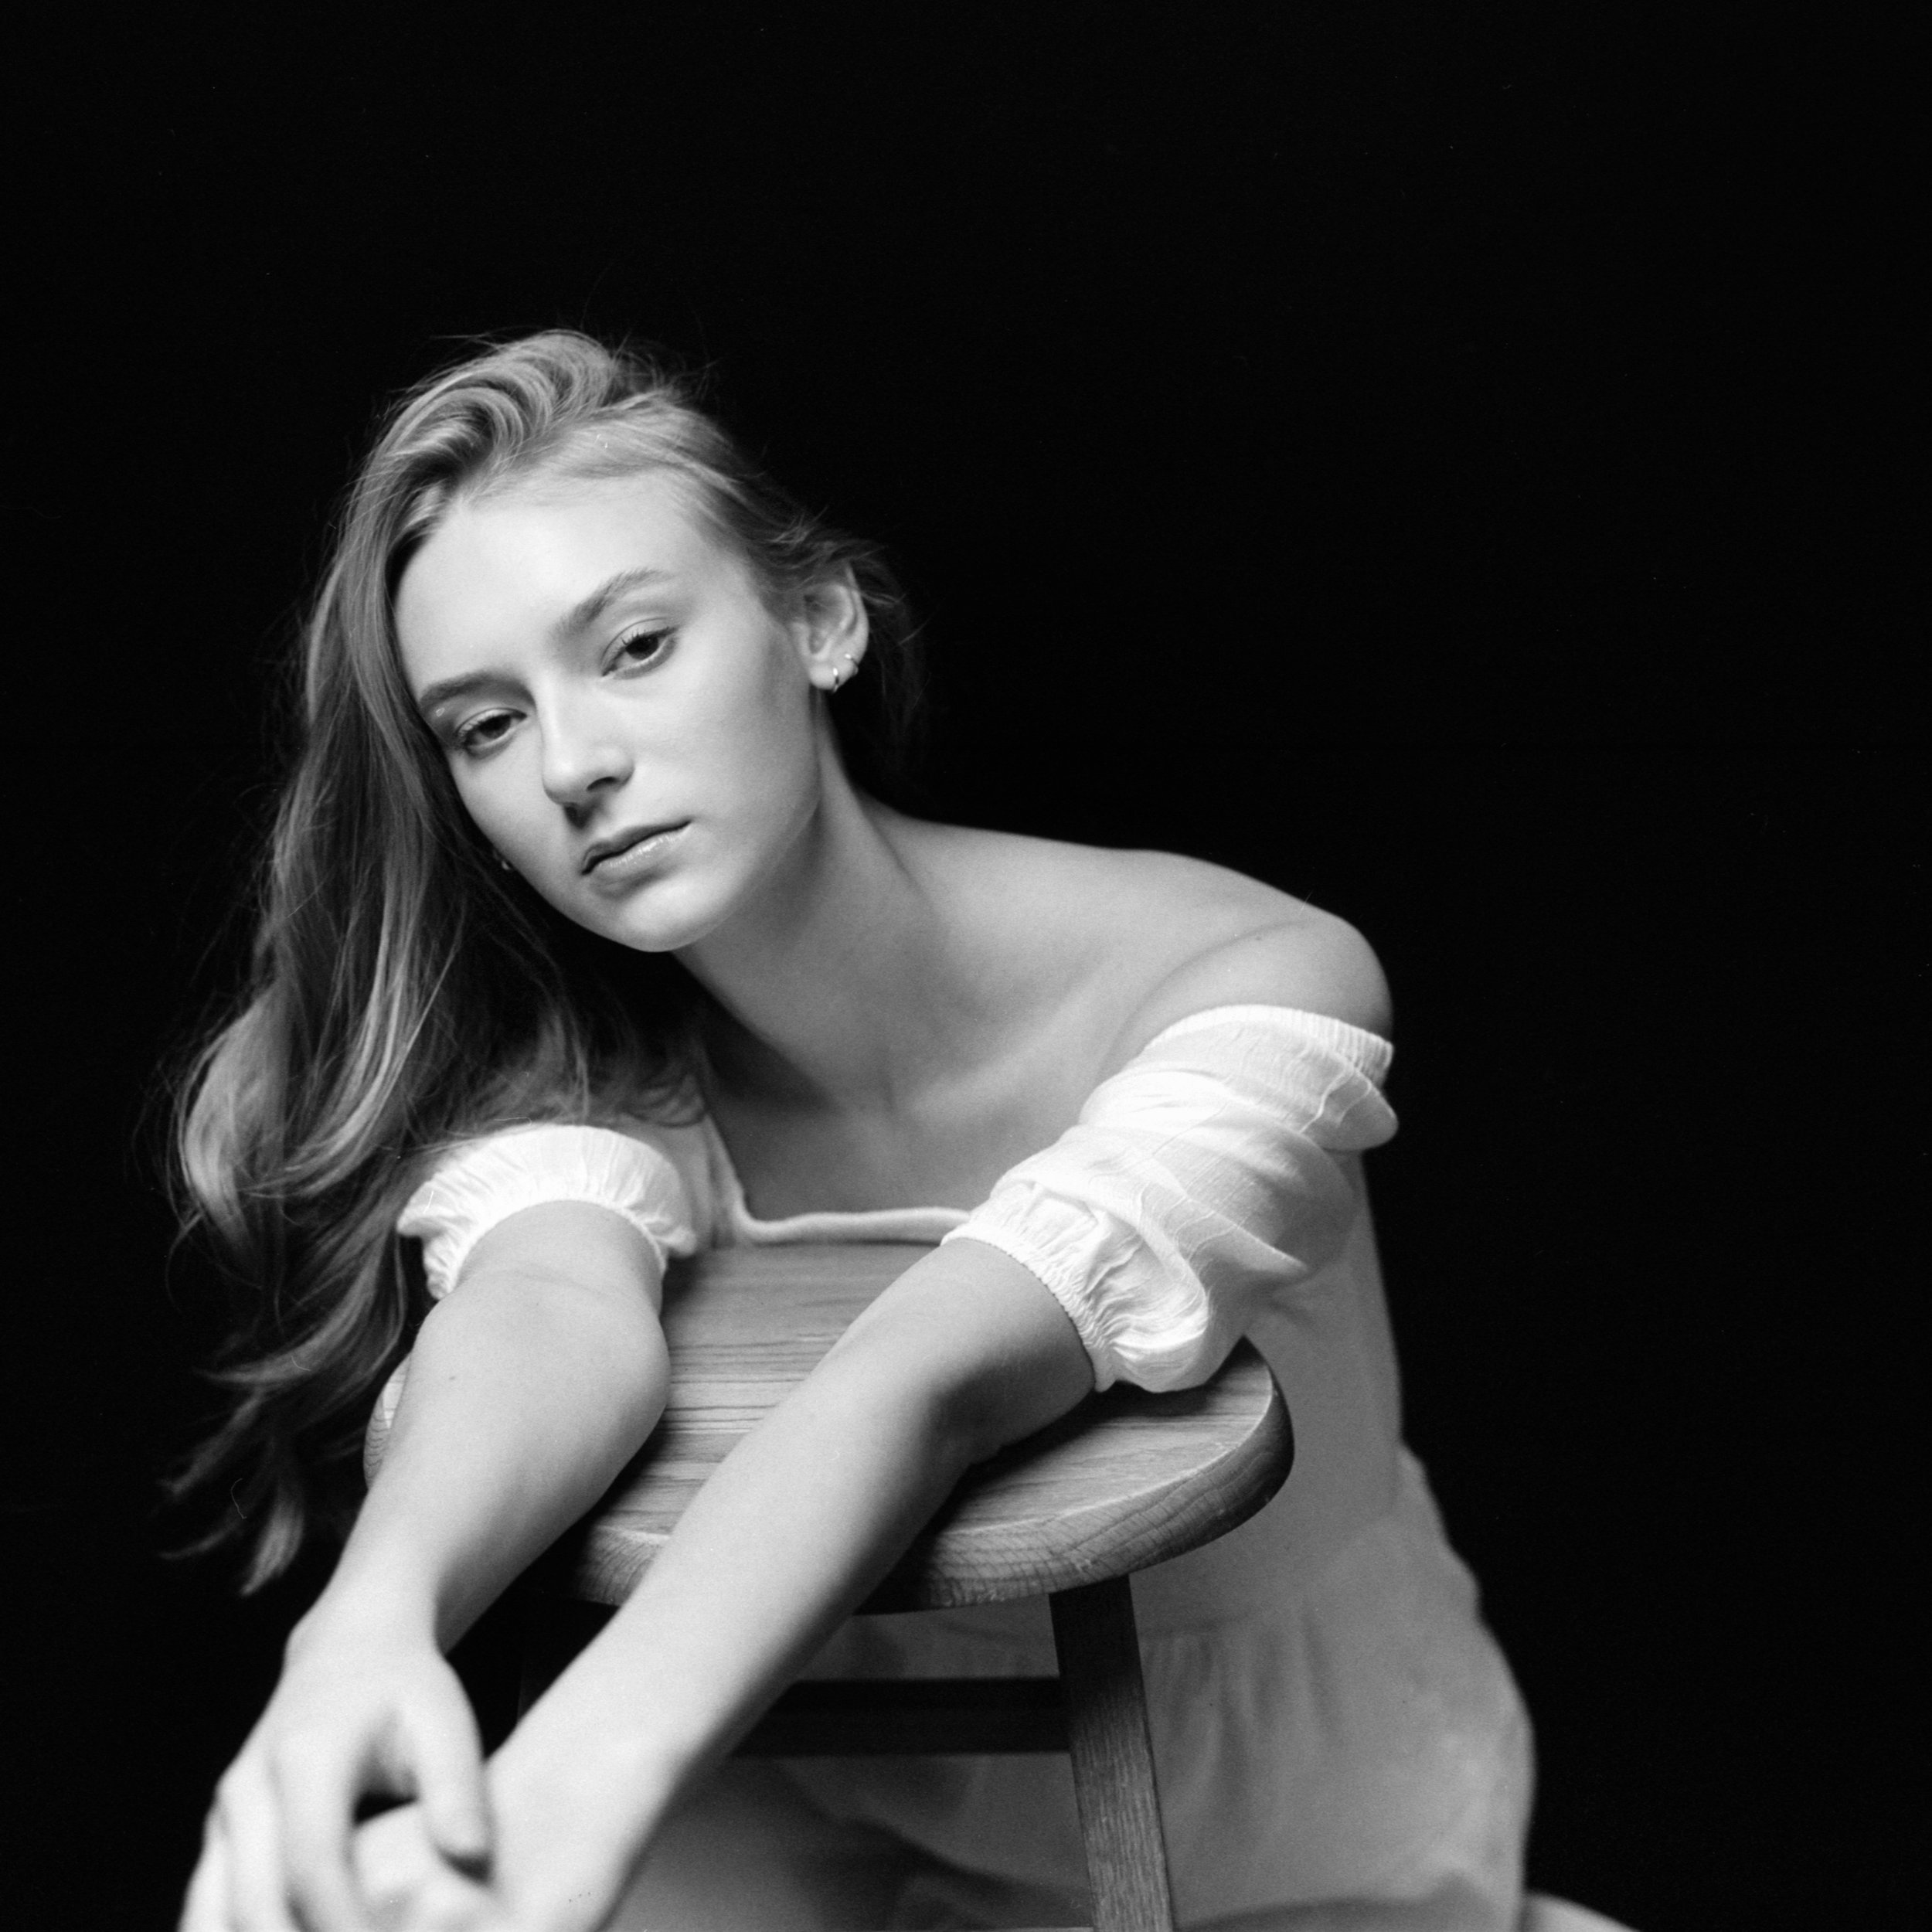
At the start of this photoshoot I was finishing off a roll of Ilford HP5 400 - here’s that image:

Pentax 6x7, Takumar 105mm F/2.4 shot wide open with Ilford HP5 400.
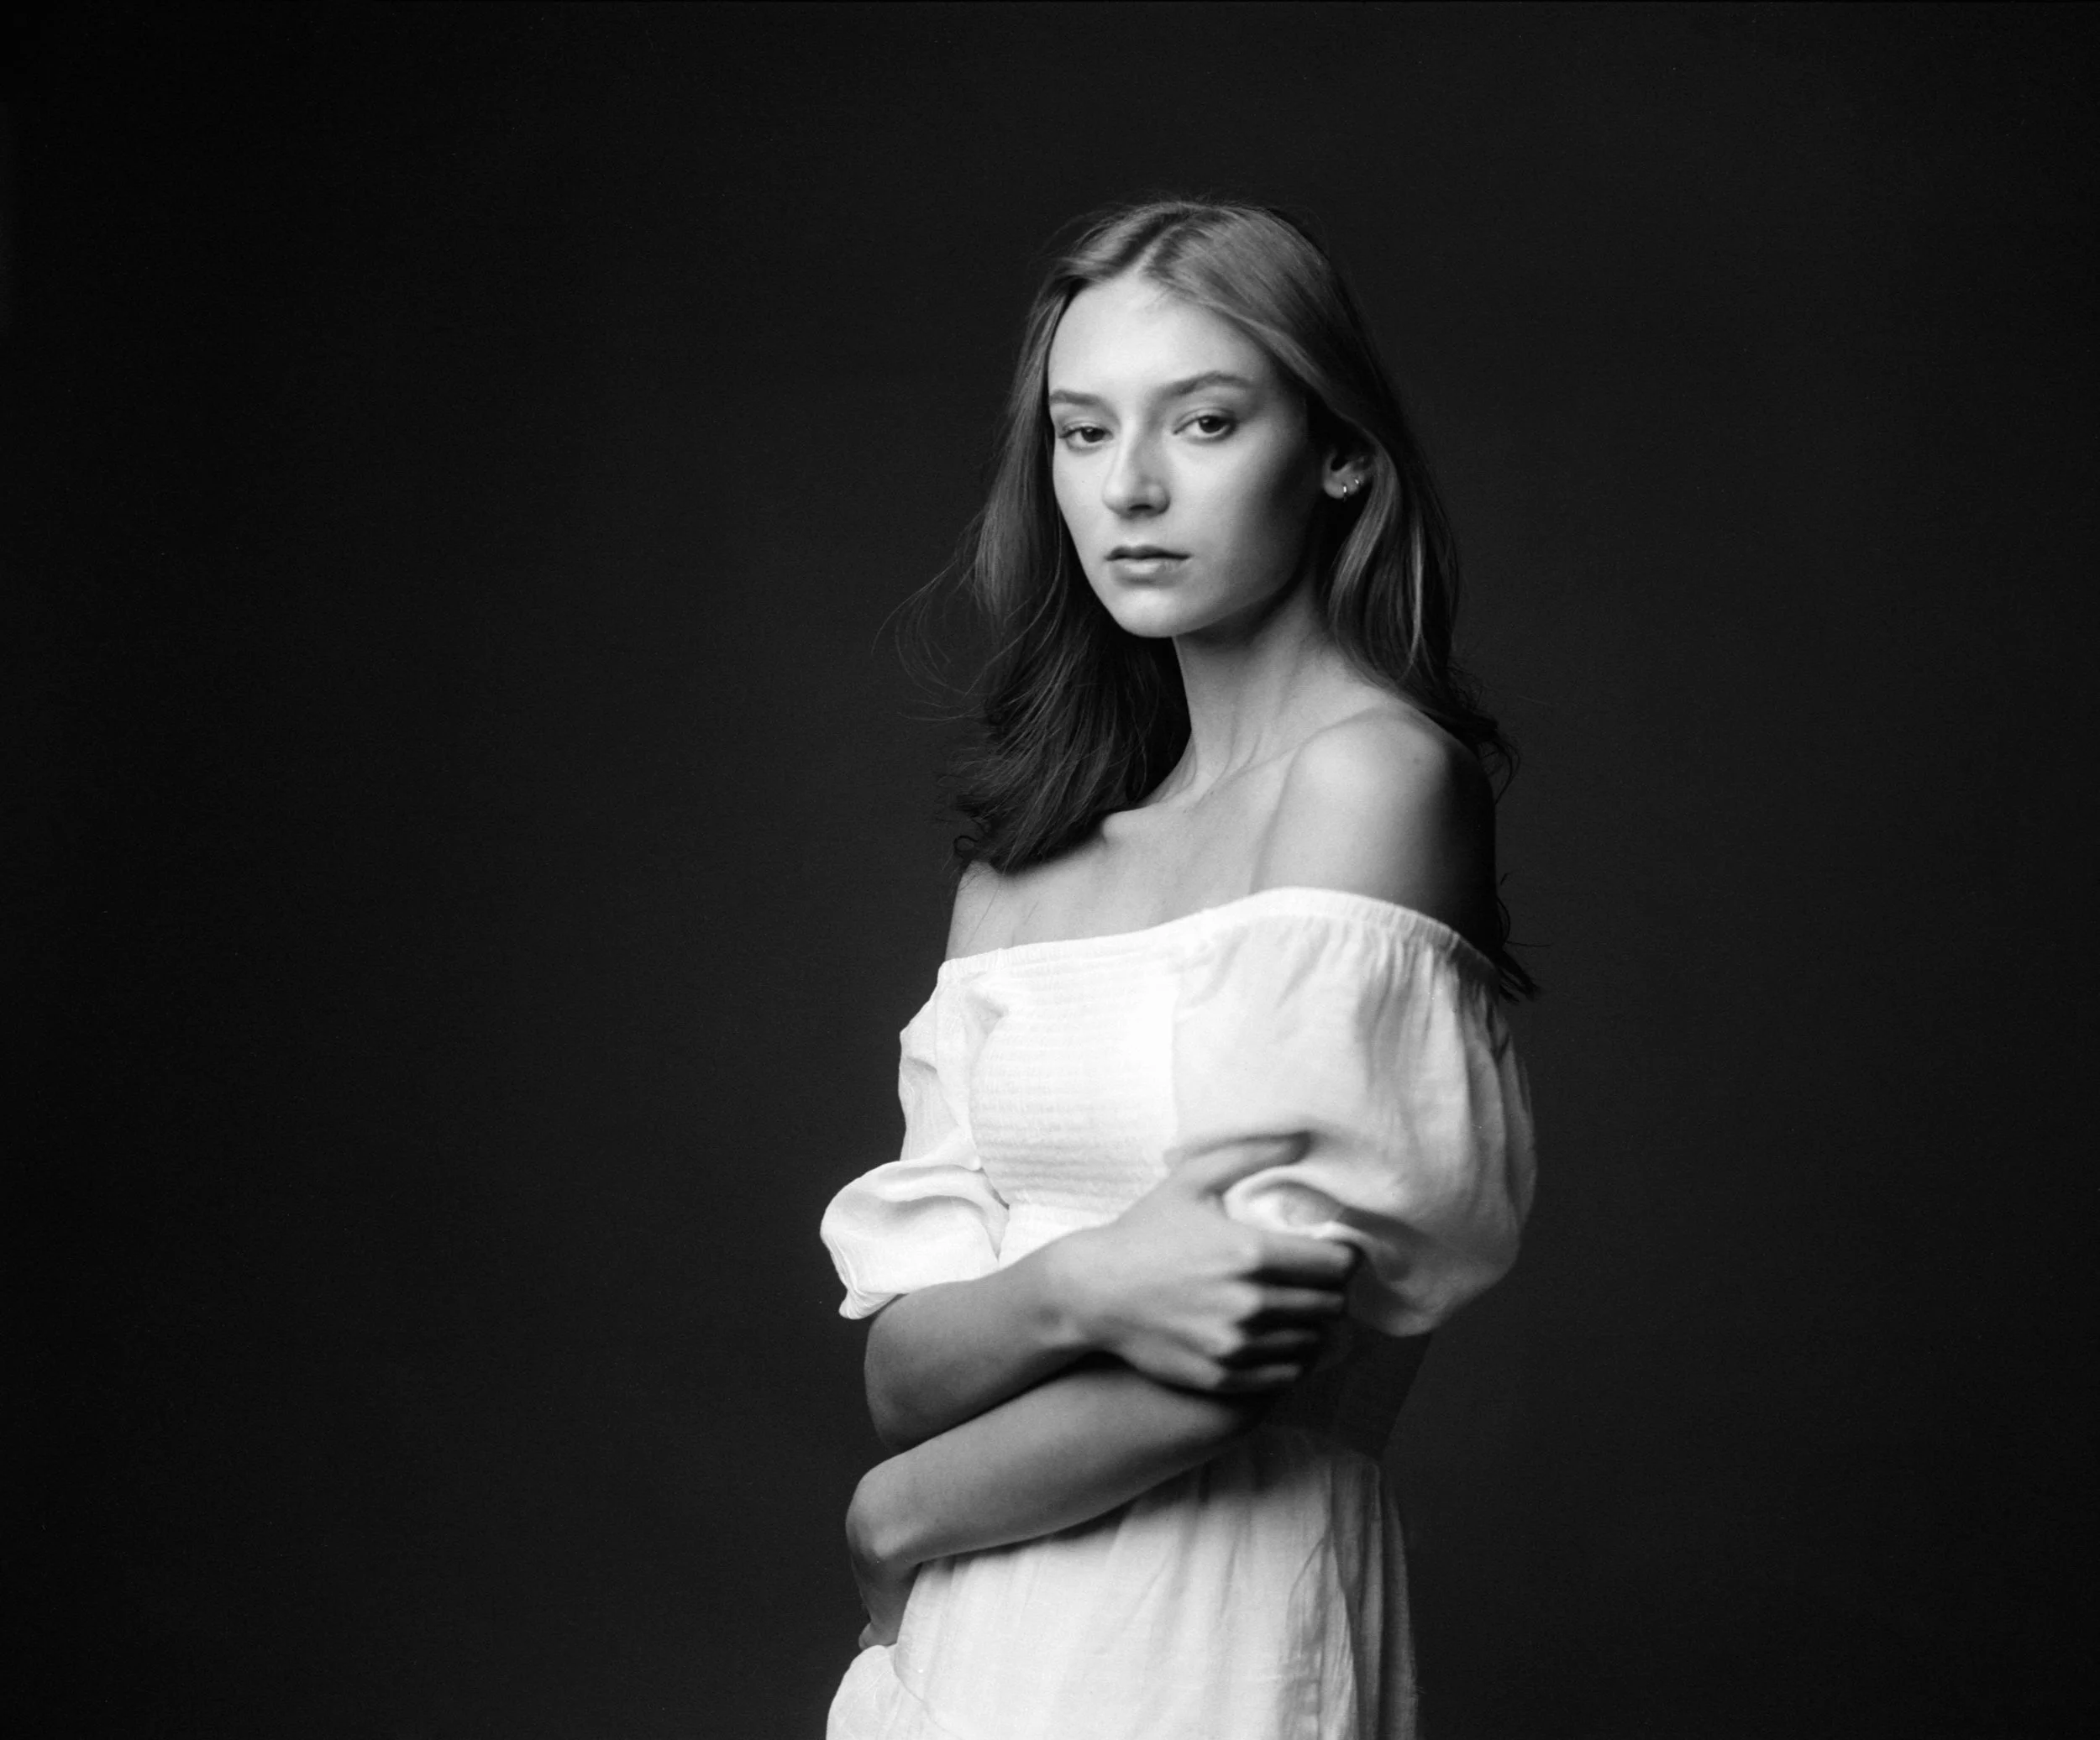
Comparing the Ilford HP5 look to Kodak Tri-X, you can see a big difference in the rendering:
Pentax 6x7, Takumar 105mm F/2.4 shot wide open with Kodak Tri-X 400.
Film vs. Digital
The process of shooting film slows me down in the best possible way, making me think more about composition, expression, and making each image count.
It may not have the sharpness of digital, but for painterly portraiture, film is able to achieve a look that can take a lot of processing and editing to get out of a digital image.
Film photos have an organic bloom to the highlights, giving a beautiful glow not unlike a Pro Mist filter on a modern lens.
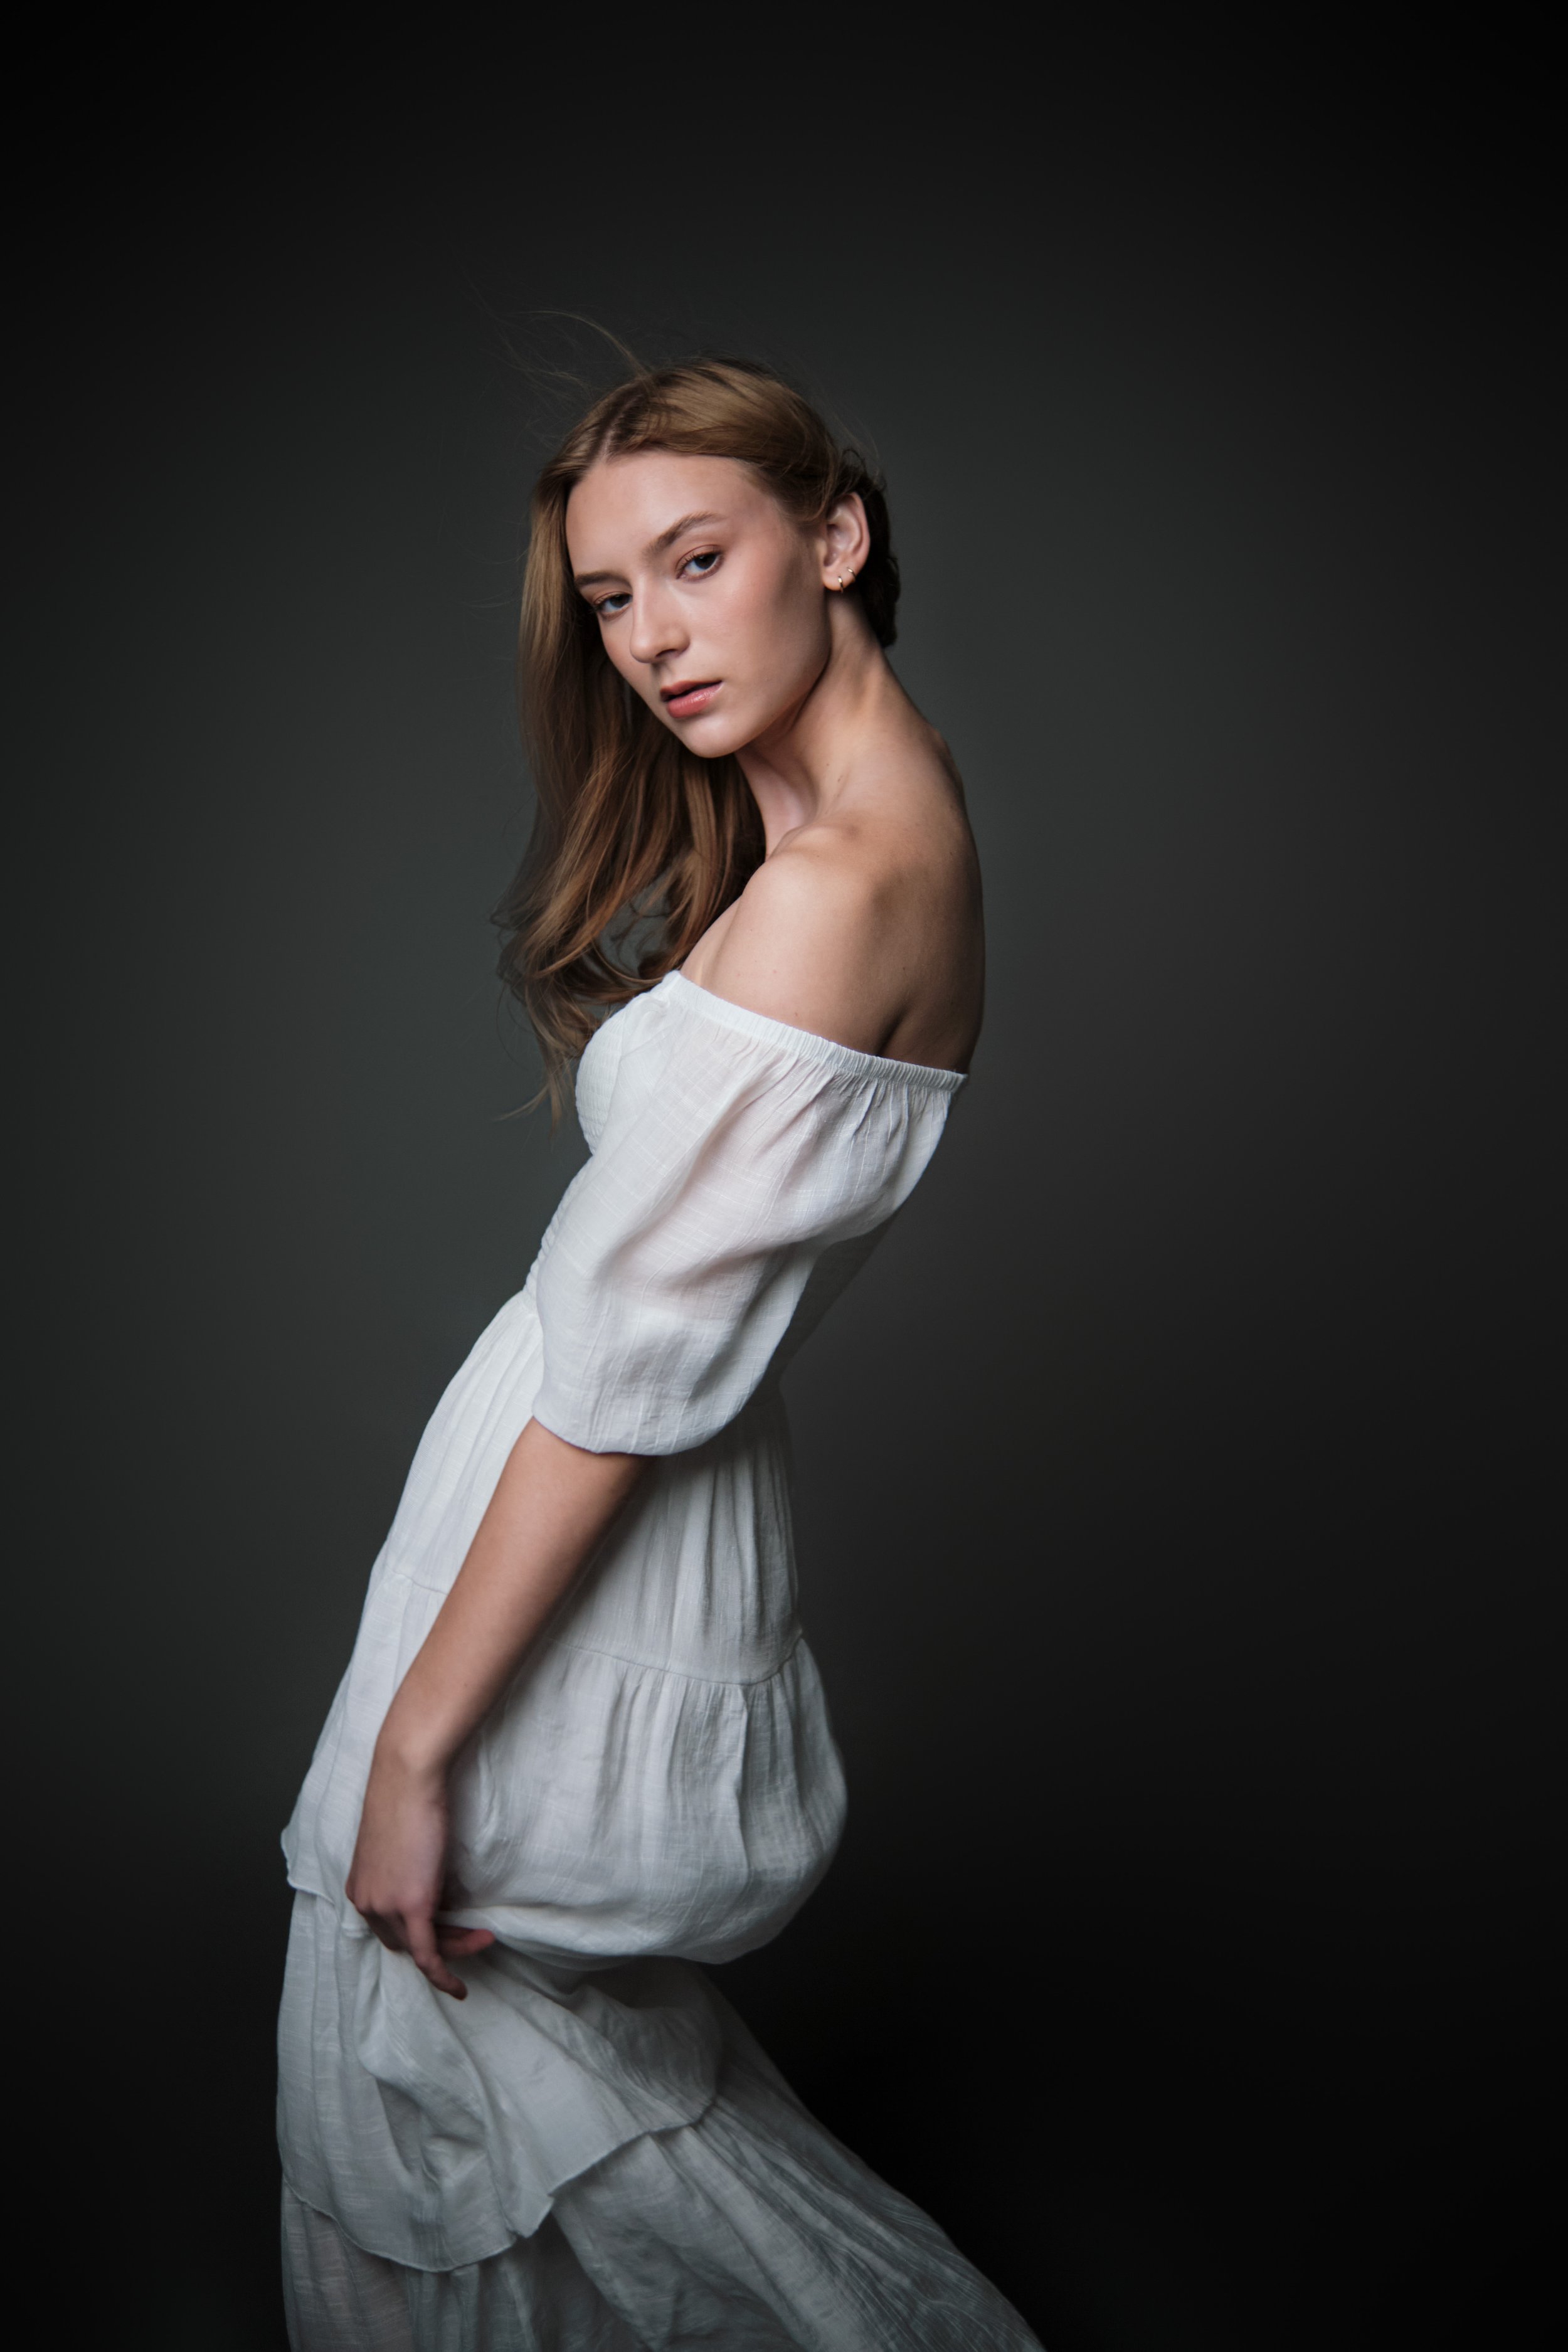
Digital - Fujifilm XT4 with Fujifilm XF33mm F/1.4 shot wide open
Pentax 6x7, Takumar 105mm F/2.4 shot wide open with Kodak Tri-X 400.
Here are a few more film shots from our session:


Thank you for reading.
What is your favorite medium format camera, lens, and film stock combination?
Please share your thoughts!

Instagram Worthy Spots in St. Louis: “A Not So Secret” Guide - Vol. 1
What makes it so special, you ask? Well, you couldn’t ask for better natural lighting…
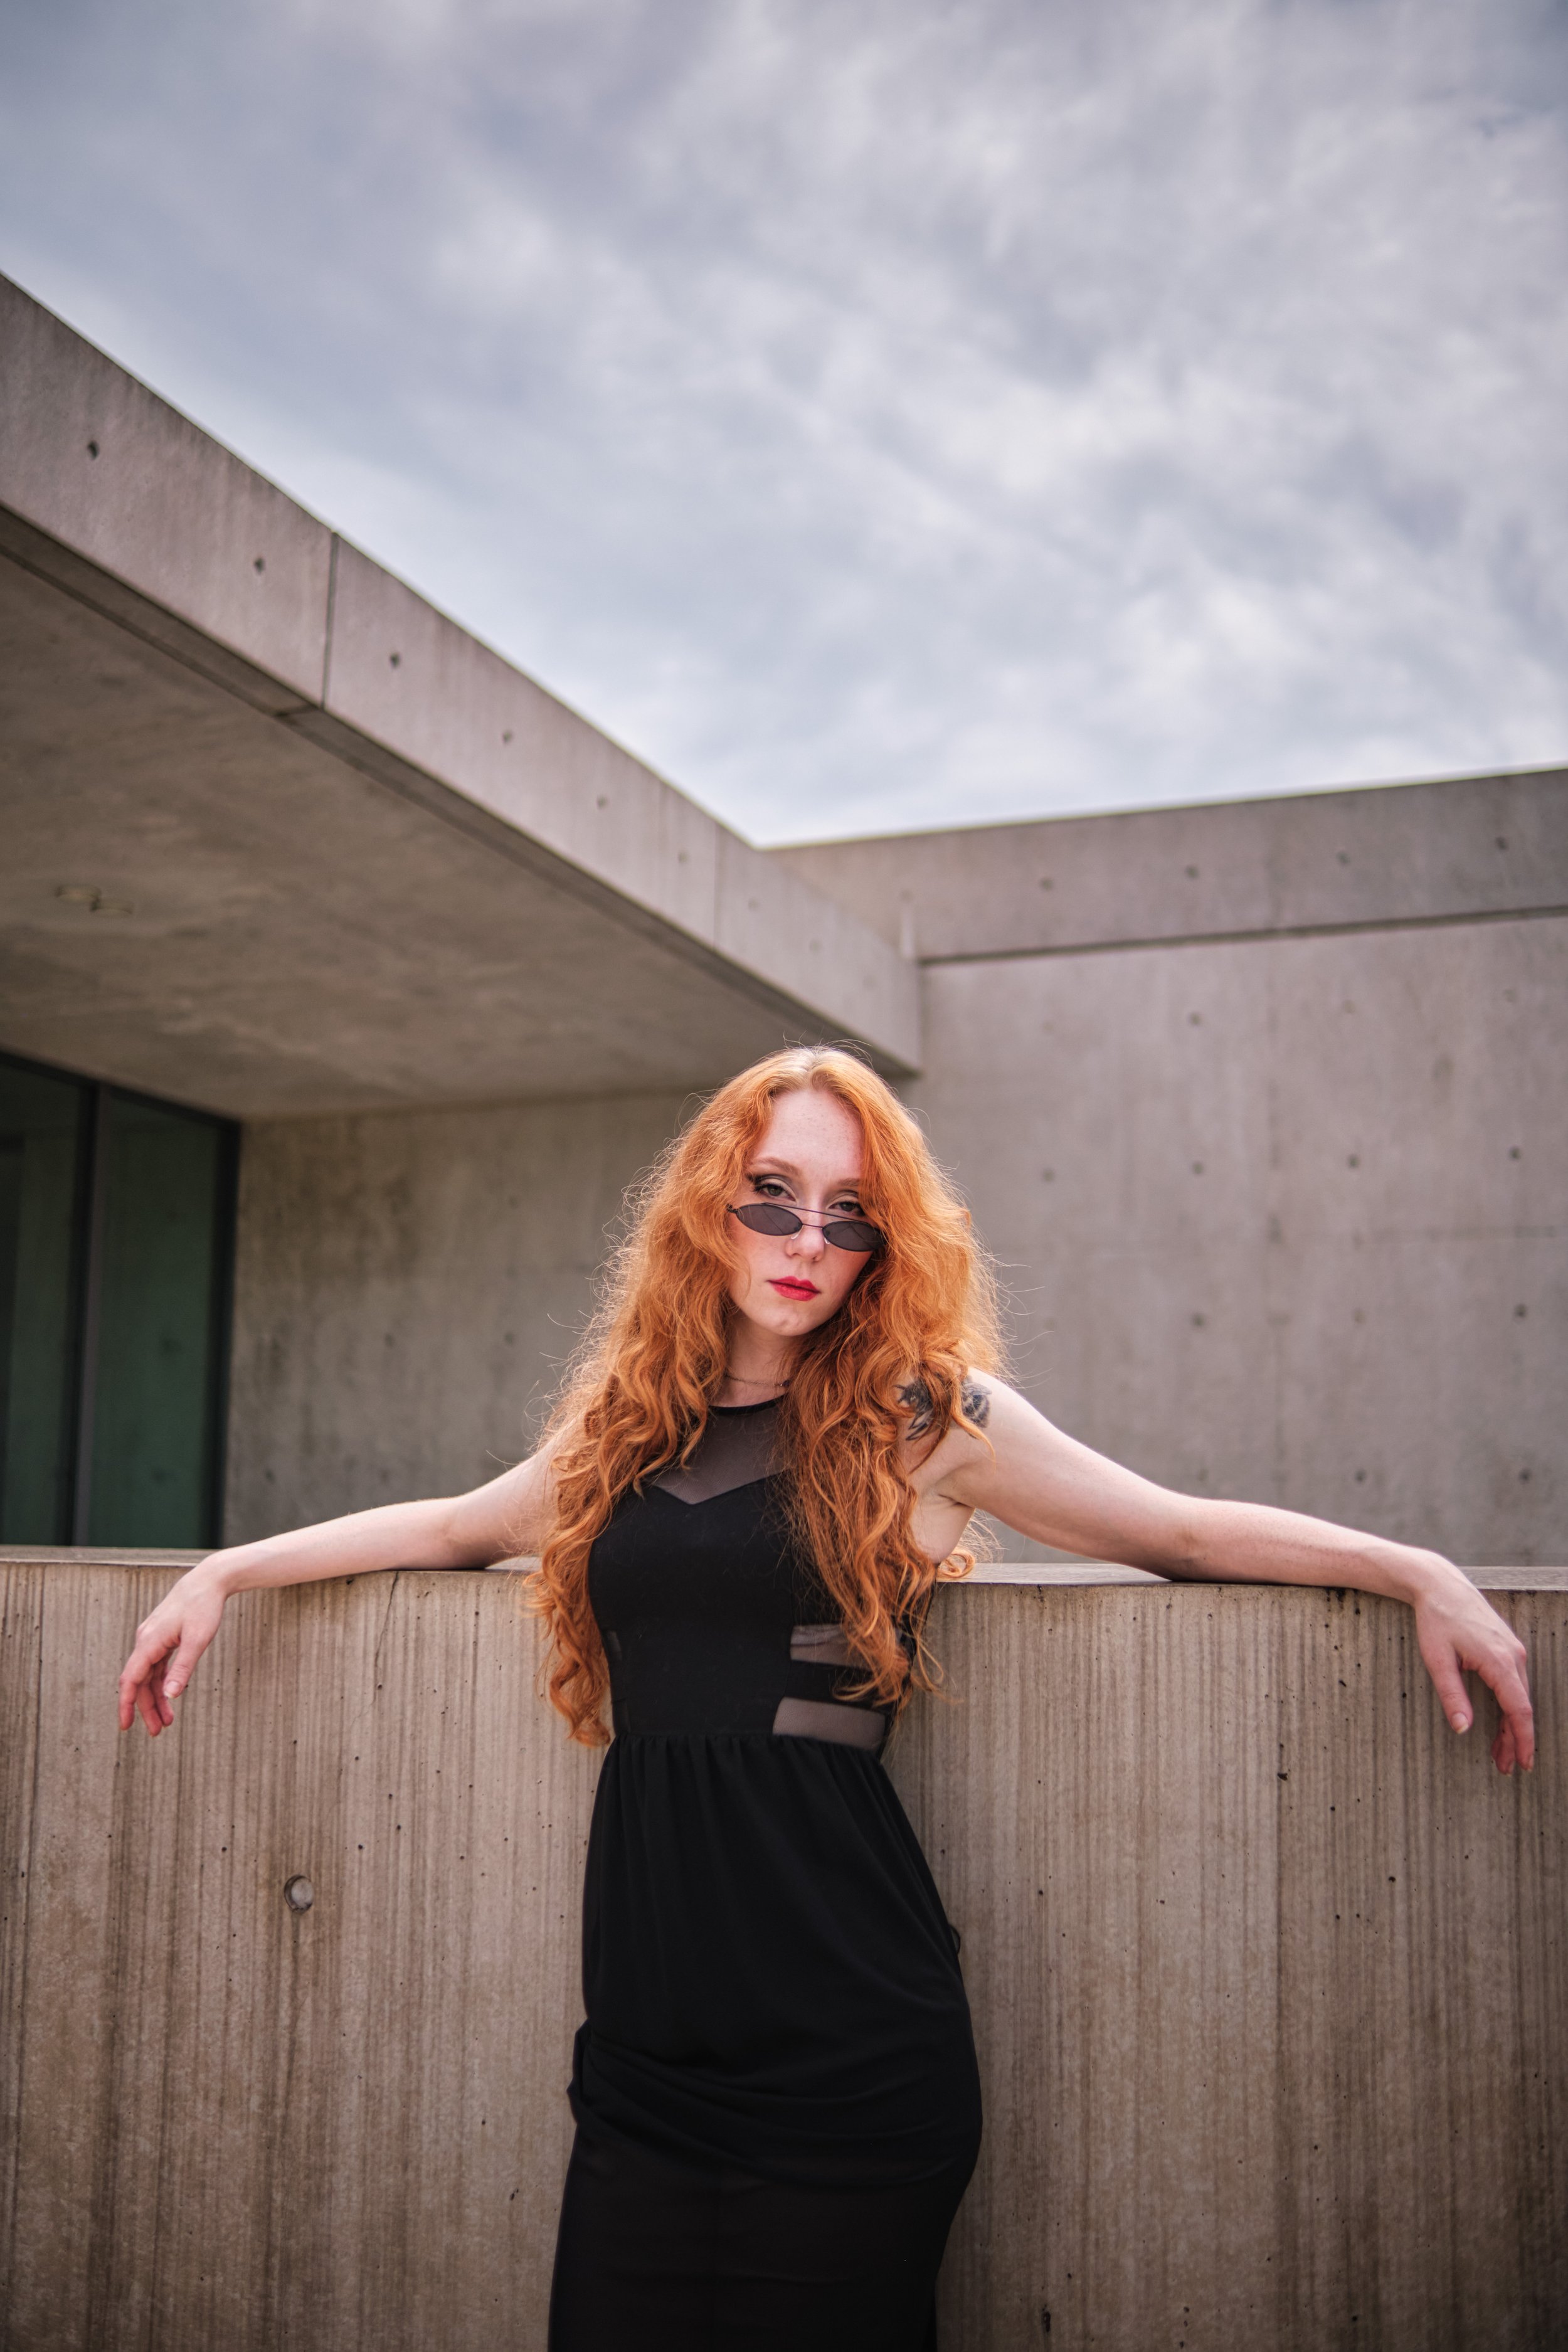
It may sound overdone, but there are many good reasons why parking garages make for great Instagram-worthy spots: the urban-industrial concrete, neutral colors, leading lines, and rooftop access for city skyline views, the list goes on and on.
That said, the not so secret spot I’d like to recommend to you is not your average parking garage!
Located across the street from the U.S. Bank building in downtown St. Louis, the 7th Street Parking Garage is quickly becoming a favorite photo location of this St. Louis based portrait photographer.
What makes it so special, you ask? Well, you couldn’t ask for better natural lighting…
Check out the amazing, flattering, soft light you get through these floor-to-ceiling panel windows. They’re frosted in a way that diffuses the sunlight as if a photographer were consulted to design them.

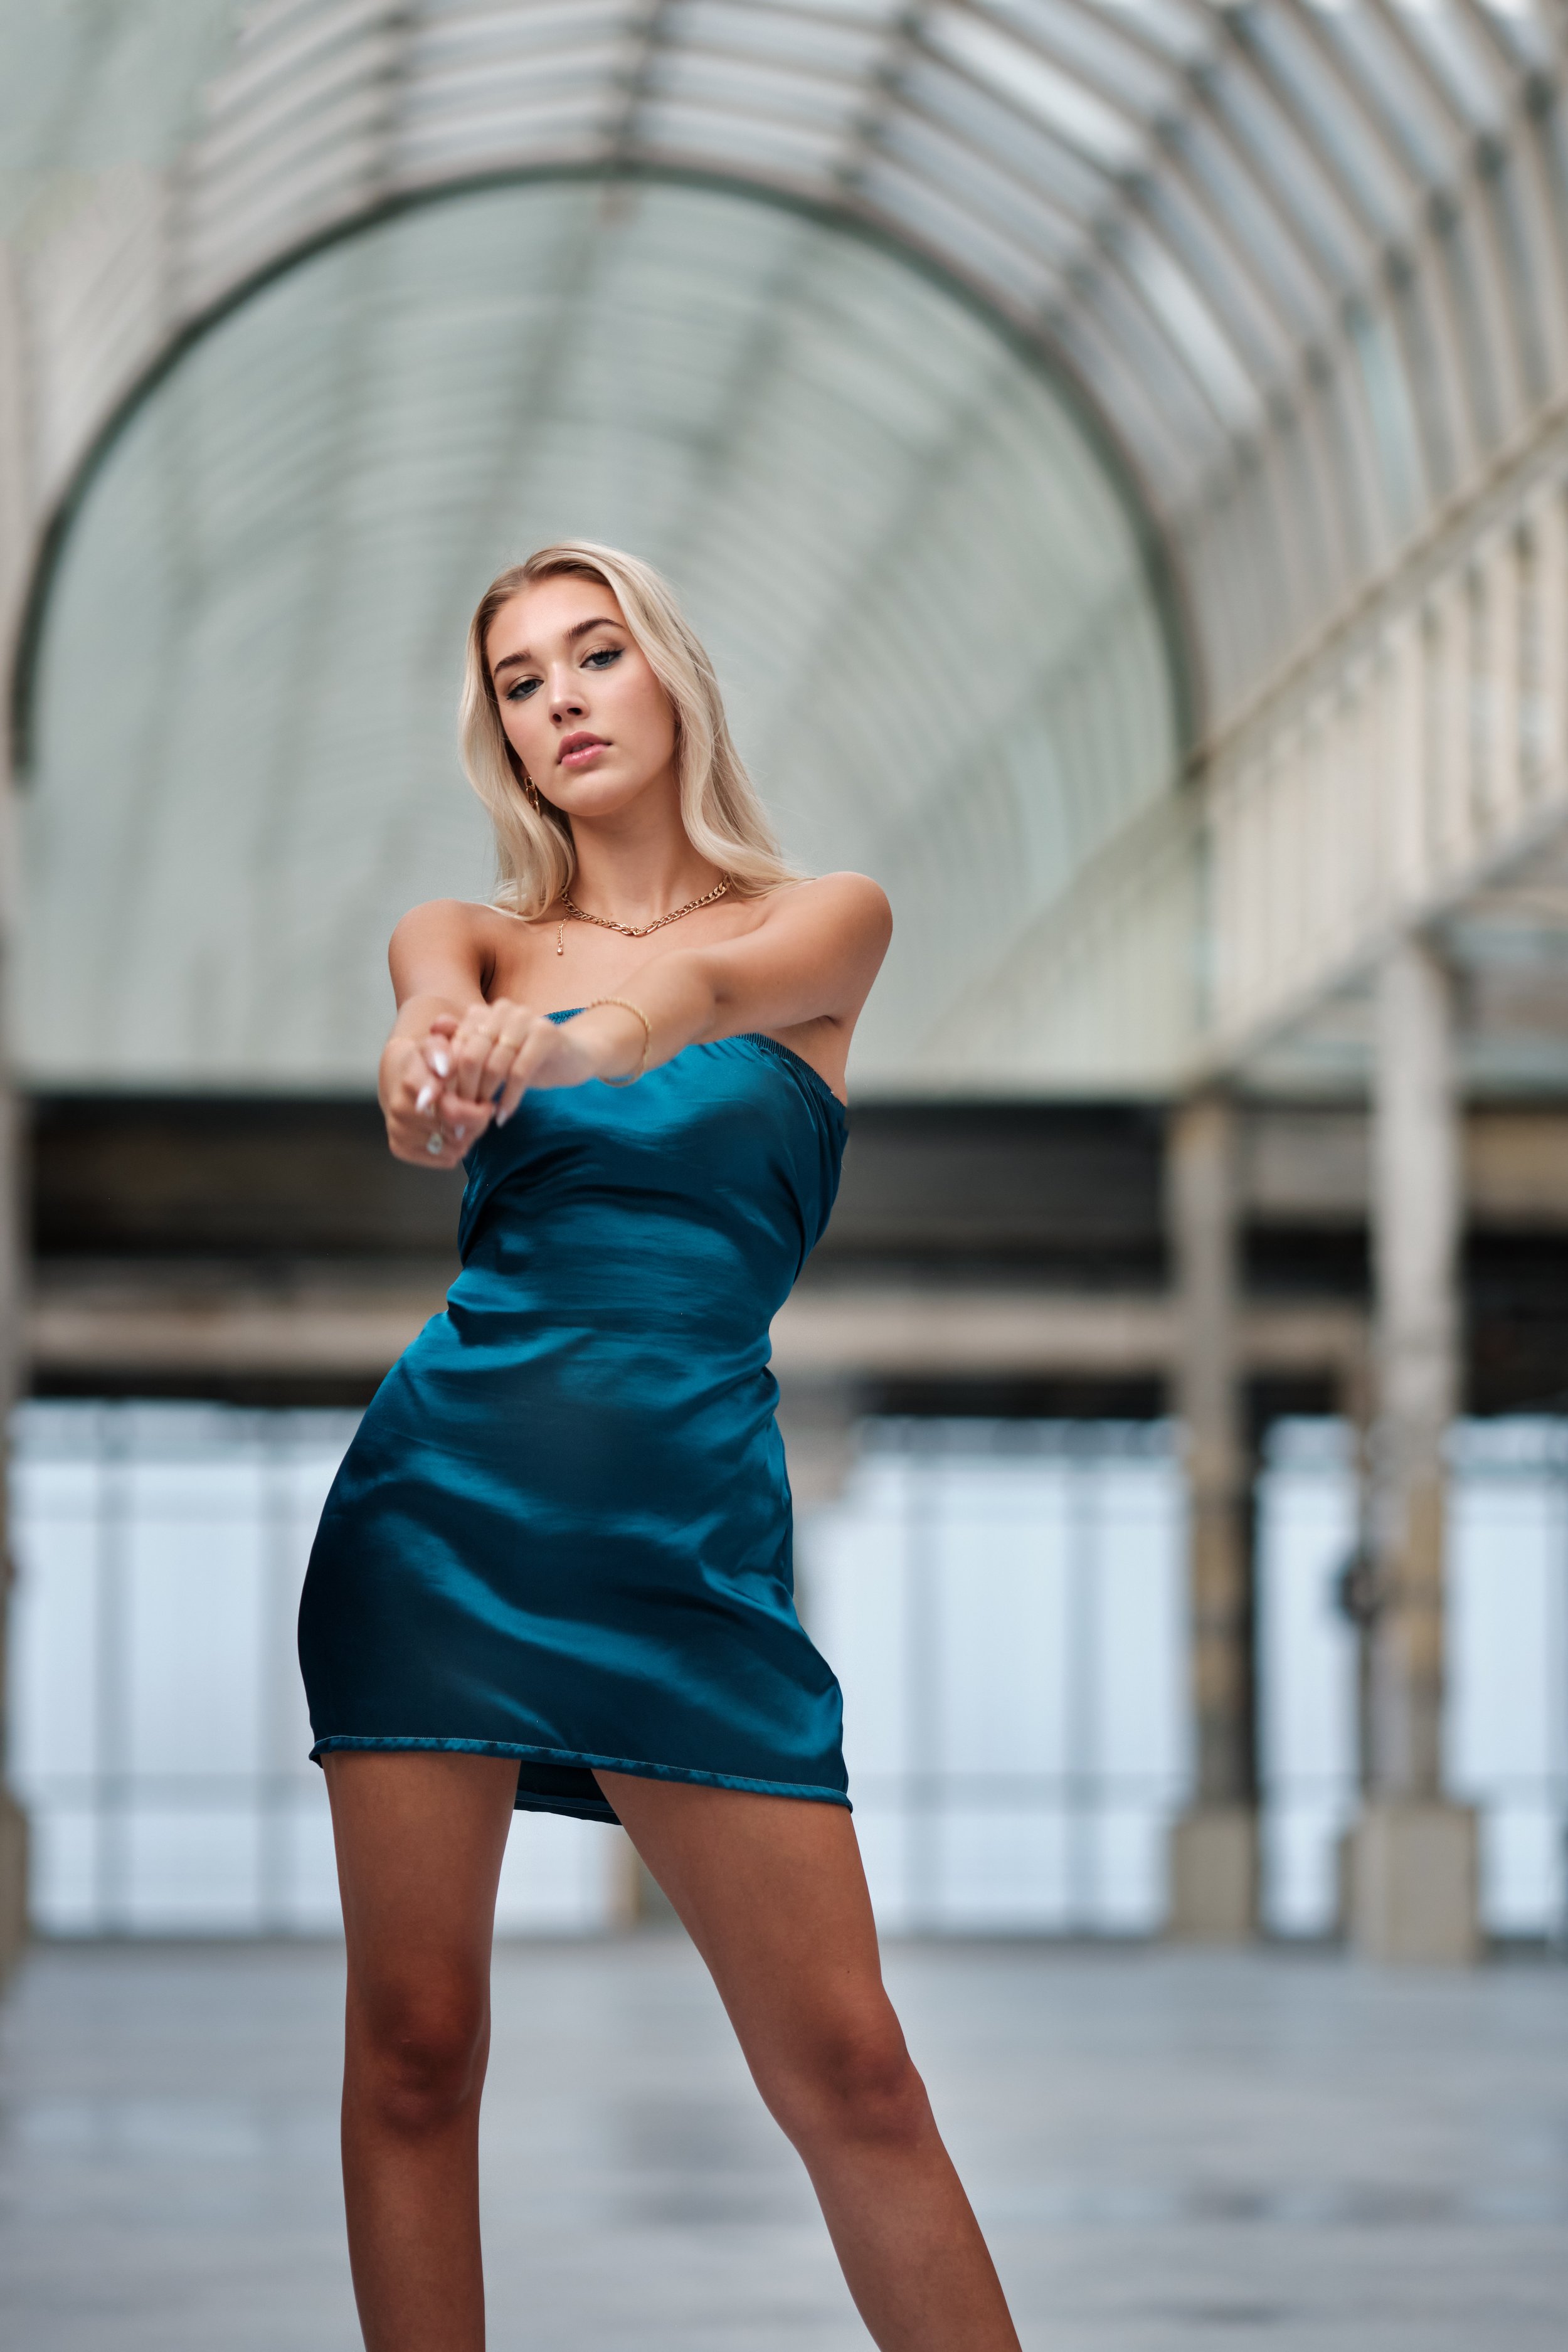
Fitness Model Morganne Venters, lifestyle portrait photoshoot at the 7th Street Parking Garage in downtown St. Louis. Natural diffused light from floor to ceiling frosted window panels.

Fitness Model Morganne Venters, lifestyle portrait photoshoot at the 7th Street Parking Garage in downtown St. Louis. View with backlighting from the west wall.
If that weren’t enough, there is a giant greenhouse-style arched roof that makes for some wonderfully compelling portraits with soft, beautiful overhead lighting.
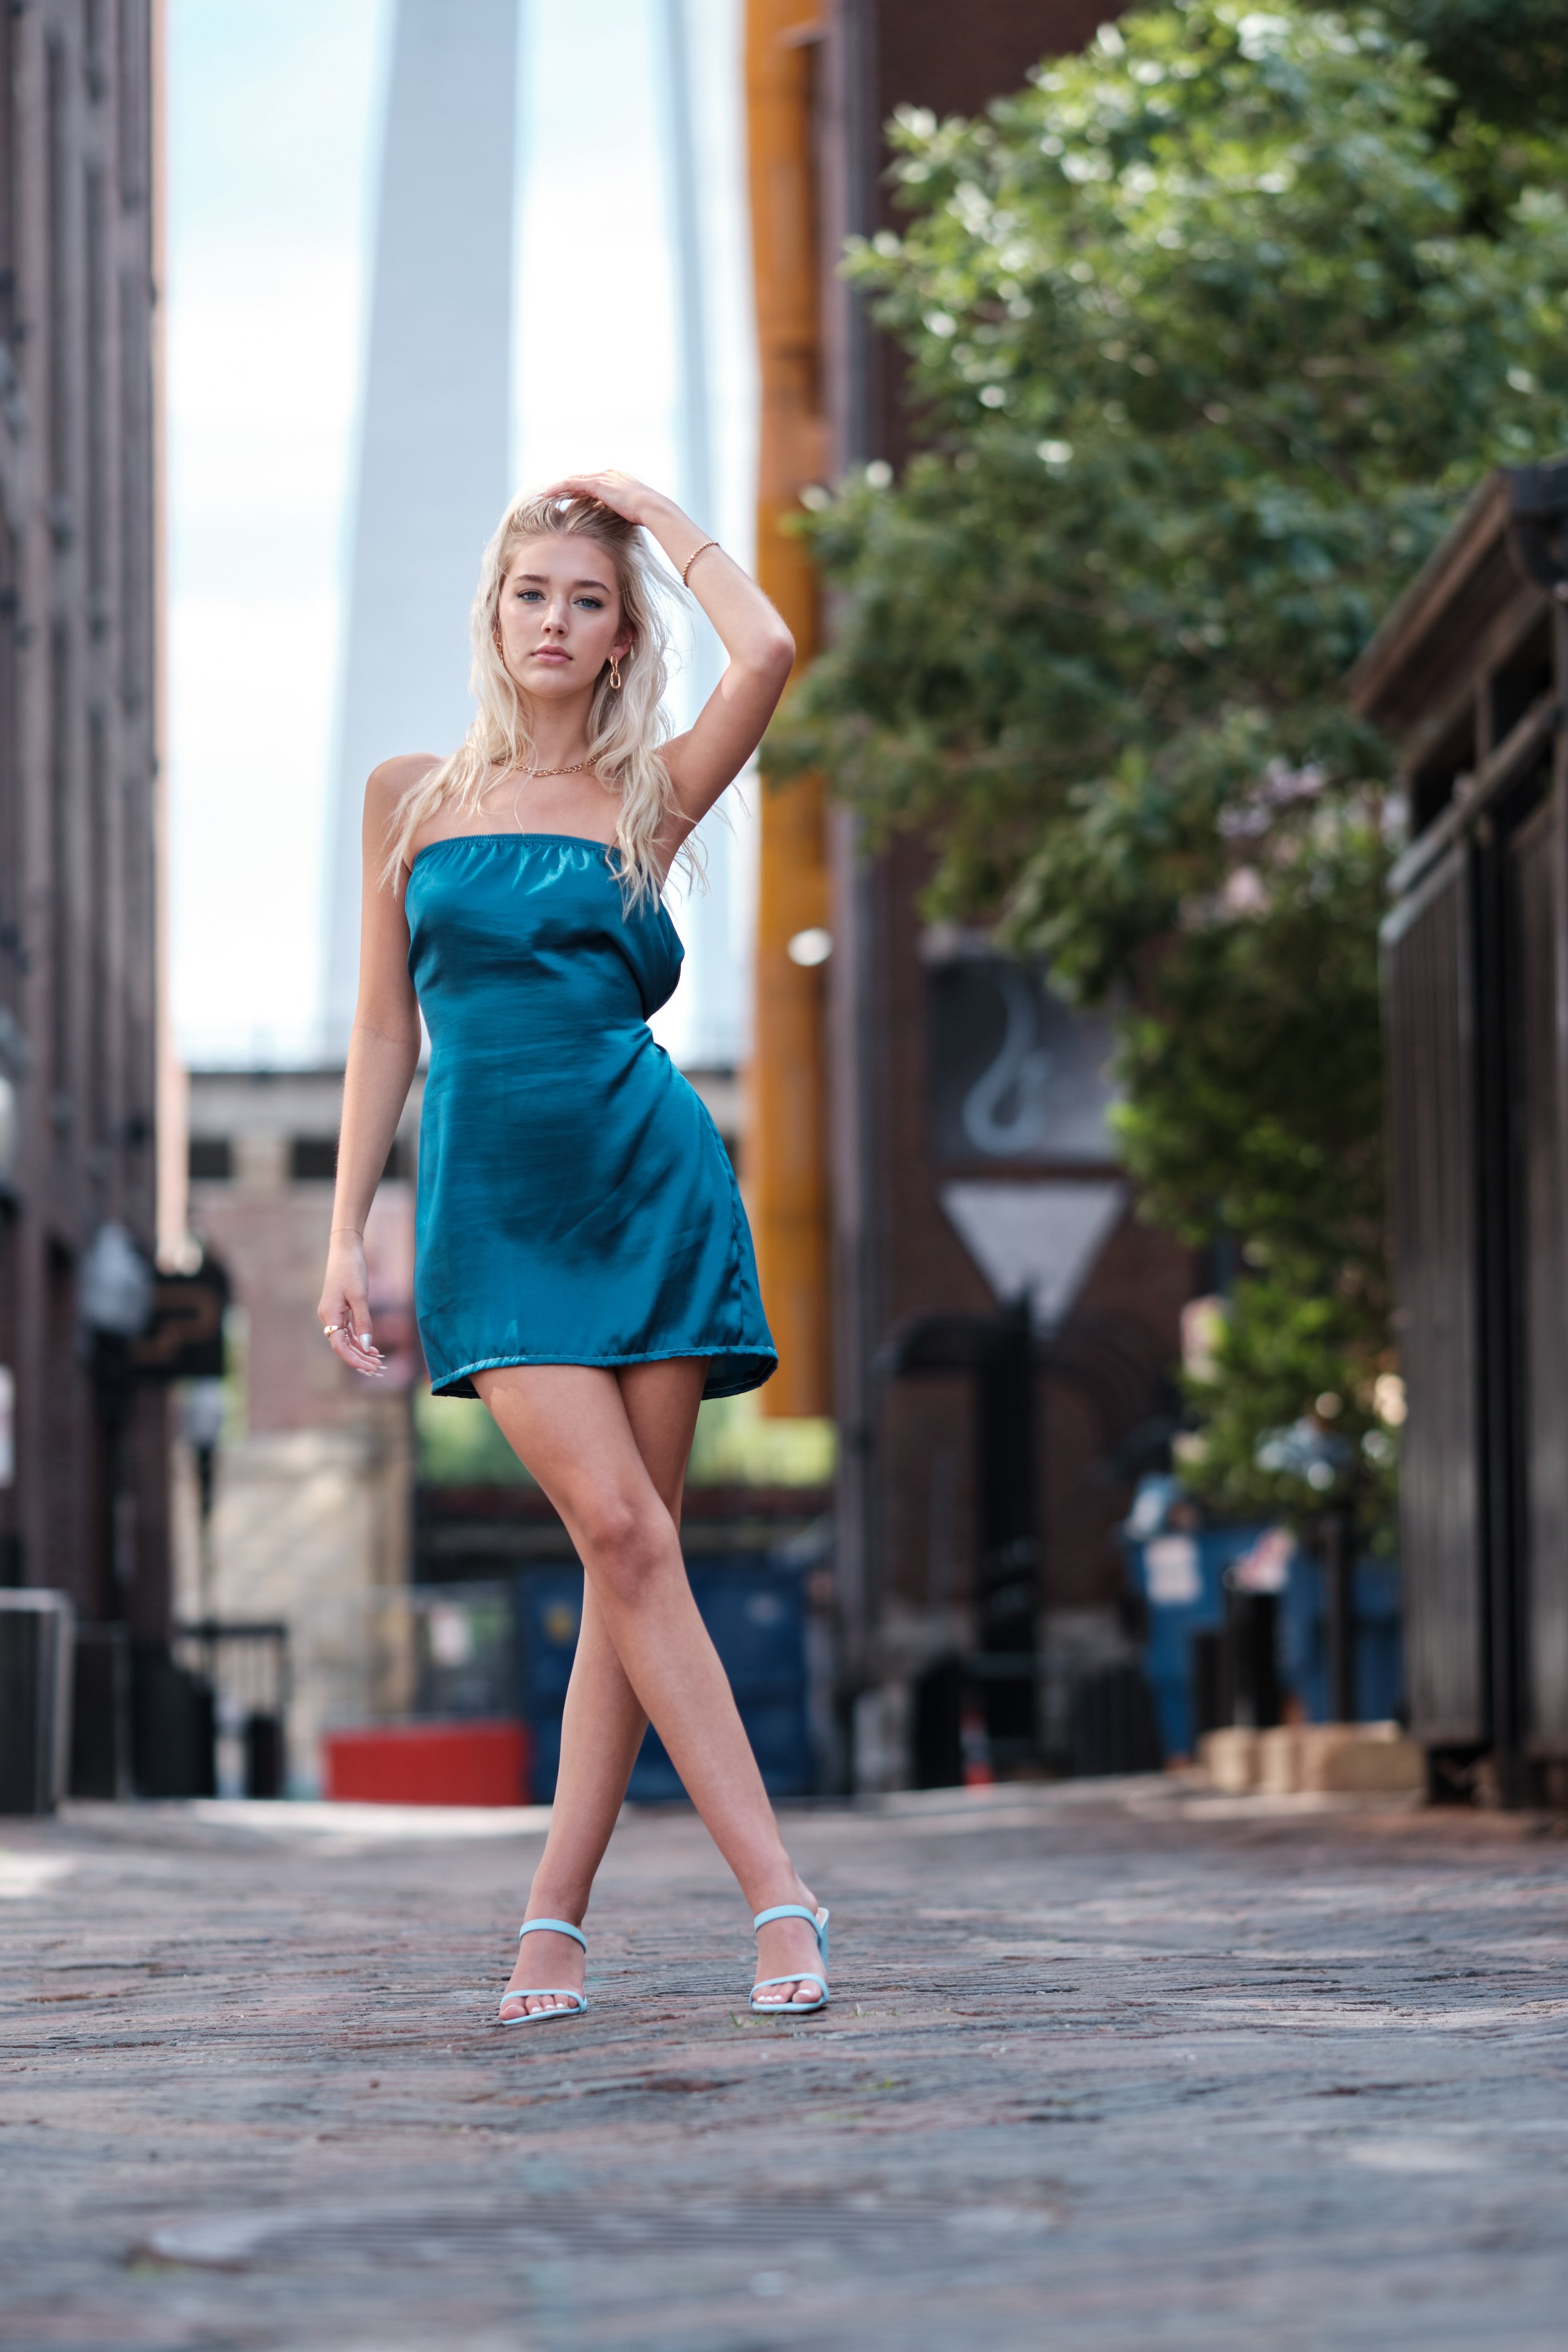
Model Mya Toennies, fashion photoshoot at 7th Street Parking Garage in Downtown St. Louis
Directions: Enter the parking garage on 7th street. The entrance is nearest to the intersection of Locust St and 7th St. Drive up to the top floor and have an awesome time shooting at this very special location!
Pro tip: Try this location in the fall or spring, I highly recommend avoiding going at the peak of summer as it can get extremely hot!

Top 5 Places to Take Photos in St. Louis
Best photo spots in St. Louis, Missouri
As a photographer based here in St. Louis, I’m continually amazed by the incredible variety of great photo locations in and around St. Louis. The Gateway to the West offers a seemingly endless number of instagrammable locations.
Best photo spots in St. Louis, Missouri
As a photographer based here in St. Louis, I’m continually amazed by the incredible variety of great photo locations in and around St. Louis. The Gateway to the West offers a seemingly endless number of instagrammable locations. If you’re looking for a good place to take pictures in the St. Louis area, consider the following spots:
1. Laclede’s Landing
Settled in 1764, this historic area of the city offers a stunning view of the St. Louis Arch, framed by beautiful 19th century architecture and original brickwork.
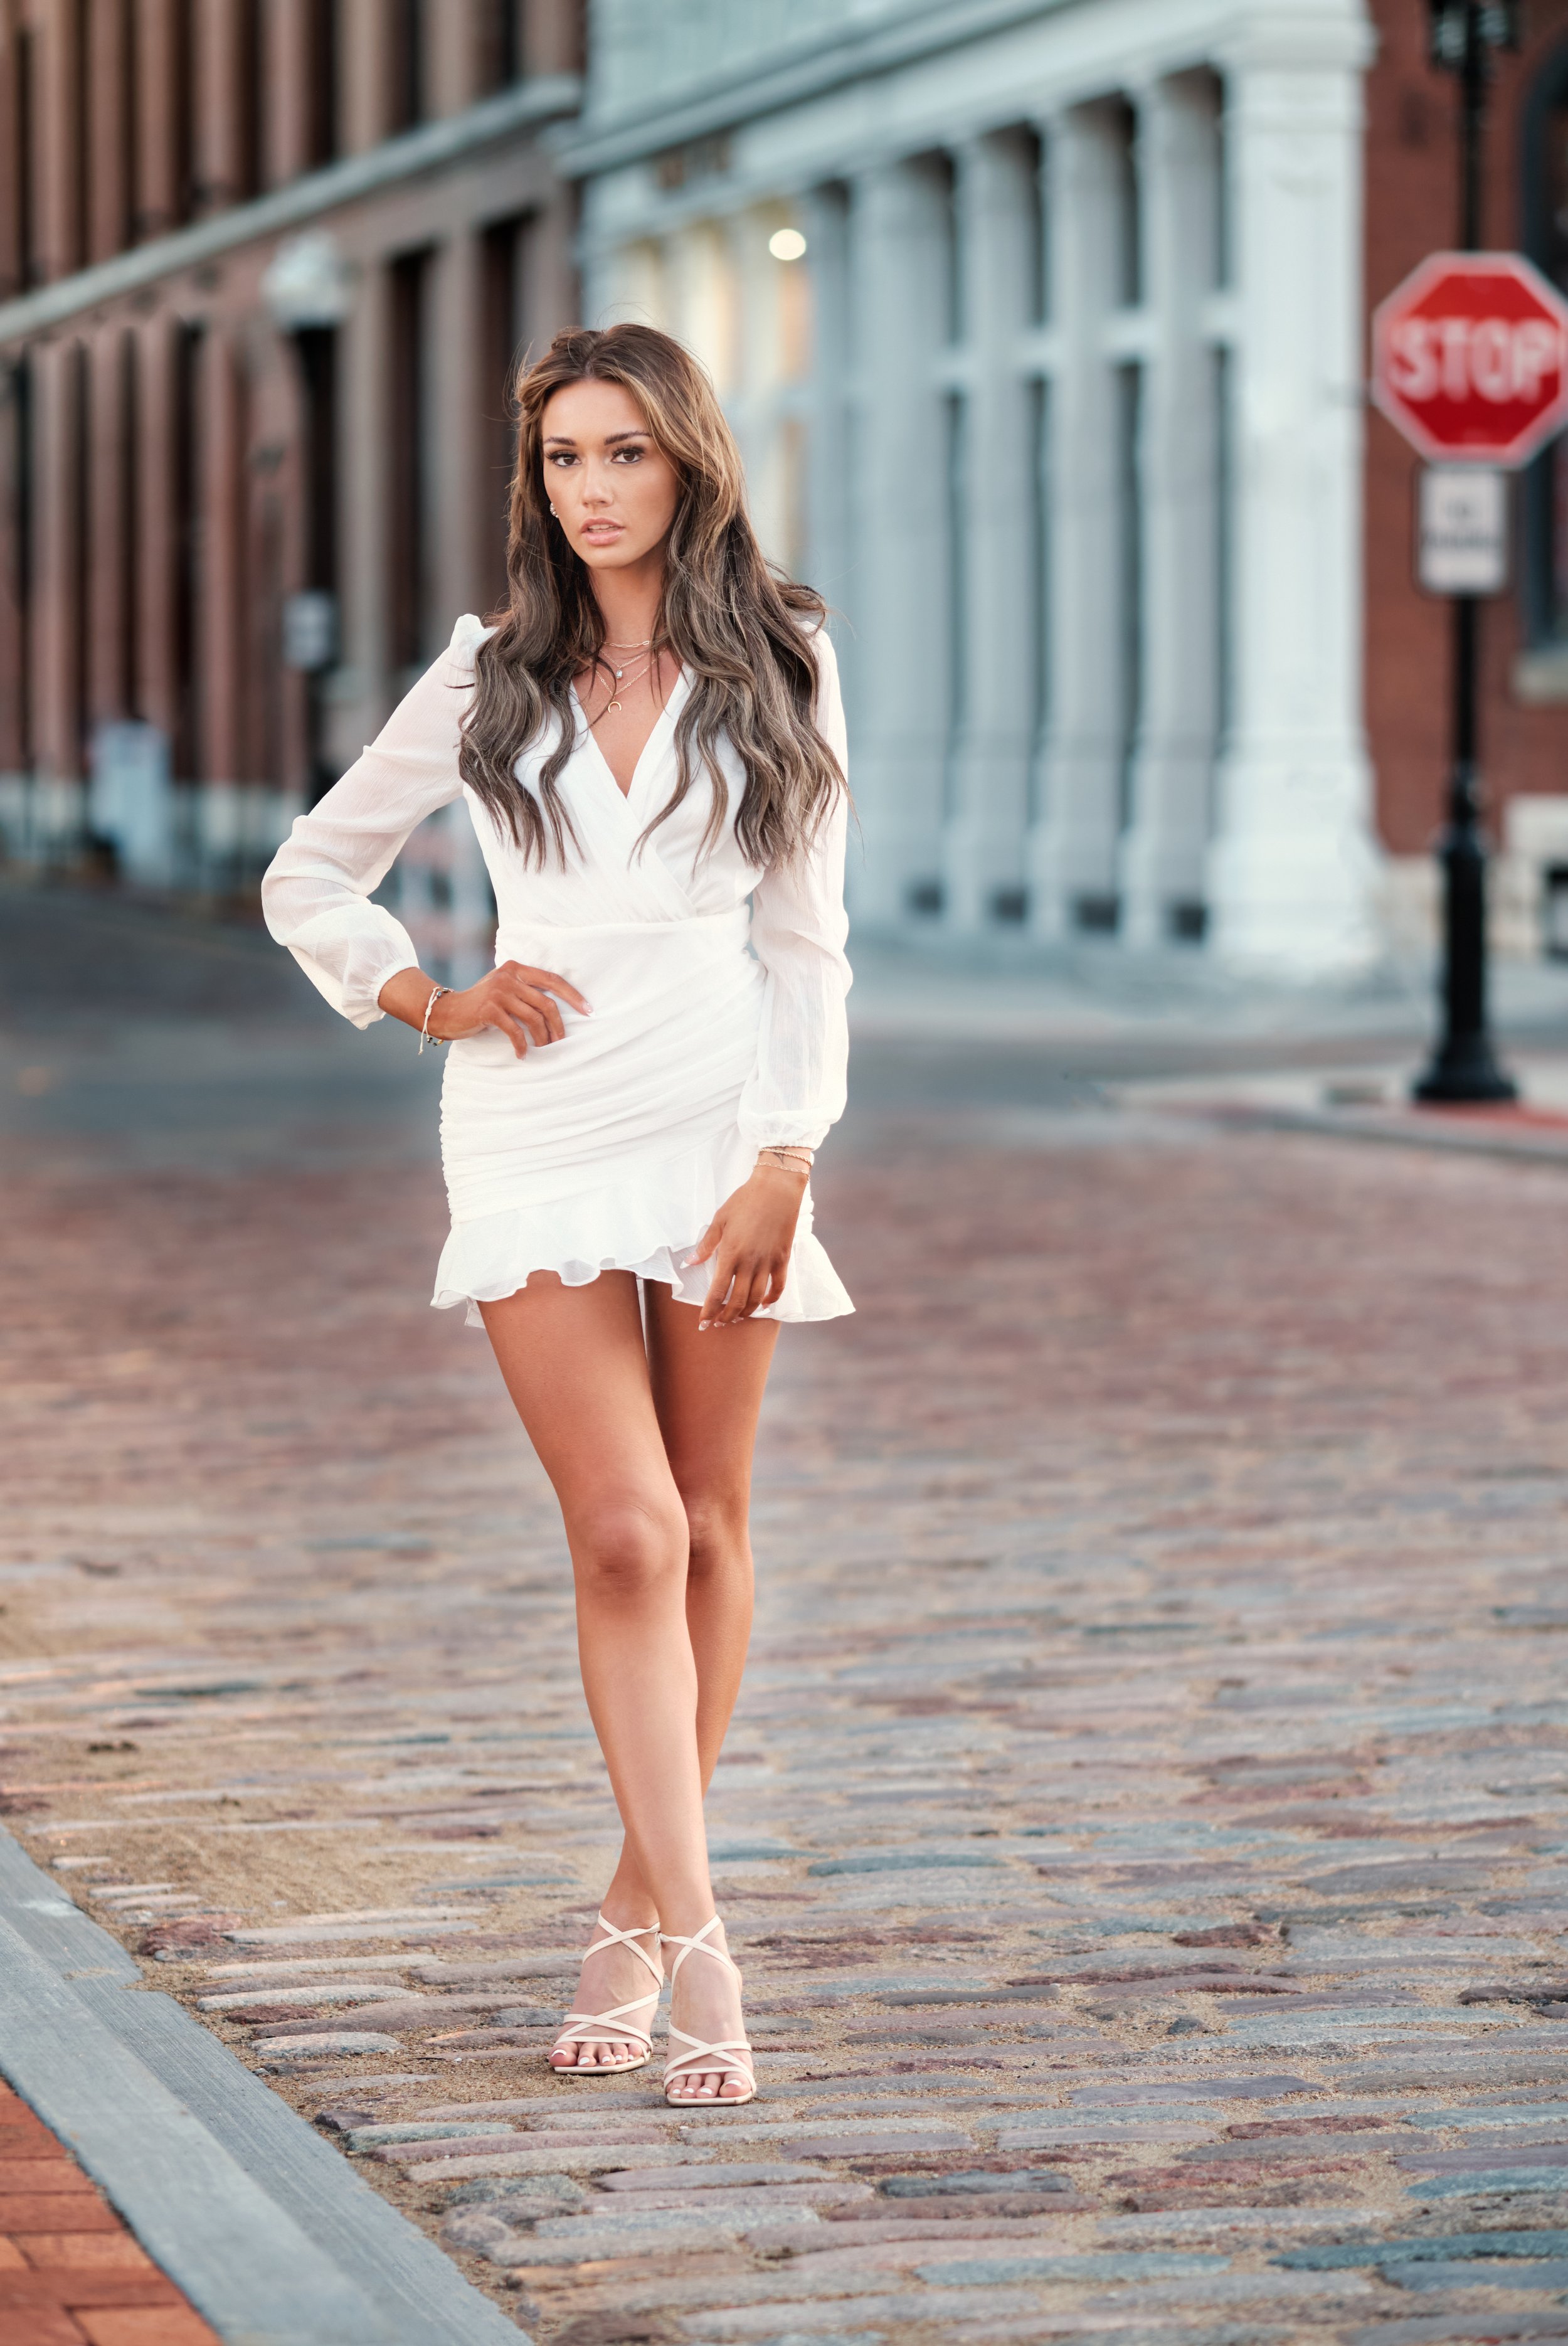
Laclede’s Landing, the oldest district in St. Louis, is situated on the Mississippi riverfront. It’s known for its cobblestone streets, historic warehouses, and my personal favorite, Eads Bridge. This area is perfect for capturing an urban look.
The Landing is also home to The Old Spaghetti Factory, which boasts original woodwork and sumptuous turn-of-the-century décor. Definitely worth a visit!
Pro tip: Tucked away between Lucas Ave and Morgan street, look for Clamorgan Alley, which offers an iconic view of the Gateway Arch
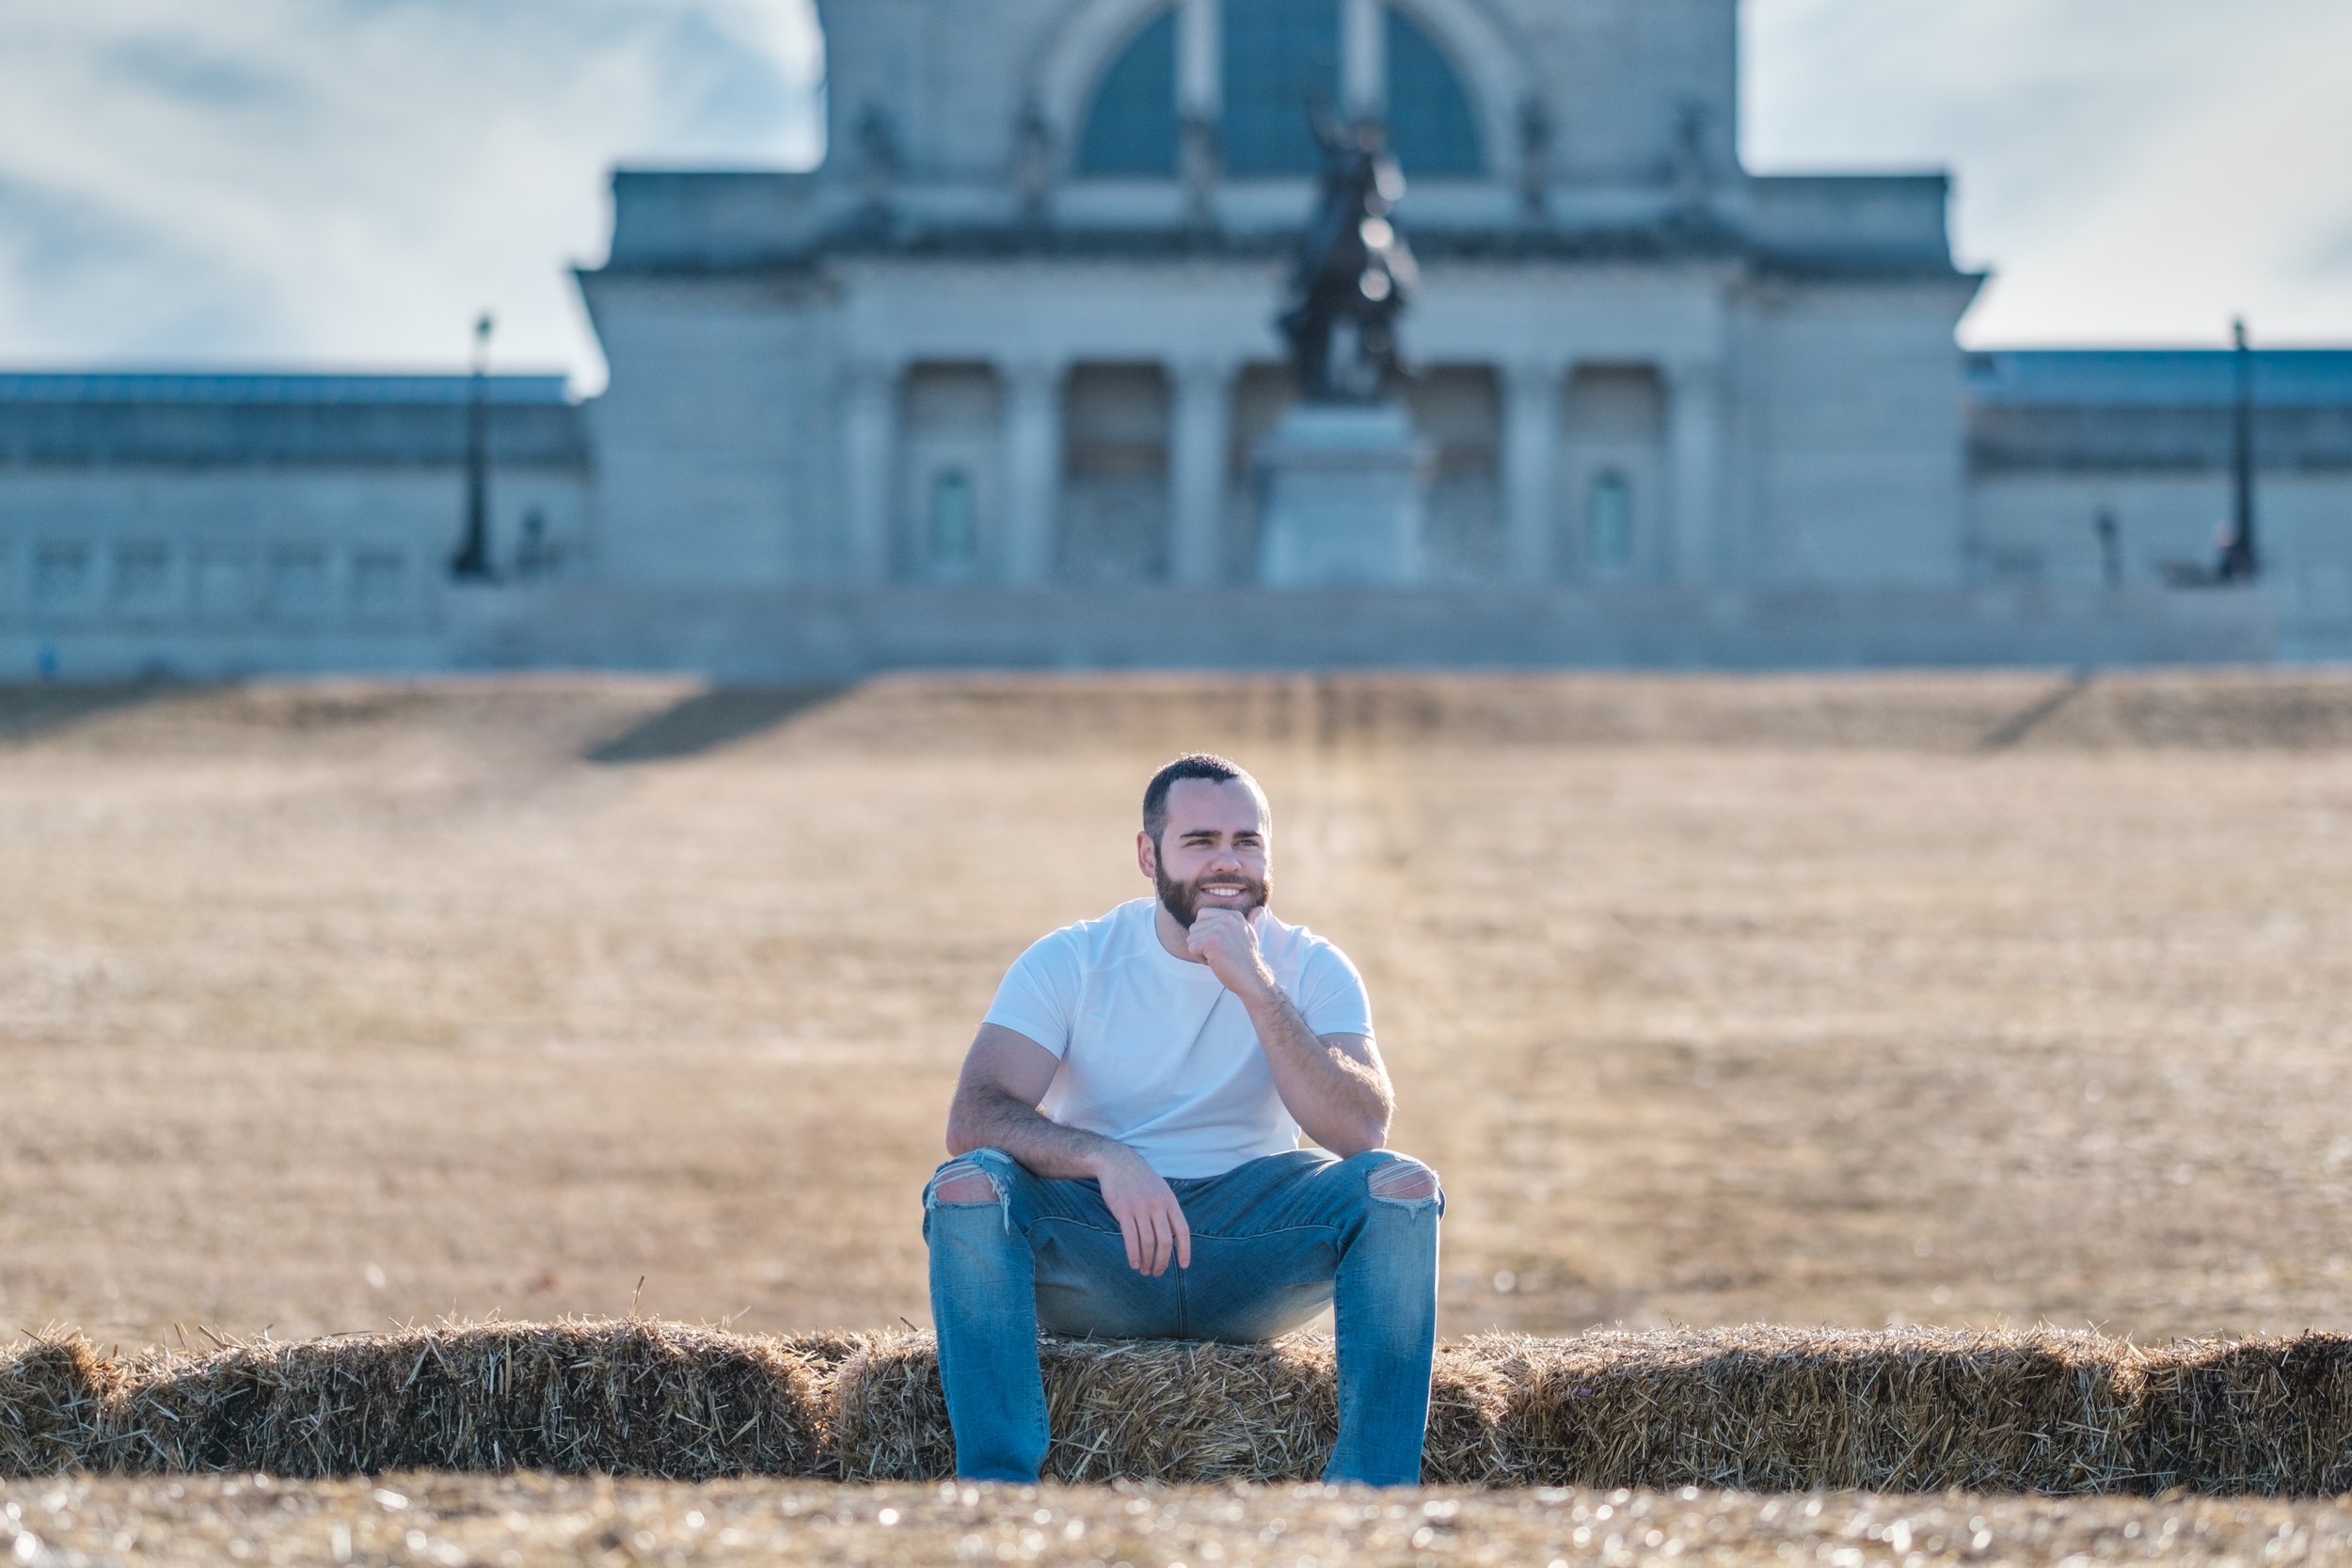
2. Forest Park
No list of the top photo spots in St. Louis would be complete without the mention of Forest Park. In fact, this sprawling oasis in the midst of the city is perhaps the most photographed location in all of St. Louis. I’m constantly finding new spots within the park, but my current favorites are:
The Muny

Model Sasha Emiri at The Muny, Forest Park - Photo by St. Louis Photographer Henry David
Art Hill
Portrait Photo at Art Hill, Forest Park
3. Castlewood State Park
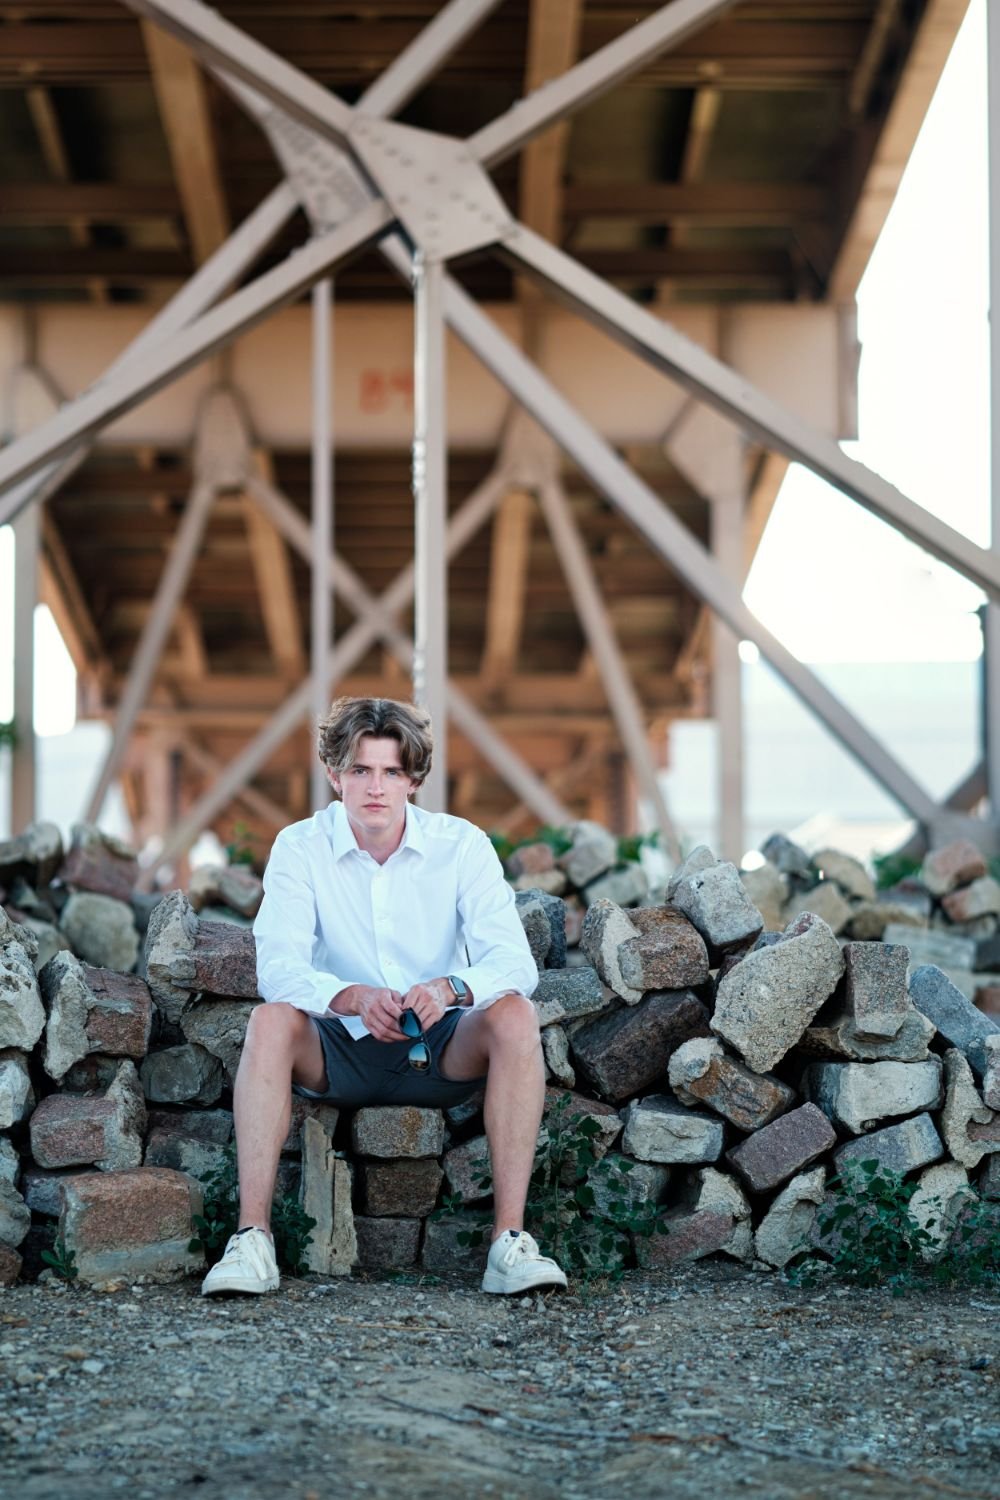
A 25 minute drive from the city, Castlewood State Park offers one of the most breathtaking views in the St. Louis area. Expect a moderately challenging climb up the nature trail to the summit to catch a view of the river down below.

Golden Hour photography here can produce remarkably beautiful results. The filtered backlight that the woods provide year round can make for very cinematic imagery.
Slow Motion Video Test Lifestyle Portrait Photoshoot in Castlewood State Park, Missouri
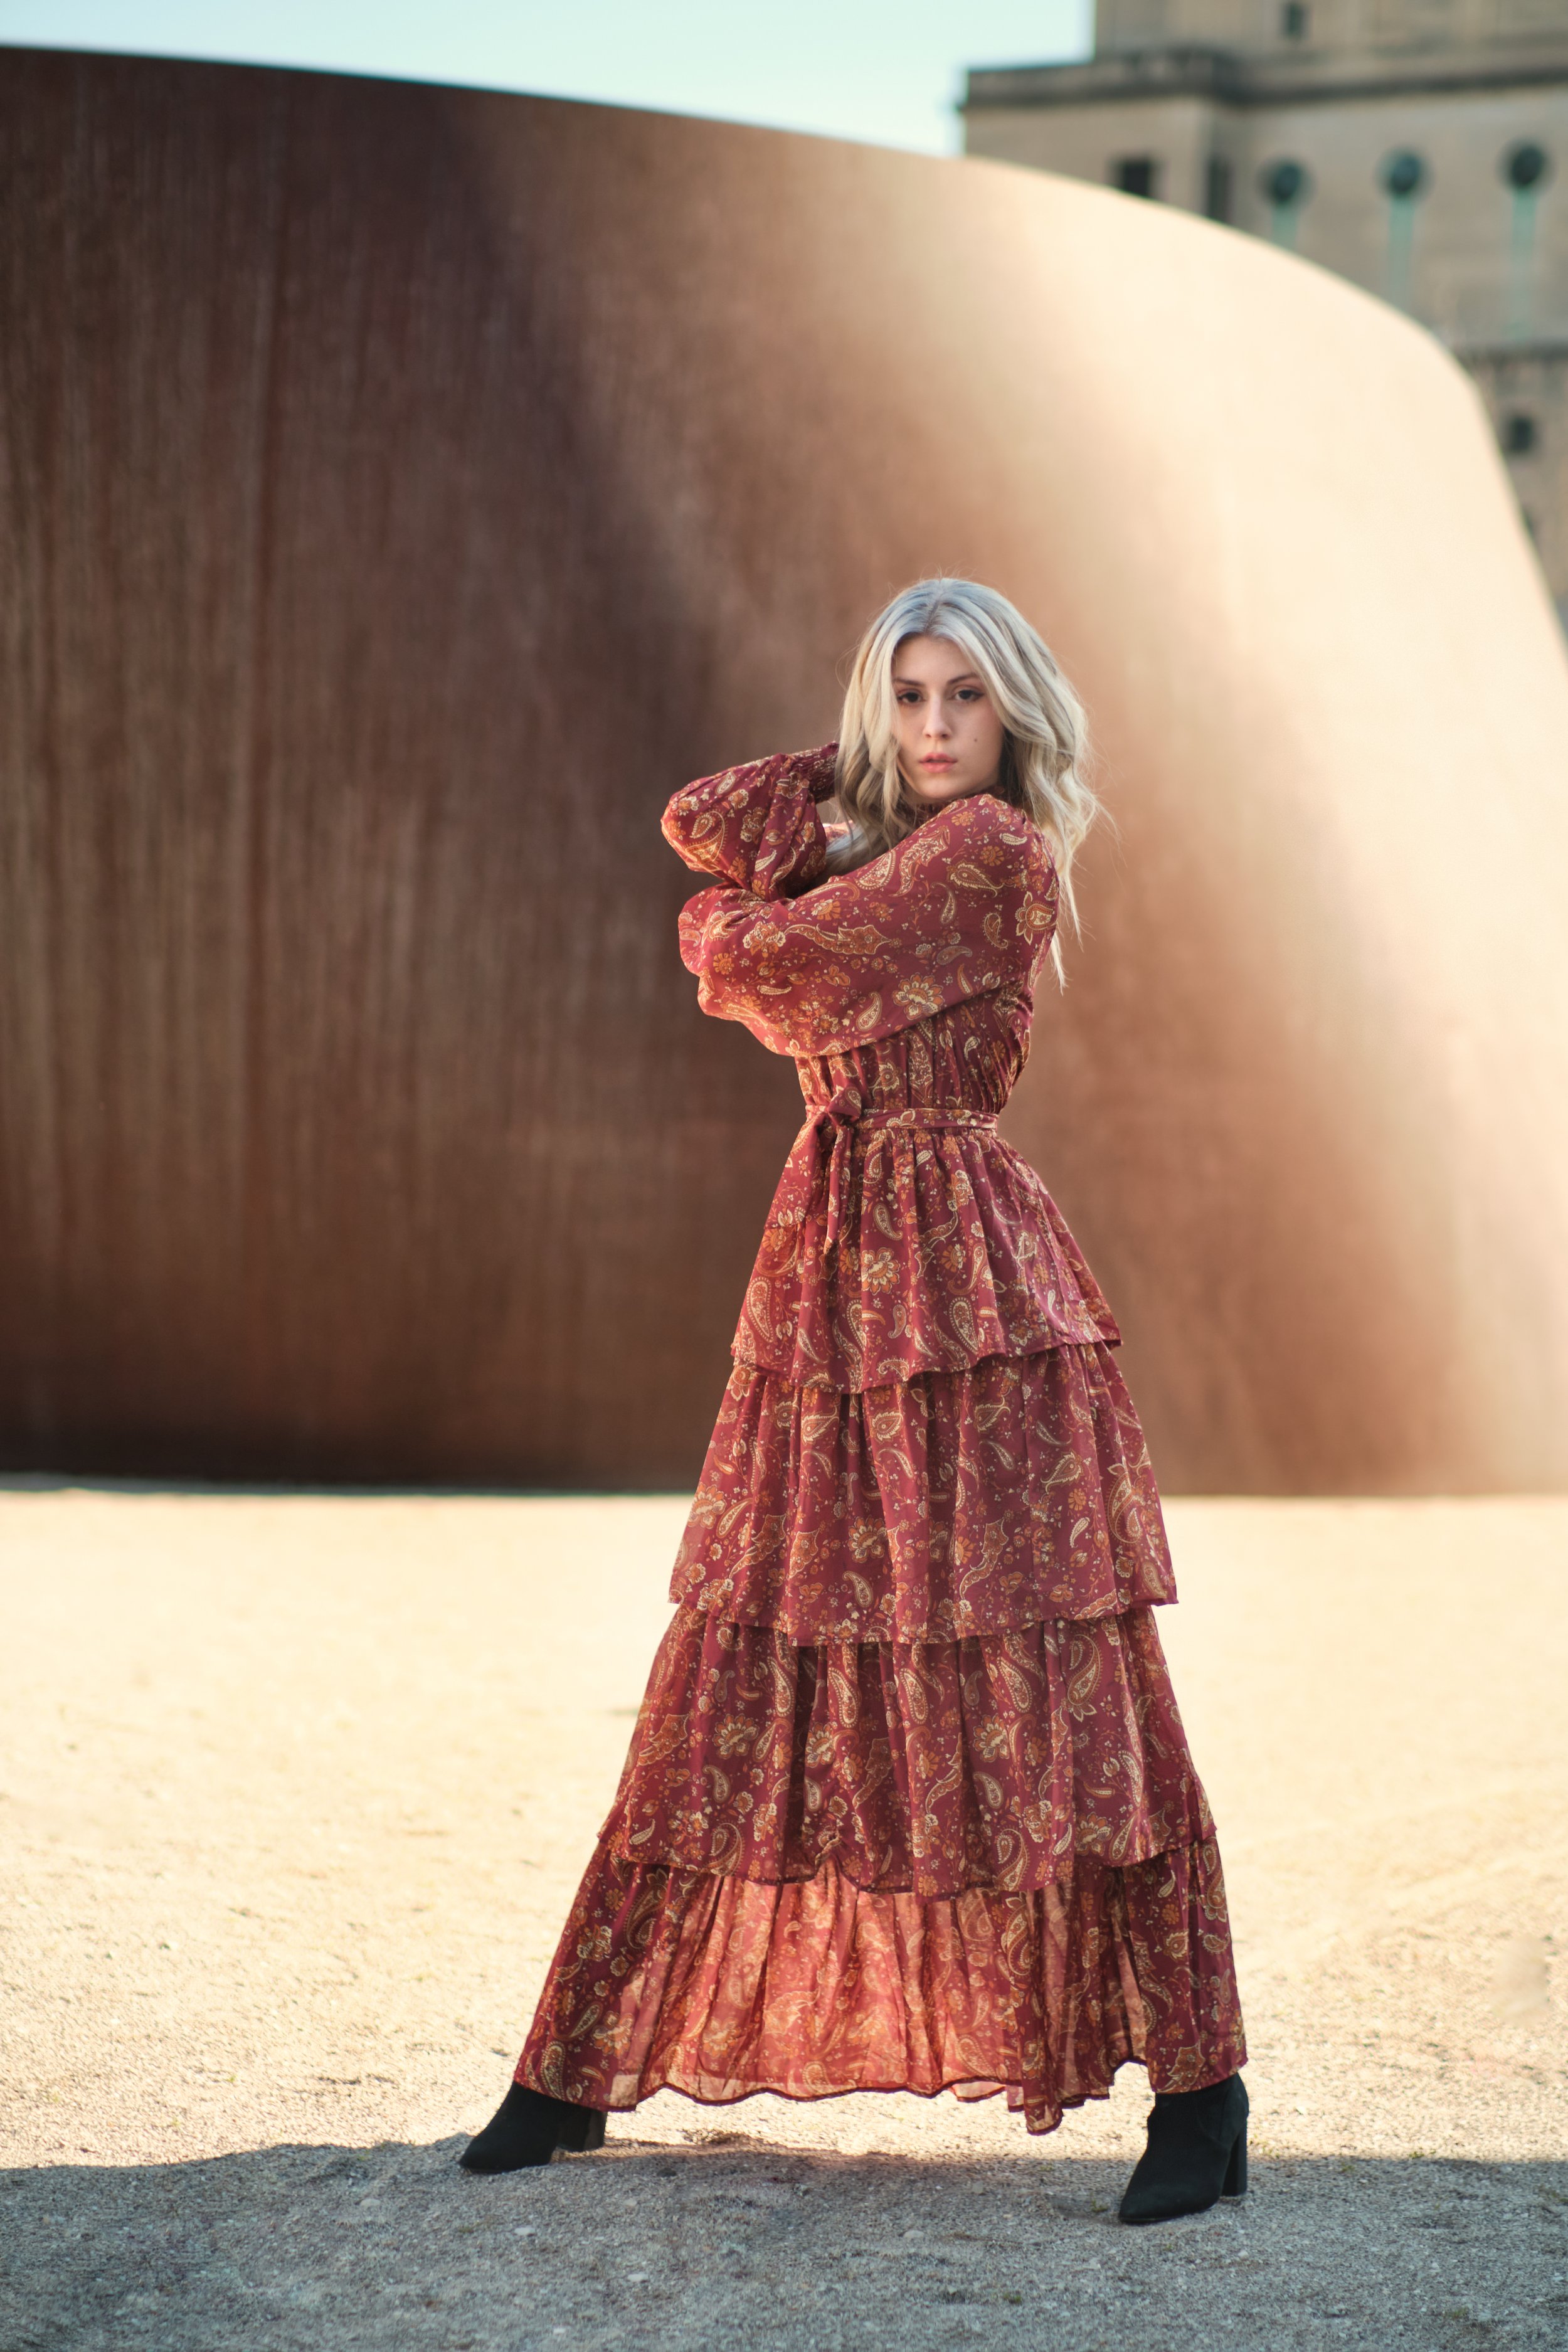
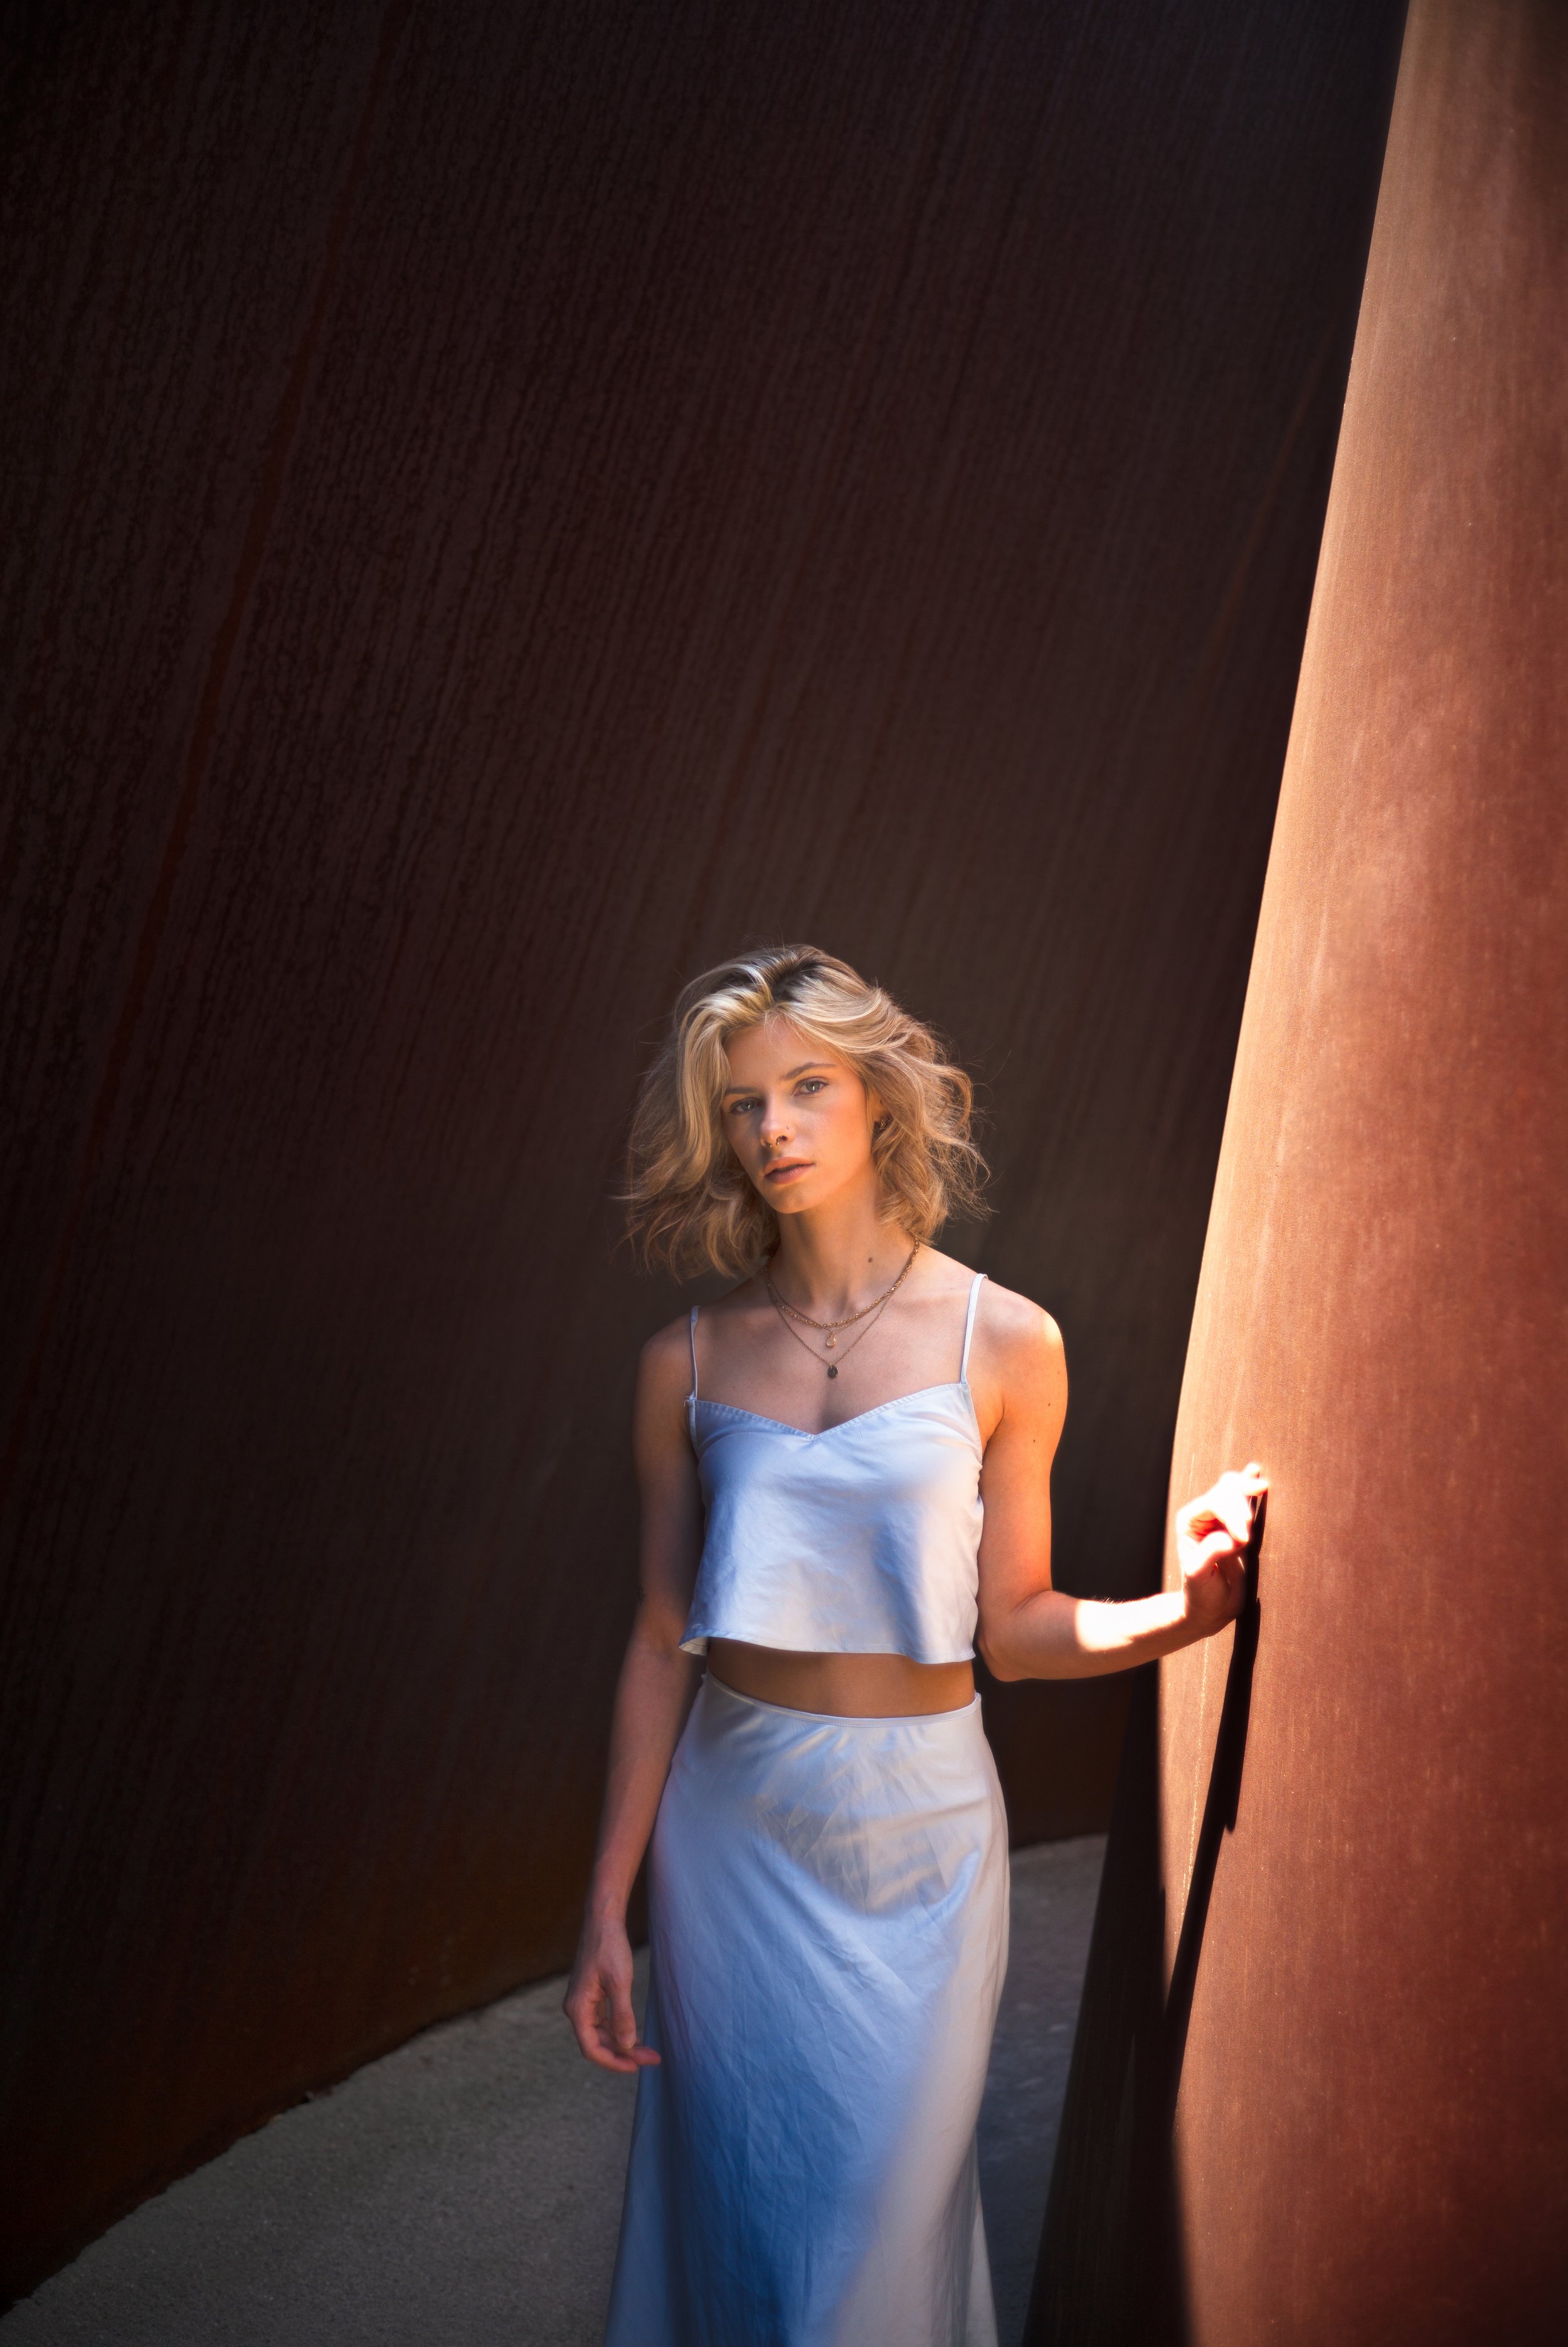
4. Pulitzer Arts Foundation & Spring Church
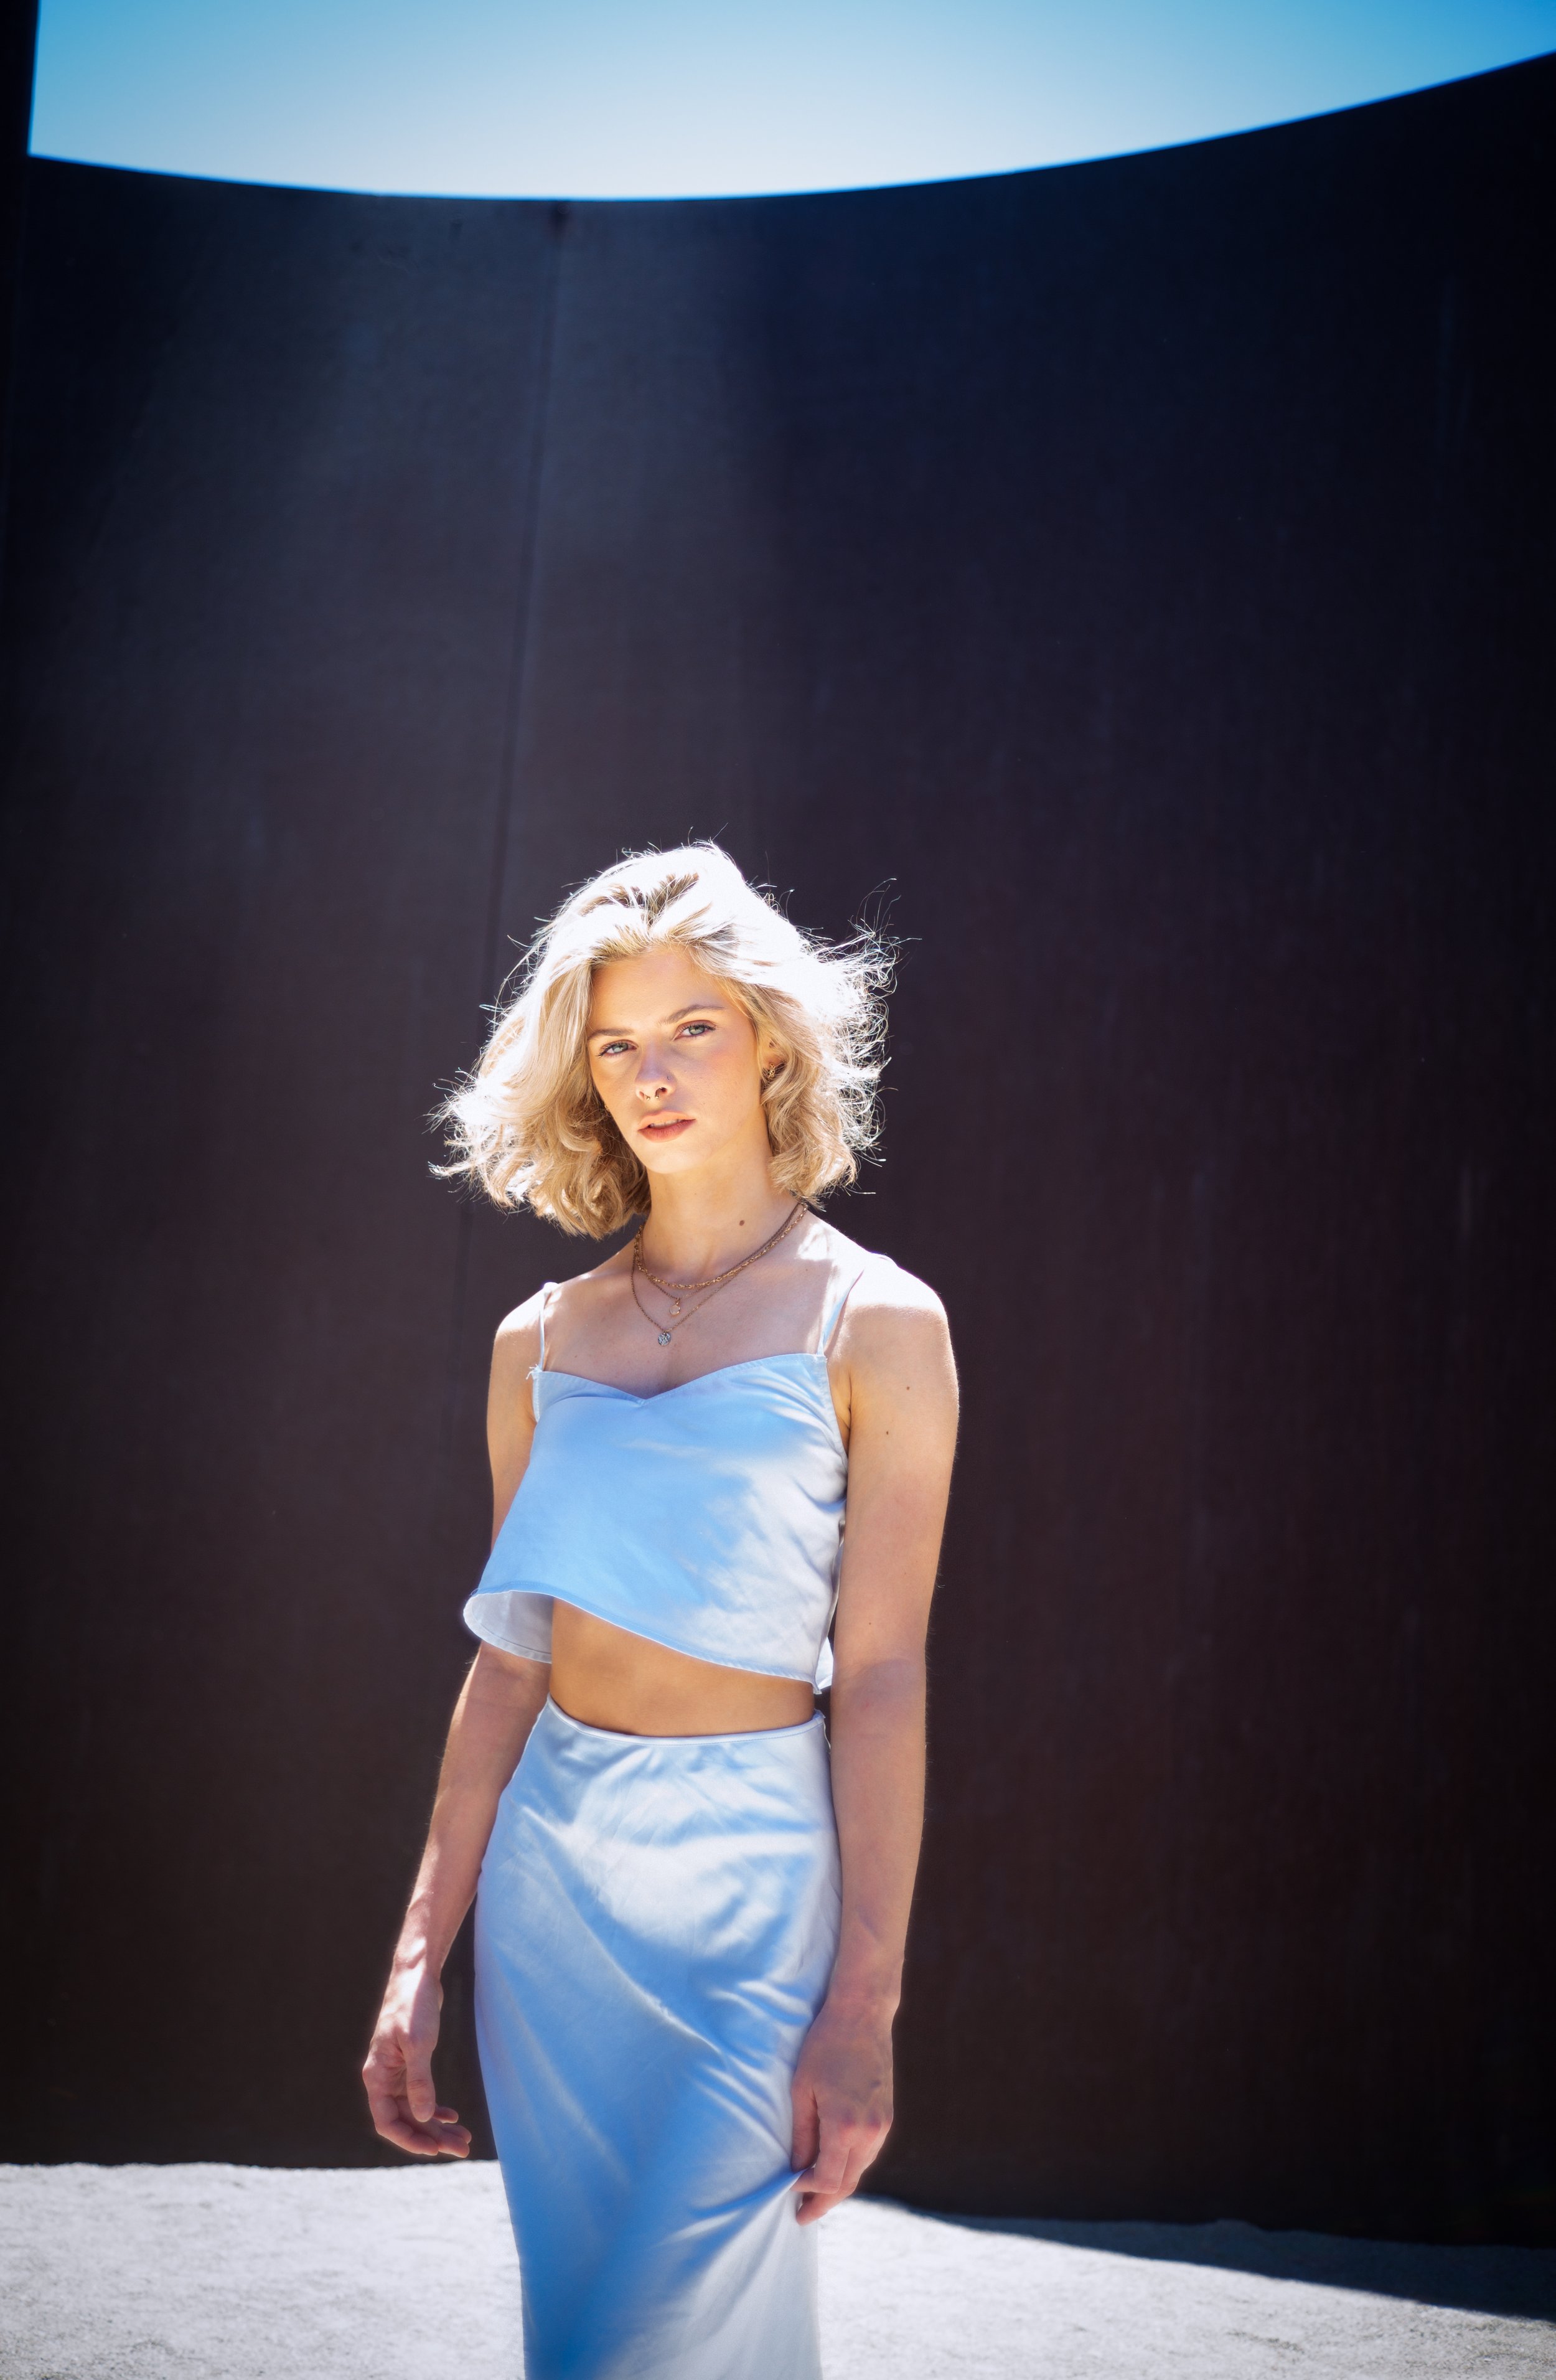
Pulitzer Arts Foundation is one of the best places to take pictures in St. Louis, especially if you like modern architecture, clean lines, and a dynamic contemporary look that doesn’t go out of style.
The Foundation’s courtyard is home to one of the most Instagrammed spots in St. Louis - Richard Serra’s Joe, is an imposing earth-toned spiral sculpture that can’t be missed.
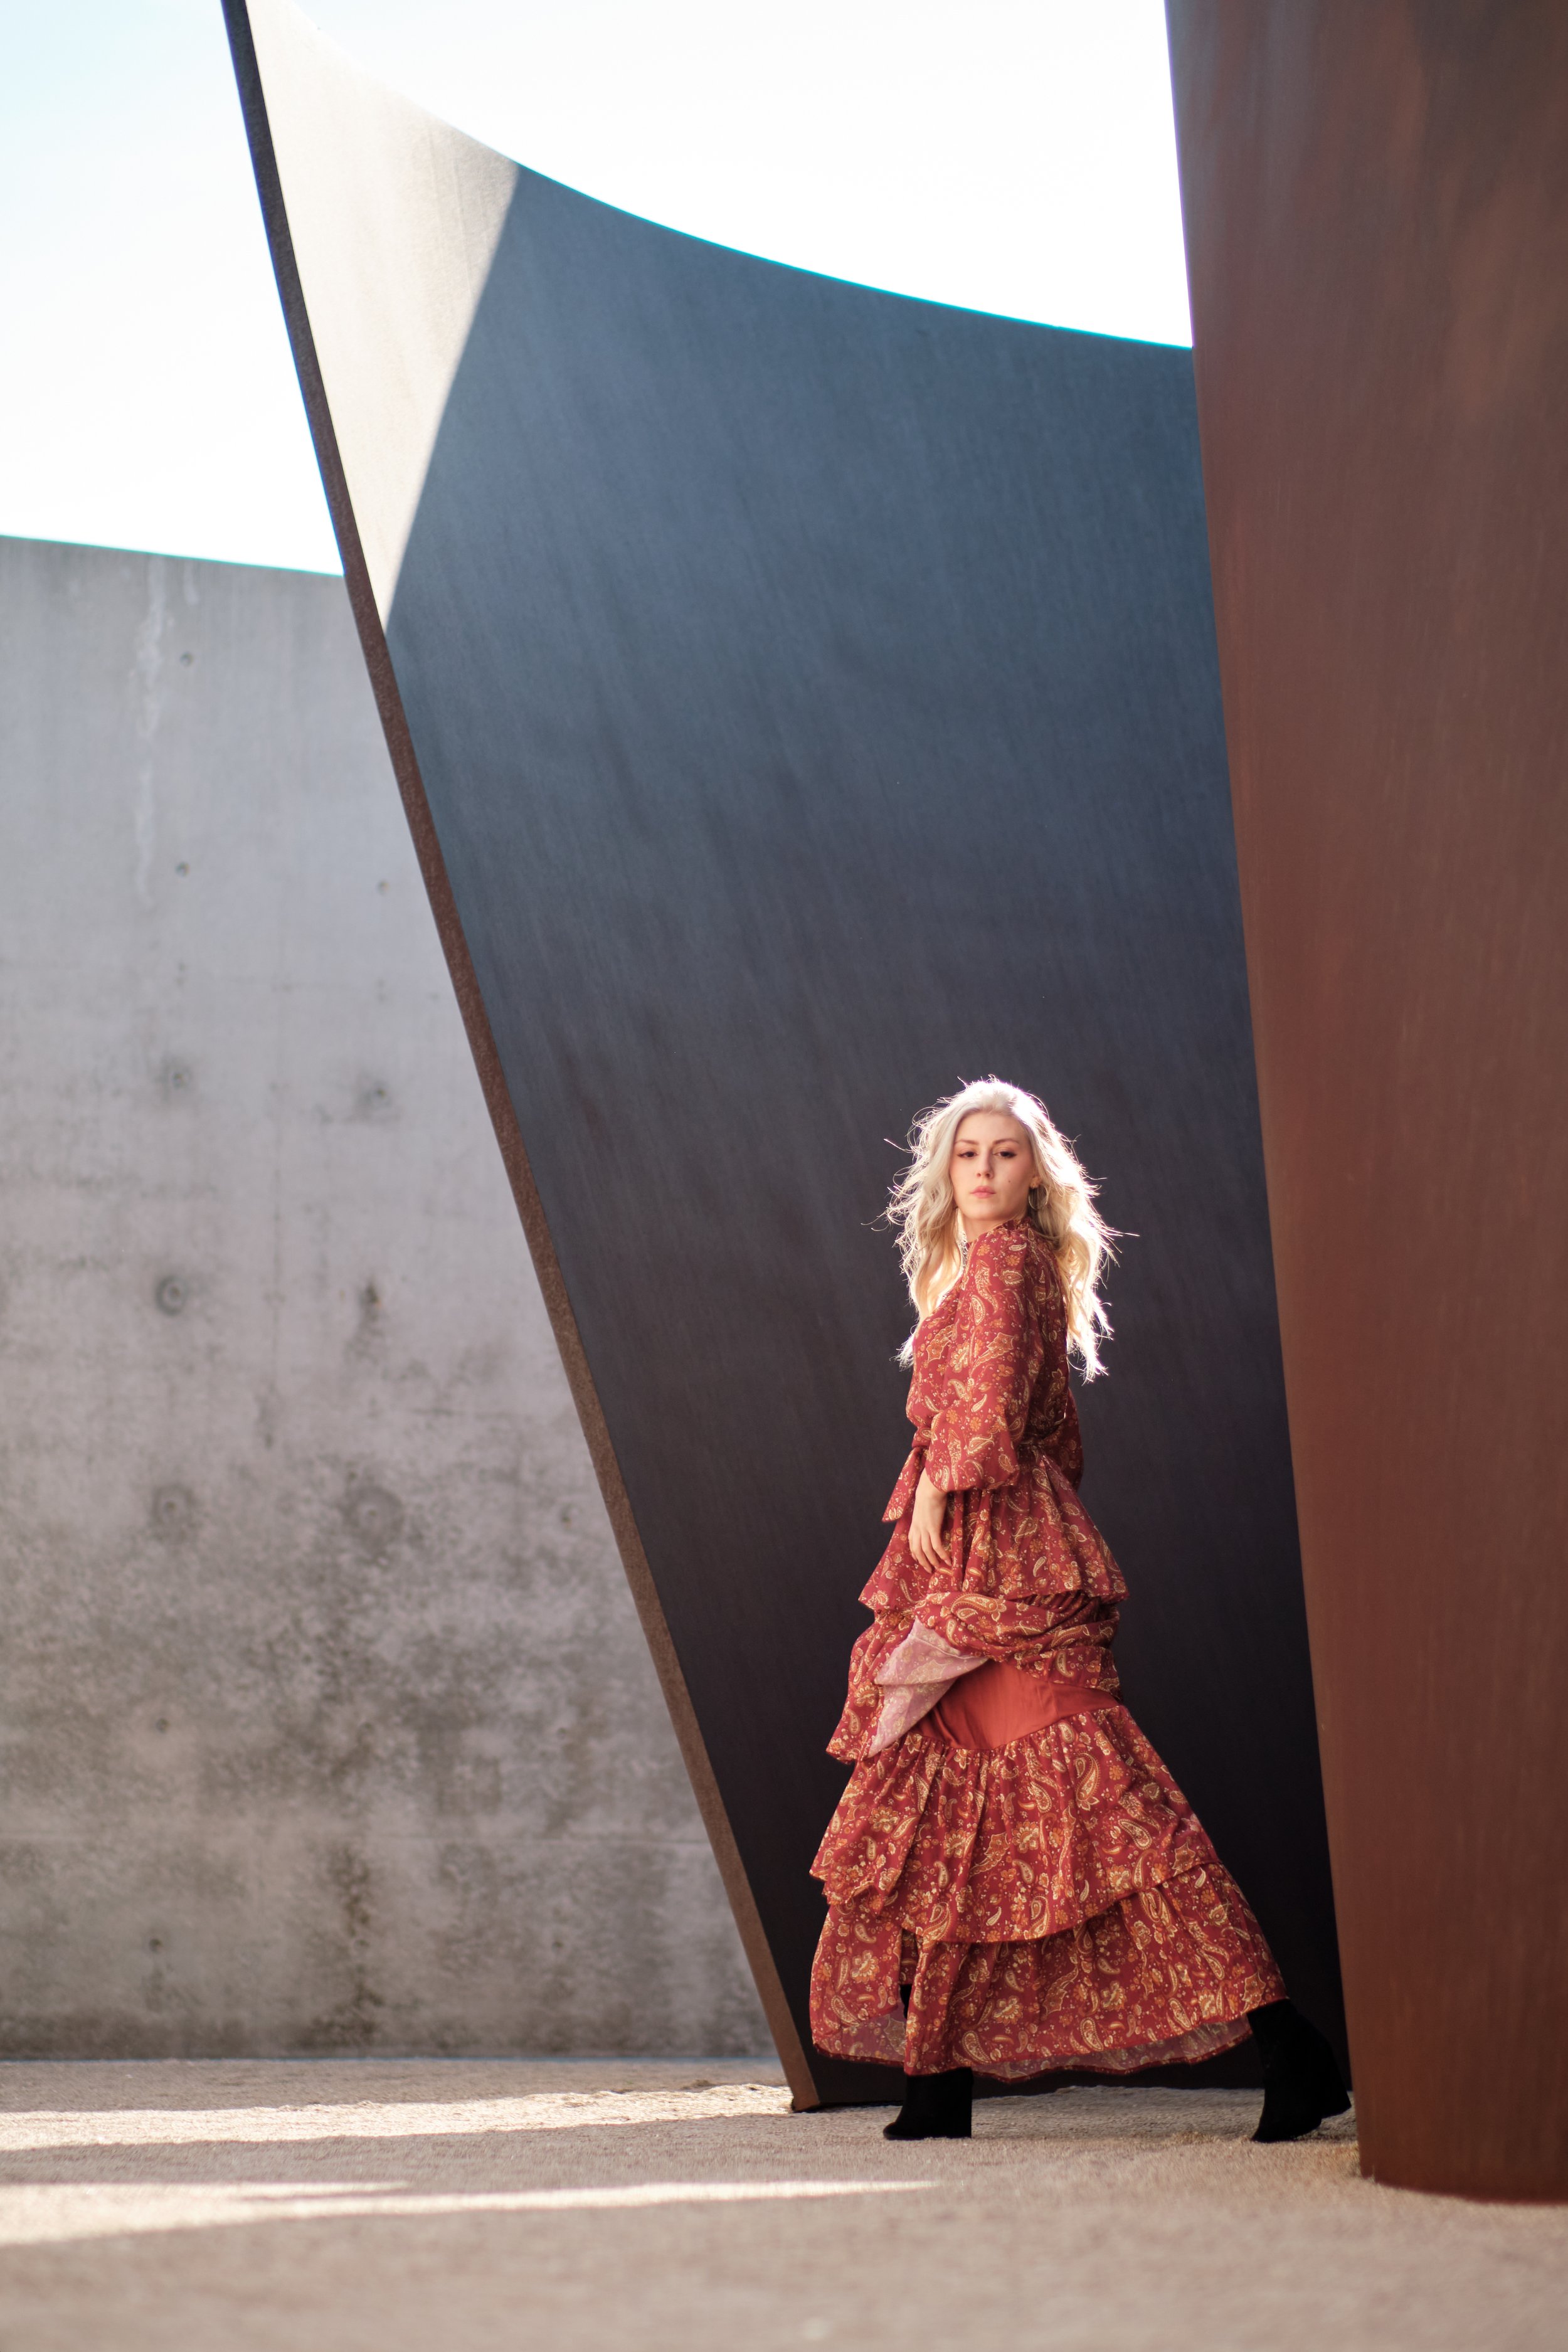
Pulitzer Arts Foundation allows for non-commercial photography without the use of flash.
The nearby roofless Spring Church (just across the street from Pulitzer Arts Foundation) which re-opened in the Fall of 2022, also makes for a very unique photo op:

Inside Spring Church, model Bejda Kaktic
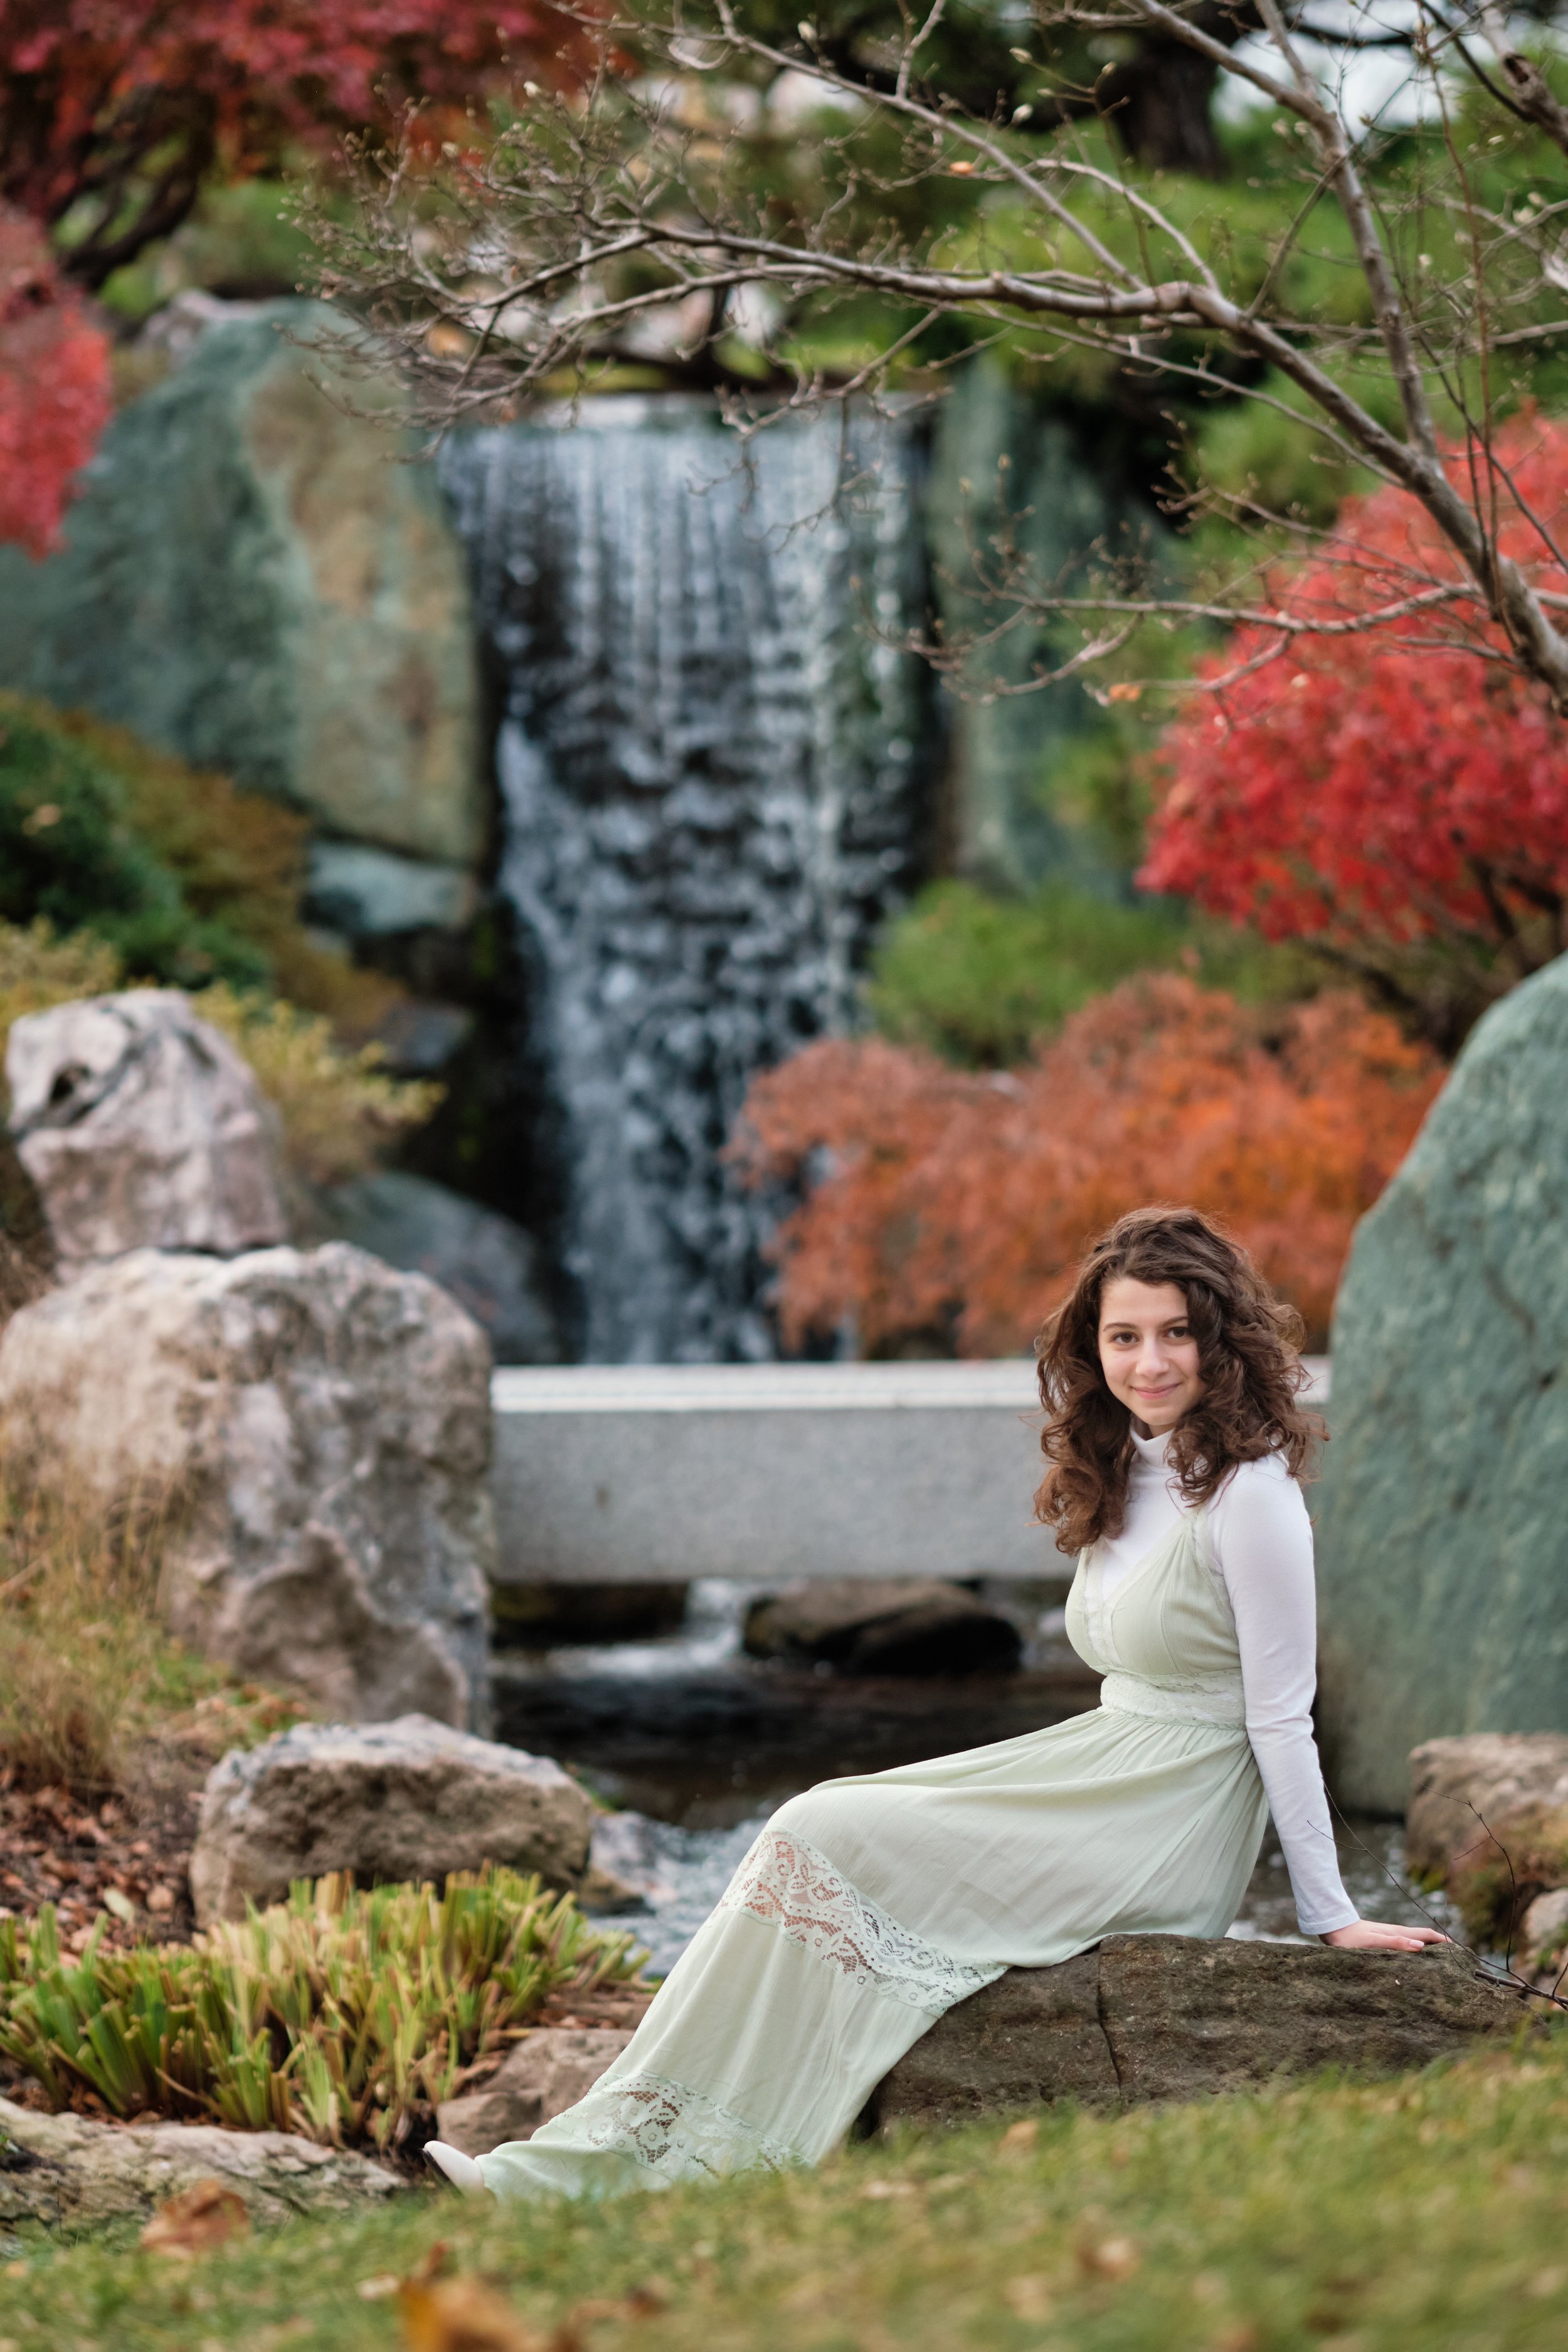
5. Missouri Botanical Garden
Originally founded by businessman Henry Shaw, the Missouri Botanical Garden is a must-visit for tourists and St. Louis residents alike. My favorite spot is at The Japanese Garden, which has traditional bridges and a beautiful waterfall.

Bonus Photo Spot!
Set in the heart of Downtown St. Louis, this spot is perfect for those seeking a one-of-a-kind backdrop for their shoots. Check it out in our feature of the 7th Street Garage in our first volume of Instagram Worthy Spots in St. Louis.
Photography Copyright Henry David 2023. All Rights Reserved.