Professional Headshots That Open Doors
The Industry Leader in High-Volume Corporate Headshots & Professional Branding
Get Pricing and Schedule Your Photoshoot
Send us a message with details about your headshot photo needs, including preferred shoot dates, styles, or any specific requirements you may have. We’re happy to provide a personalized quote and arrange a session that fits your schedule.
Worried about not knowing how to pose? You’re not alone.
One of the first things nearly every client tells me is, “I don’t know what to do, I hope you can help me pose!” And the good news is, that’s exactly what I’m here for.
Posing isn’t about memorizing awkward positions or trying to look like someone else. It’s about finding what works for you, your angles, your expressions, your presence. That’s my responsibility, not yours.
I won’t just tell you what to do, I’ll show you. You simply mirror what I do. It’s straightforward, relaxed, and even fun. Most importantly, following my direction helps quiet that inner voice asking, “How do I look? Am I doing this right?” Instead of getting stuck in that loop of self-awareness, you’ll be focused, moving, and genuinely enjoying the process.
And don’t worry, I’m not afraid to look a little silly while demonstrating poses, so you don’t have to feel self-conscious either. We’re in this together.
Commitment to Quality
Quality isn’t an afterthought. It is the foundation of everything I create. From lighting and composition to editing and final delivery, I handle every step with precision and care. Using professional-grade equipment, expert retouching, and thoughtful direction, I craft images and videos that feel polished, natural, and timeless. Whether it’s a headshot, portrait, lifestyle session, or branded video, each piece is designed to showcase the best version of you and built to last.
Every final deliverable is personally reviewed before it reaches you, because your image deserves nothing less than my full attention and highest standards.
St. Louis Professional Headshot Photography
Henry David Photography specializes in professional headshots for executives, teams, and individuals in St. Louis and nationwide. Whether you need a polished LinkedIn headshot, corporate team photography, or personal branding images, we deliver high-quality results with same-day sessions and 24-hour turnaround.
Serving: St. Louis, St. Louis County, St. Charles County, Clayton, Chesterfield, Creve Coeur, Ladue, Webster Groves, Kirkwood, and surrounding areas. We also travel nationally to Chicago, Kansas City, Dallas, New York, and beyond for corporate clients.
Industries Served: Healthcare, legal, financial services, real estate, technology, consulting, insurance, manufacturing, education, and more.
Specialized Services: Executive headshots, corporate team photography, medical professional headshots, ERAS residency headshots, LinkedIn profile photos, personal branding photography, actor headshots, model portfolios, real estate agent headshots, attorney headshots, entrepreneur branding.
Here's what separates mediocre headshots from great ones:
Instant feedback.
When you can see your images in real time during the shoot, you:
Understand what's working (and what's not)
Adjust naturally instead of guessing
Leave confident in your final images
This collaborative approach eliminates the "spray and pray" method most photographers use.
The result? Professional headshots that actually represent you at your best.
If you're overdue for an updated headshot, let's talk about what a real collaboration looks like.
Hello! I'm Henry, and when you hire a professional photographer, you shouldn't have to feel awkward or intimidating. I've spent years perfecting an approach that makes being photographed comfortable and natural."
Most clients come to me worried about how to pose, how they’ll look, or whether they’ll seem natural in their headshots. That’s exactly why I love this work.
I’m more than a photographer - I’m an expression coach. I guide you with simple direction, help you relax, and create an atmosphere where you don’t have to “perform” for the camera.
Whether you need a LinkedIn headshot, corporate team portraits, or branding images, I’ll make the process comfortable, fun, and rewarding. Let’s create headshots you’ll be proud to share.
Hear what people are saying
Serving the best brands, global and local
Consistent Brand Identity for Your Entire Organization.
Most corporate headshot projects are a logistical nightmare that result in a messy, inconsistent brand. We provide a turnkey solution for high-volume teams that ensures every executive - from St. Louis to your national offices - looks like they belong to the same world-class organization.
The Henry David Standard: Why Leading Brands Choose Us
Brand-Matched Scalability We don't just take photos; we build a visual style guide for your company. Whether we are shooting 300 people today or a new hire six months from now, the lighting, crop, and quality will be identical.
Zero-Latency Delivery Your team’s time is too valuable to wait weeks for results. We provide 24-hour proofing galleries and on-site image selection, moving your project from "to-do" to "done" in record time.
Logistics-First Approach From medical campuses to law firm headquarters, we bring the studio to you. We manage the scheduling, the flow, and the coaching, so your Marketing team doesn't have to.
Your brand has evolved. Has your team’s image kept up? In the corporate world, your team’s headshots are their first handshake. Stop settling for "good enough" and invest in a visual identity that projects the authority your company has earned.
Schedule Your Professional Headshot with Posing and Expression Coaching
Trusted by Fortune 500 teams
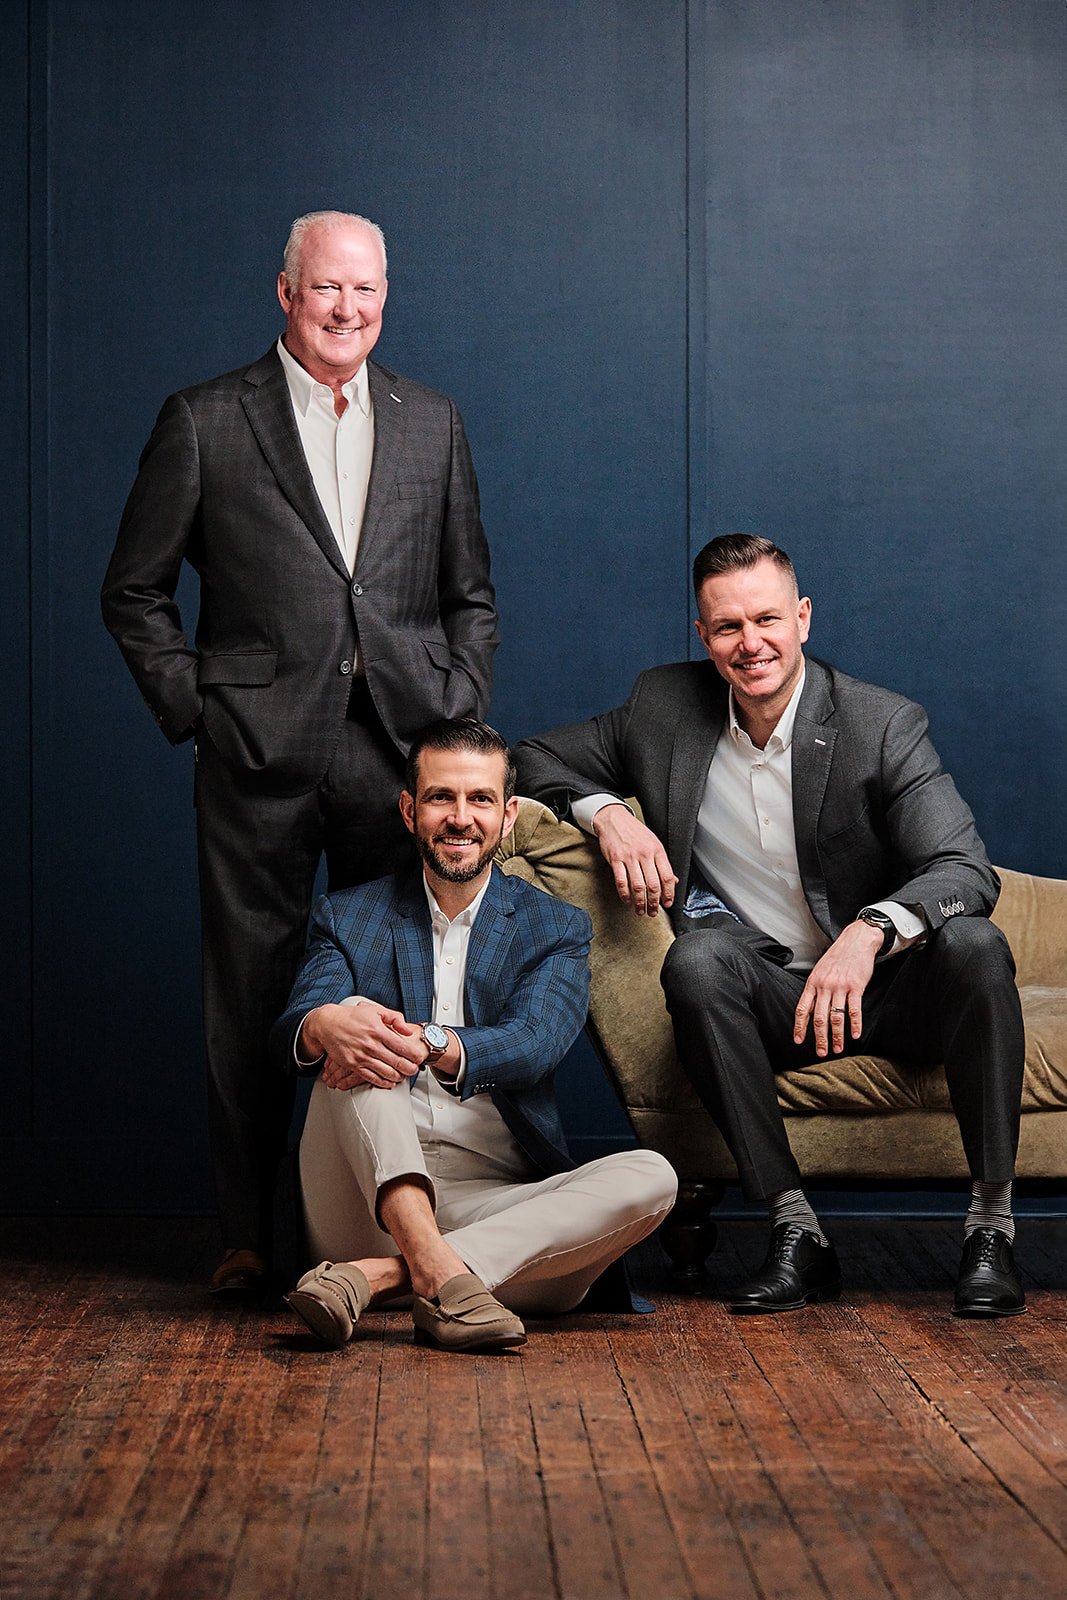
Henry David Photography specializes in high-volume corporate headshots for companies that need consistency, speed, and professional results. Based in St. Louis, serving clients nationwide.
Send us a message with any details about your headshot photo needs, including preferred dates, styles, or any specific requirements you may have. We’re happy to provide a personalized quote and help arrange a session that fits your schedule.
See Your Headshot Photos As They’re Taken
At Henry David Photography, you'll review your images as we shoot, making sure you're completely satisfied before the session ends. Many photographers wait until the shoot is over to show results—ours are visible in real-time, so there’s no guesswork or surprises afterward.
Personalized, Expert Guidance
We take the time to make you feel comfortable and confident by providing expert coaching with simple cues to improve posing, expressions, and capture your best angles, so your headshots look naturally flattering and professional.
Fast Delivery—No Waiting, Just Results
We know your time is valuable. That’s why we prioritize a quick 24-hour turnaround on your professional headshot proofing gallery, so you can get back to what you do best without delay.
St. Louis Professional Headshot Photography
Individual sessions at henry’s Professional Headshot Studio in St. Louis
Professional Headshot Packages
Our flexible headshot photo sessions ensure you get exactly what you need. Whether you’re looking for a few polished, professional shots or a lot of options for a full business rebranding, you’re in control.
It’s simple and easy, only two sessions to choose from, then add on what you need.
Standard Headshot Session
Comprehensive & Detailed
The Standard Headshot Session offers a creative, collaborative professional photoshoot designed to capture a variety of professional images.
60 minutes of studio time.
Expert guidance on wardrobe, backdrops, posing, and expressions.
Corporate lifestyle photography included, capturing relaxed, modern shots beyond a traditional headshot.
Instant image review as we shoot, so you can be sure you're happy with the photos.
After the session, you'll receive a personalized proofing gallery where you can view all your images. Perfect for LinkedIn headshots, social media, or print. This session is ideal for professionals looking for a comprehensive headshot & professional portrait experience.
Express Headshot Session
Fast, Efficient, High-Quality
For busy professionals who need a polished headshot fast, the Express Headshot Session offers a quick and efficient way to get high-quality results.
20-30 minute session for quick, focused photography.
One outfit, one backdrop, no fuss.
Instant image review during the session to ensure you're happy with the results.
After the session, you'll receive a proofing gallery where you can select and purchase your favorite images. Images are delivered in high resolution, ready for LinkedIn profile photos, social media, or your website. Perfect for those who need a professional headshot without the extra time commitment.
Photoshoot Style and preparation Guide
Click here for tips on how to prepare for your Professional Headshot Session.
Keep your team’s image current - without reshoots.
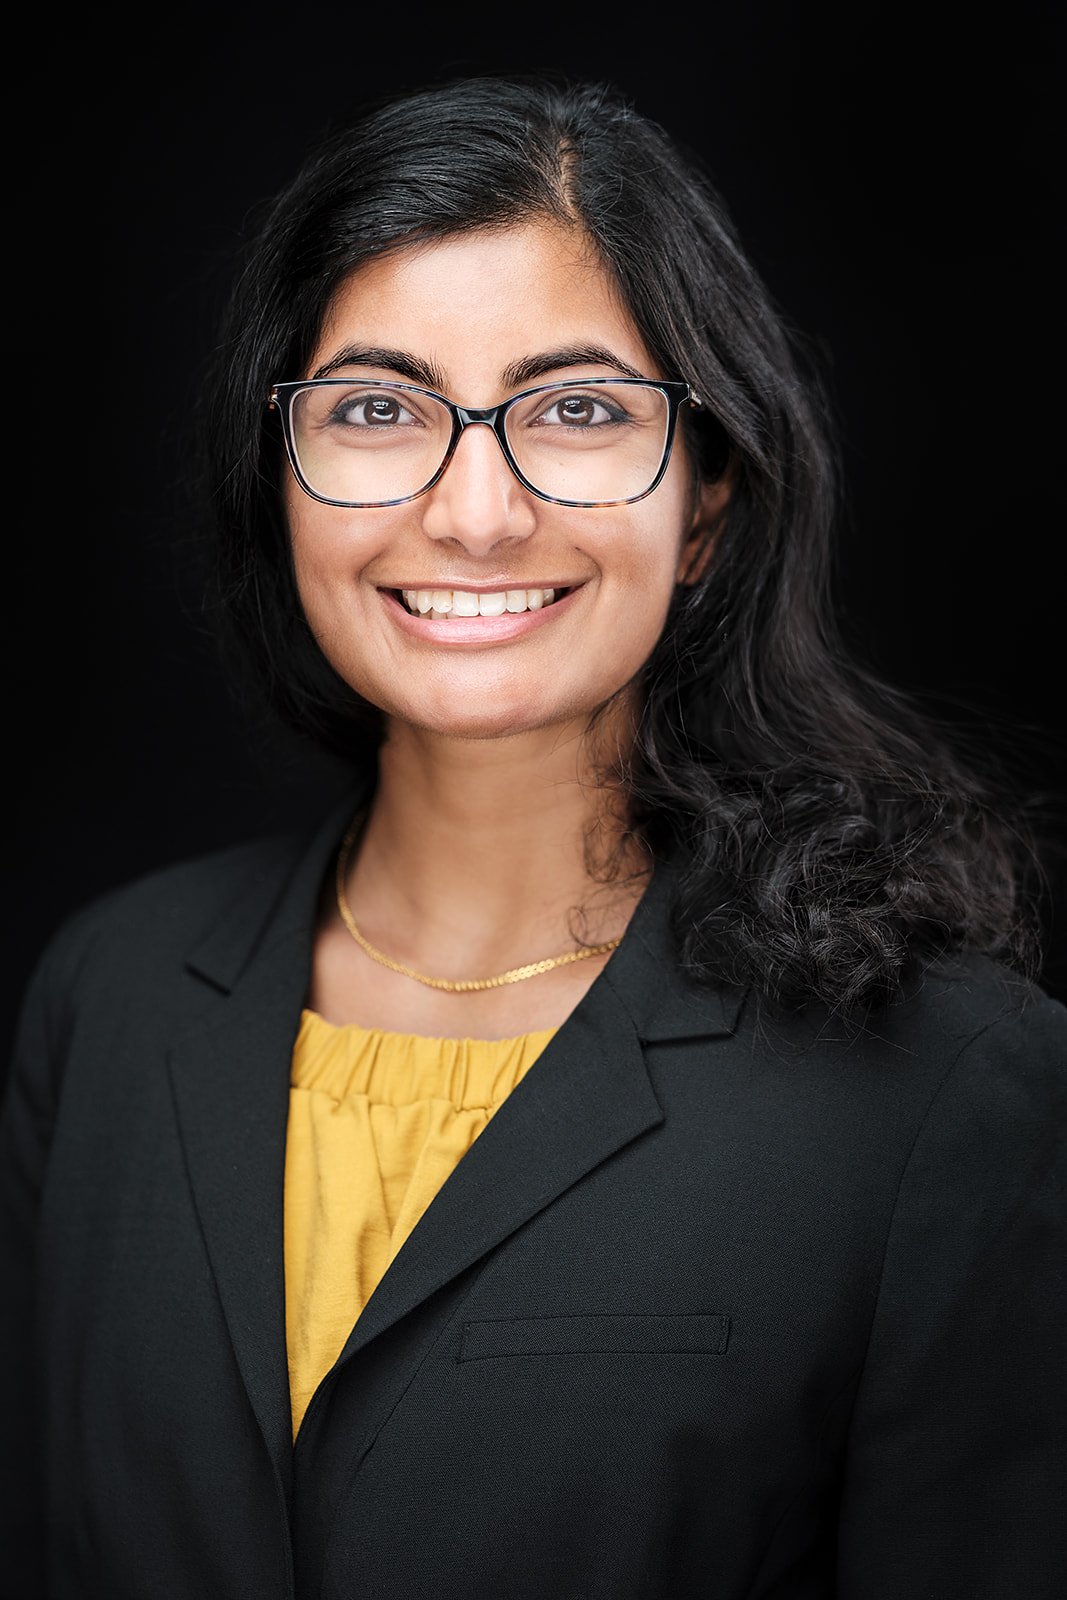
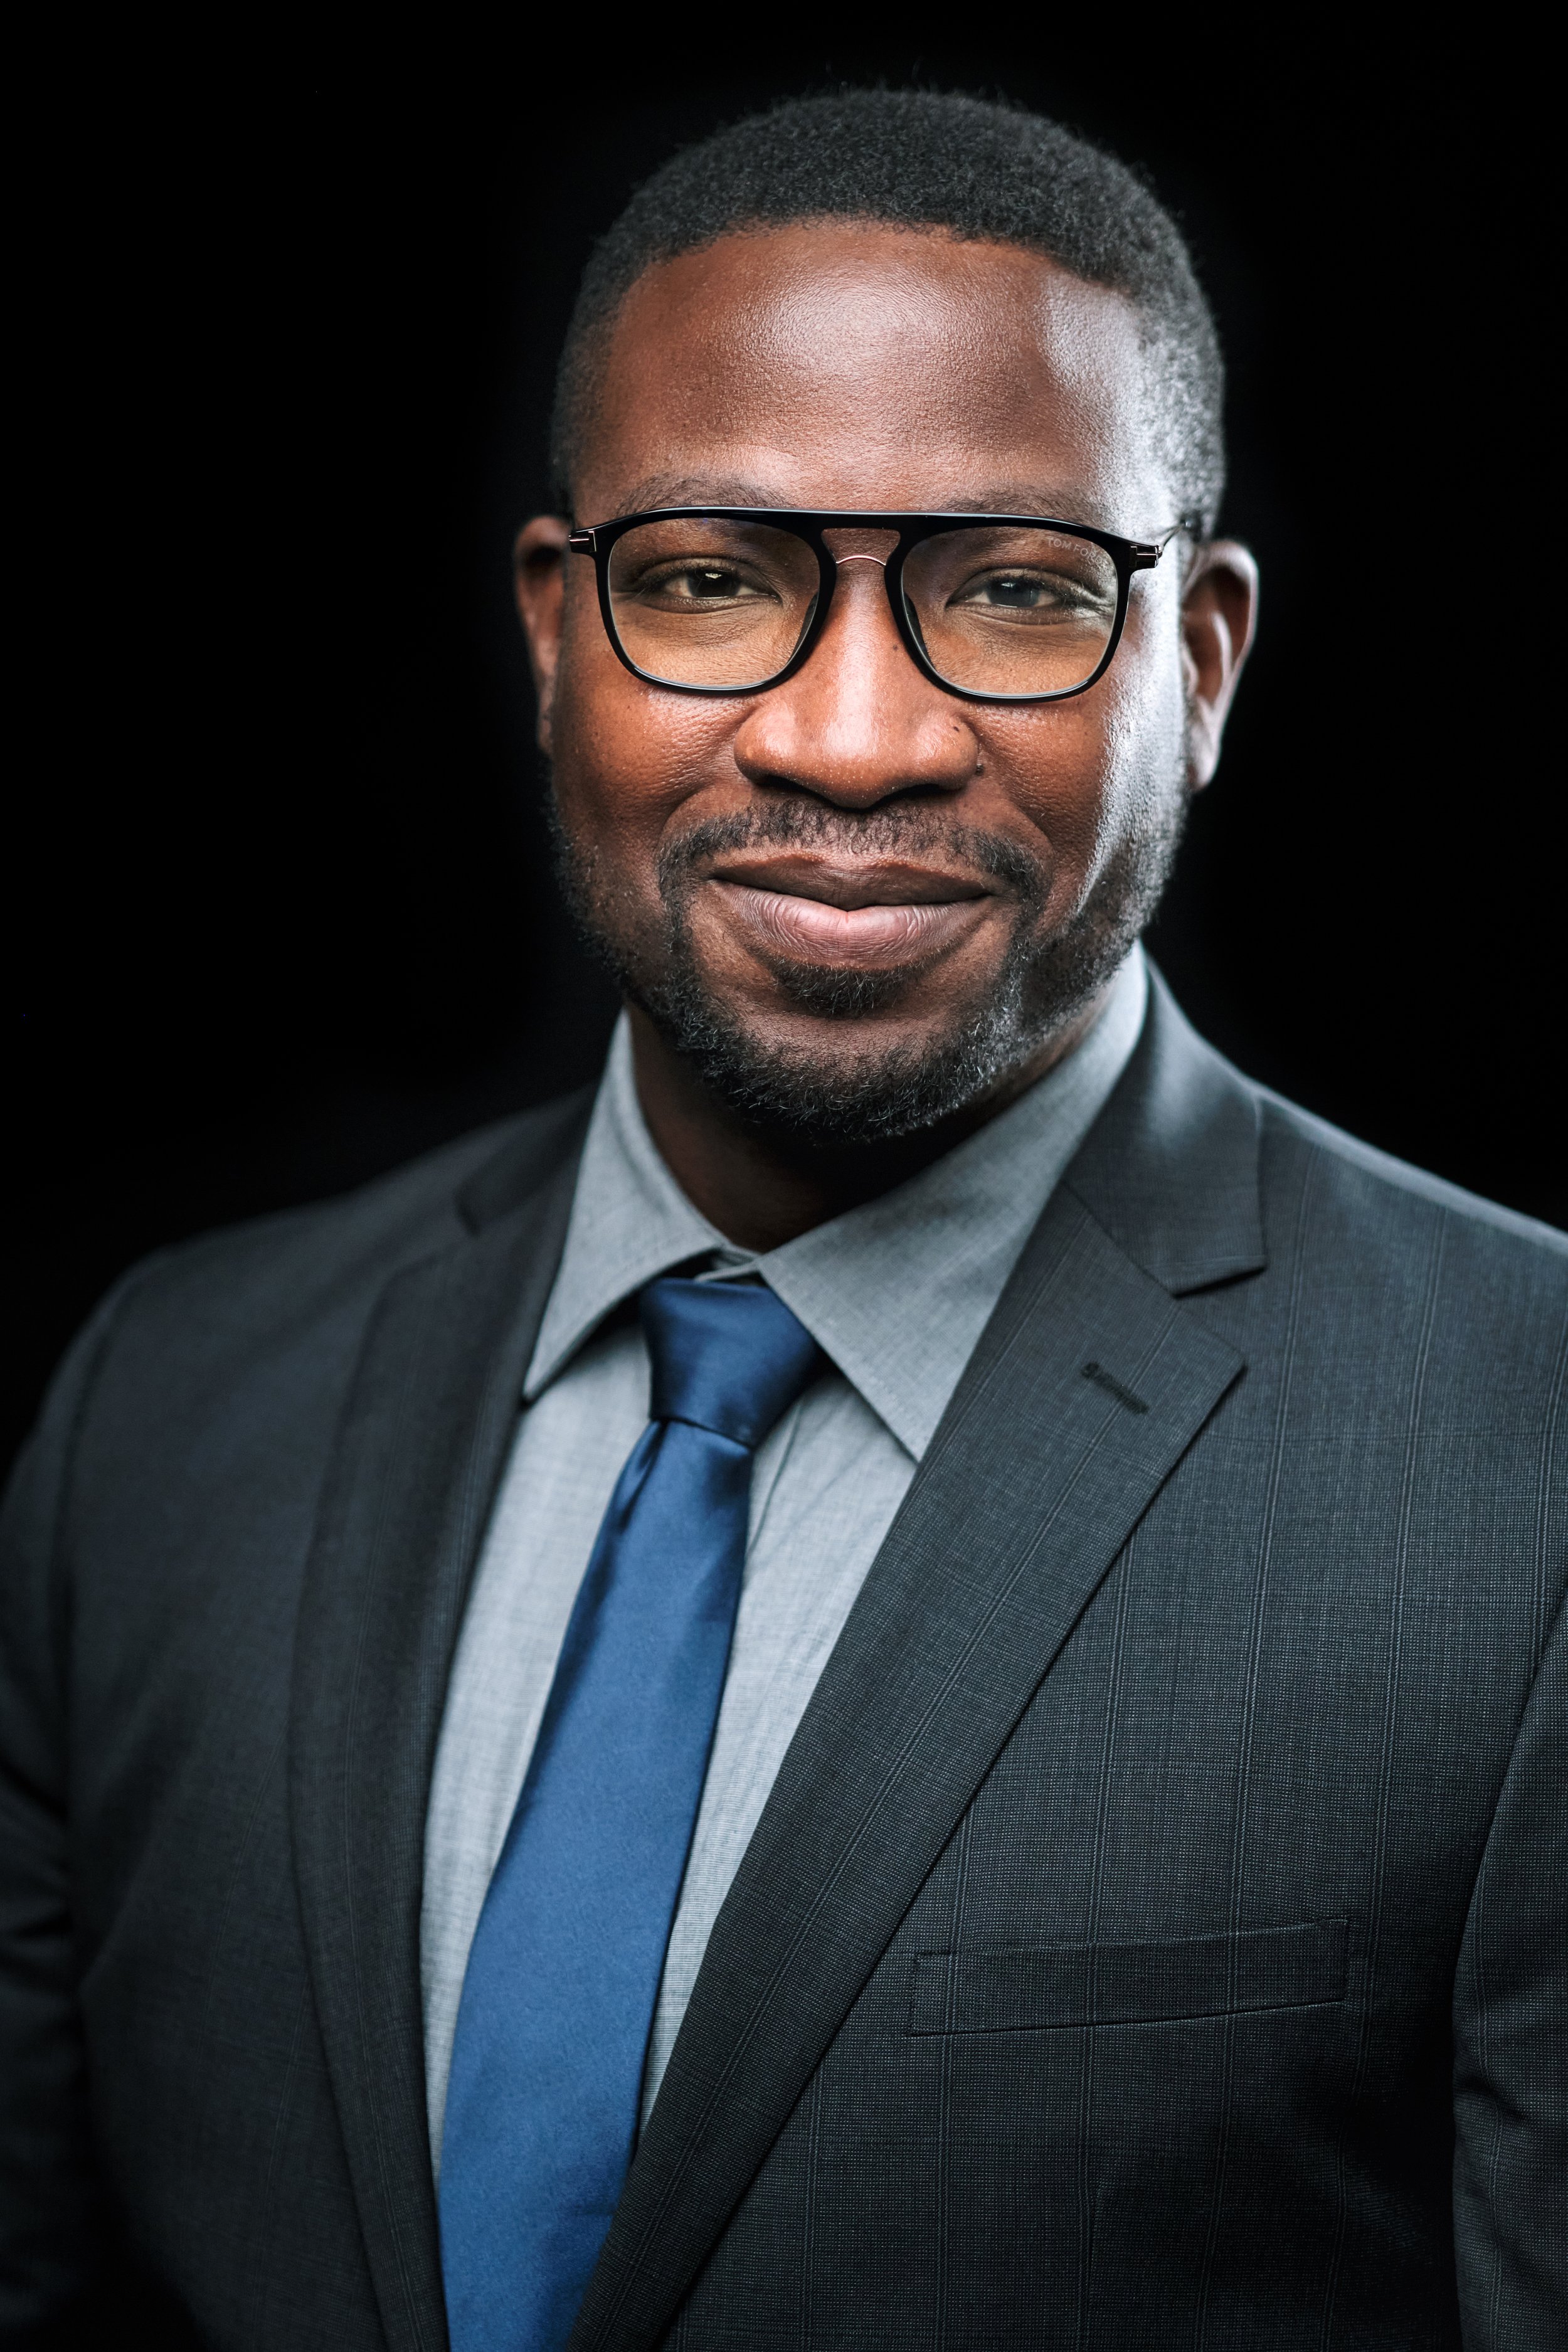
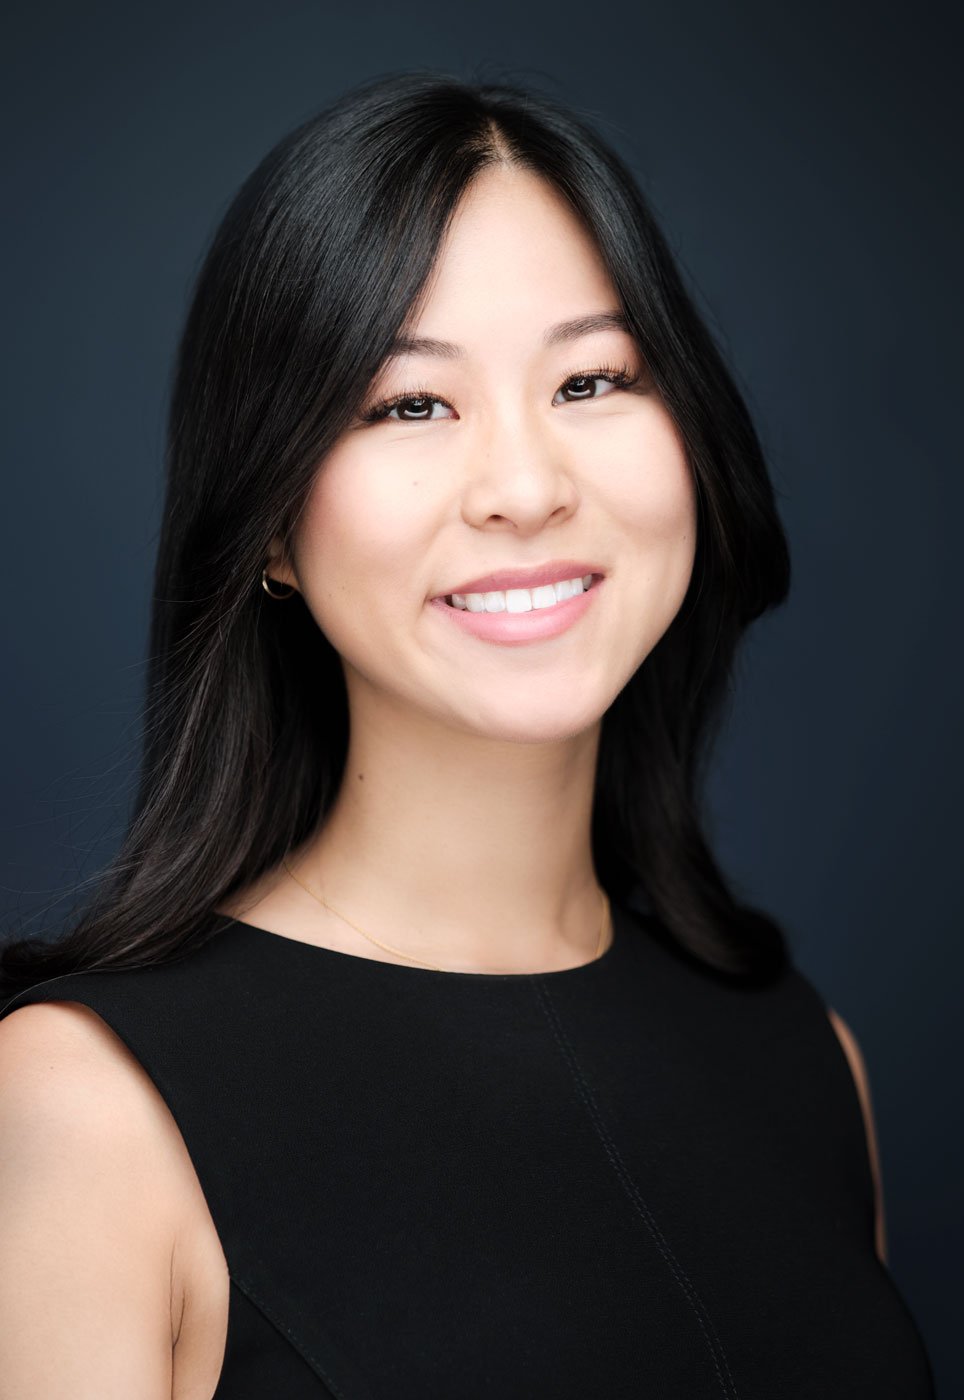
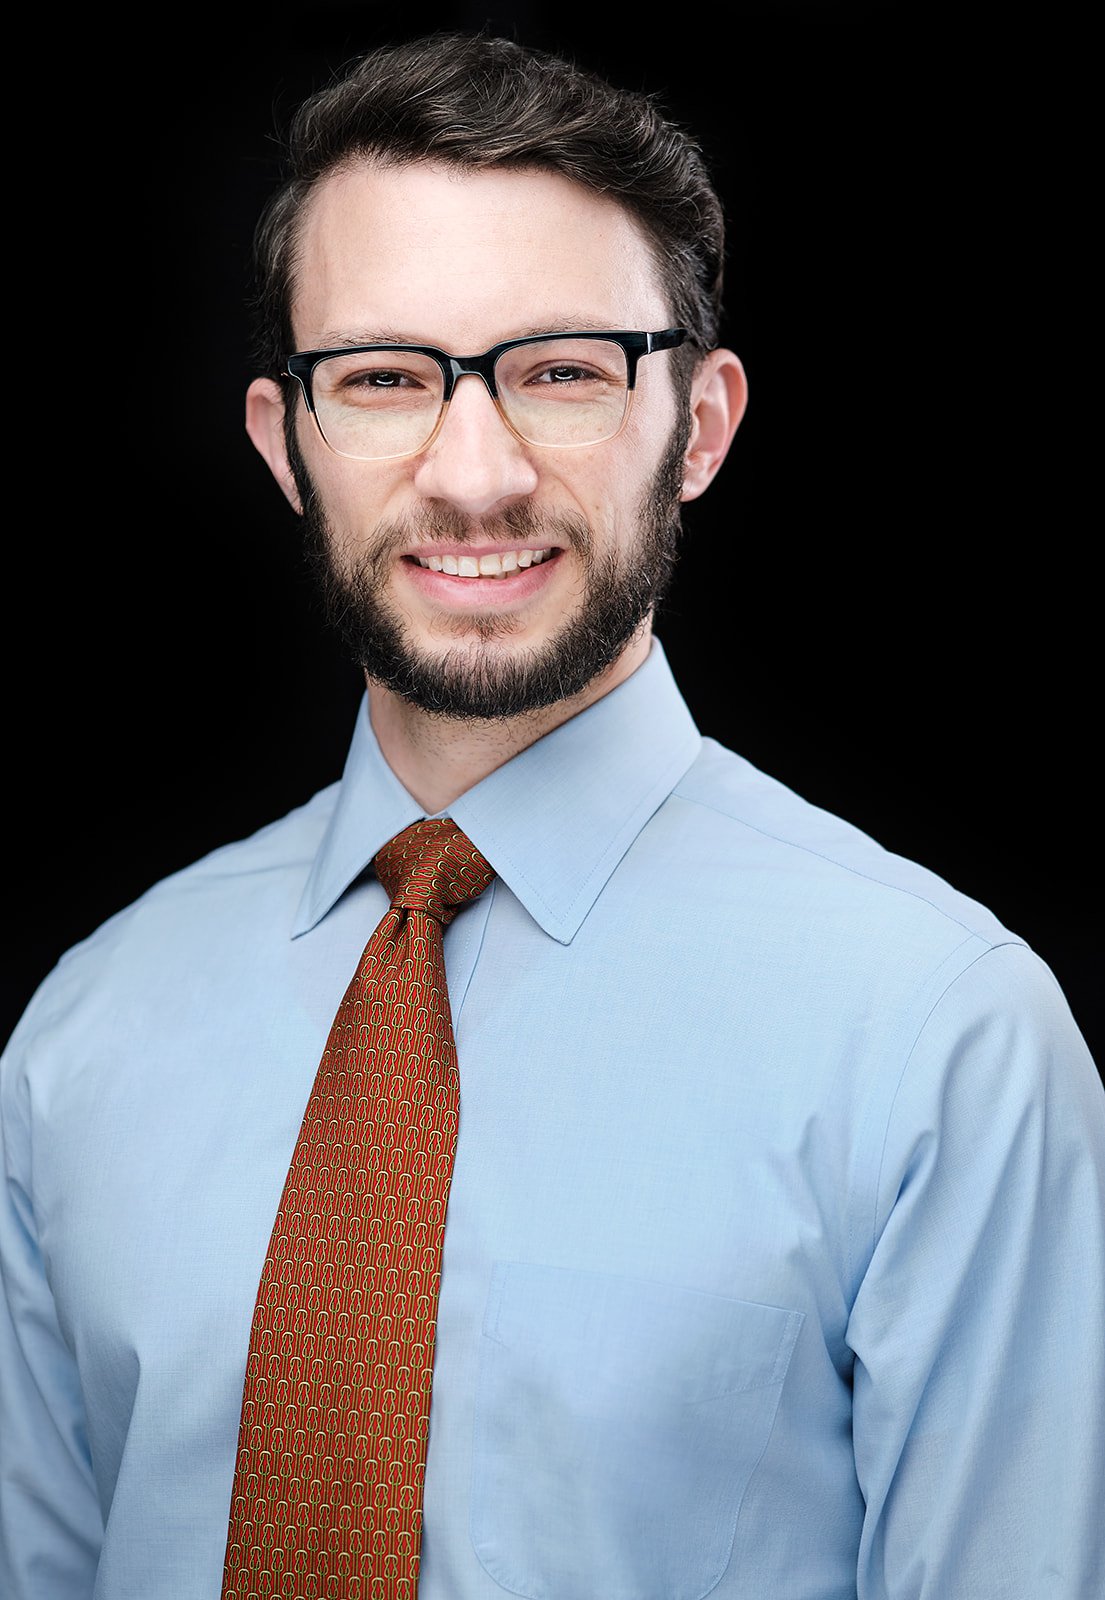
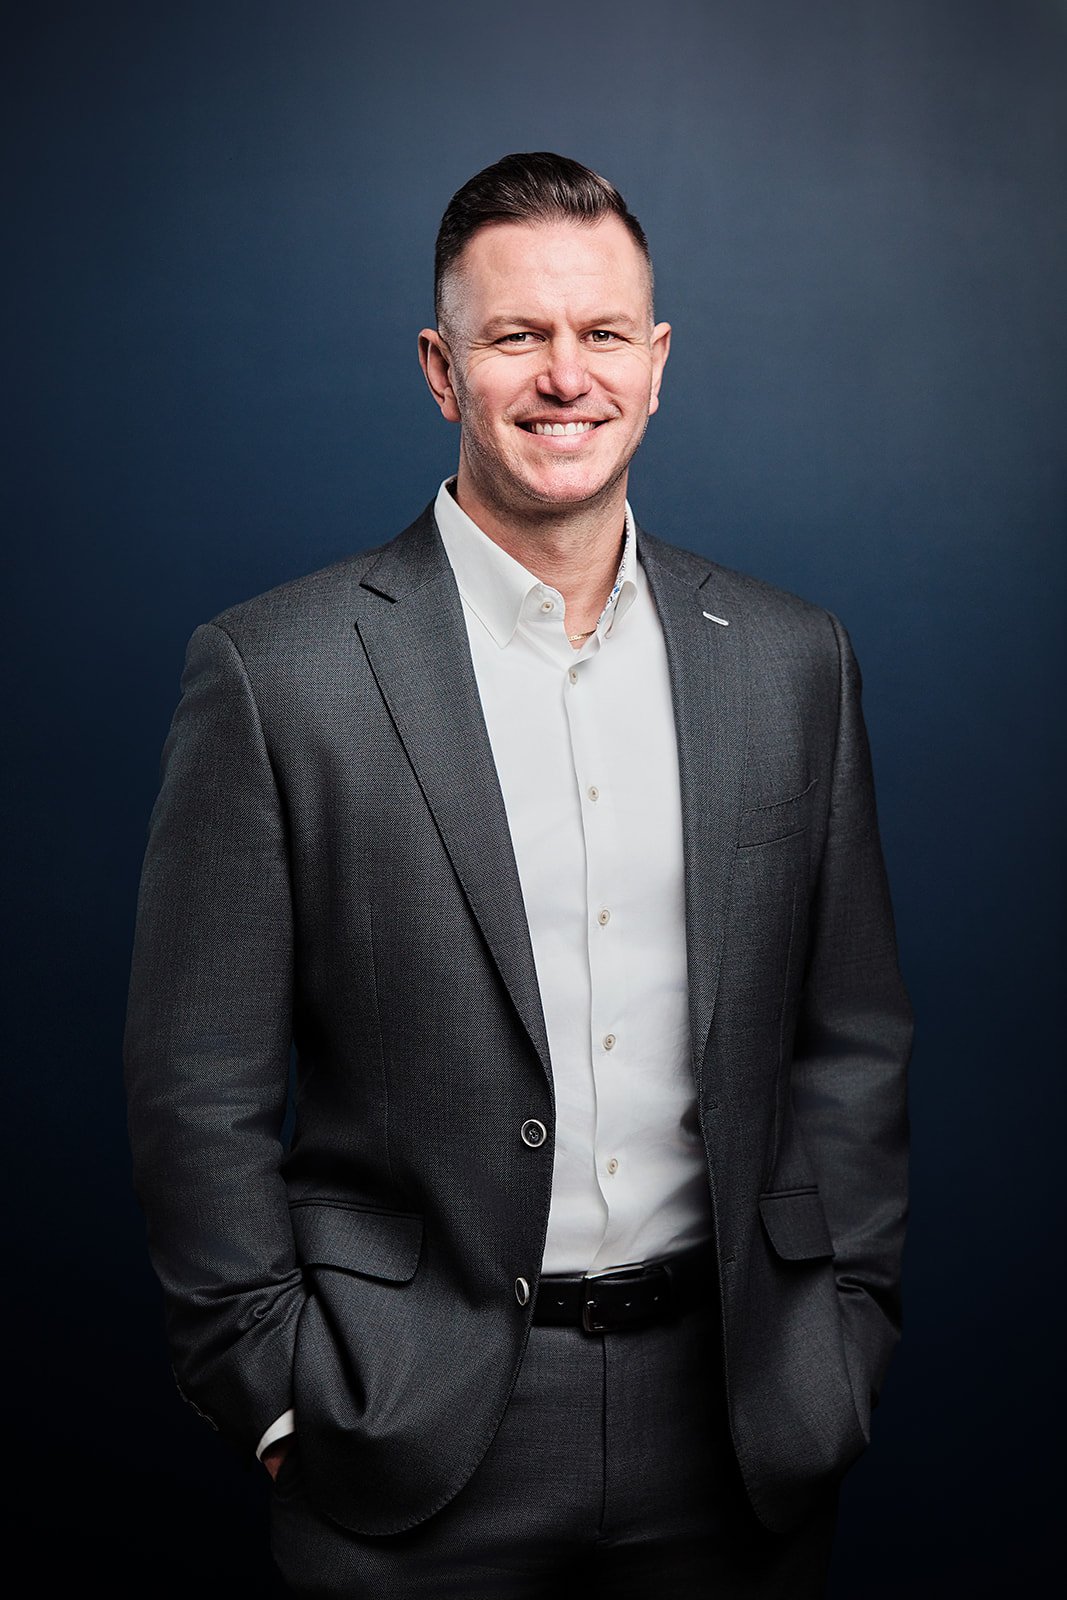
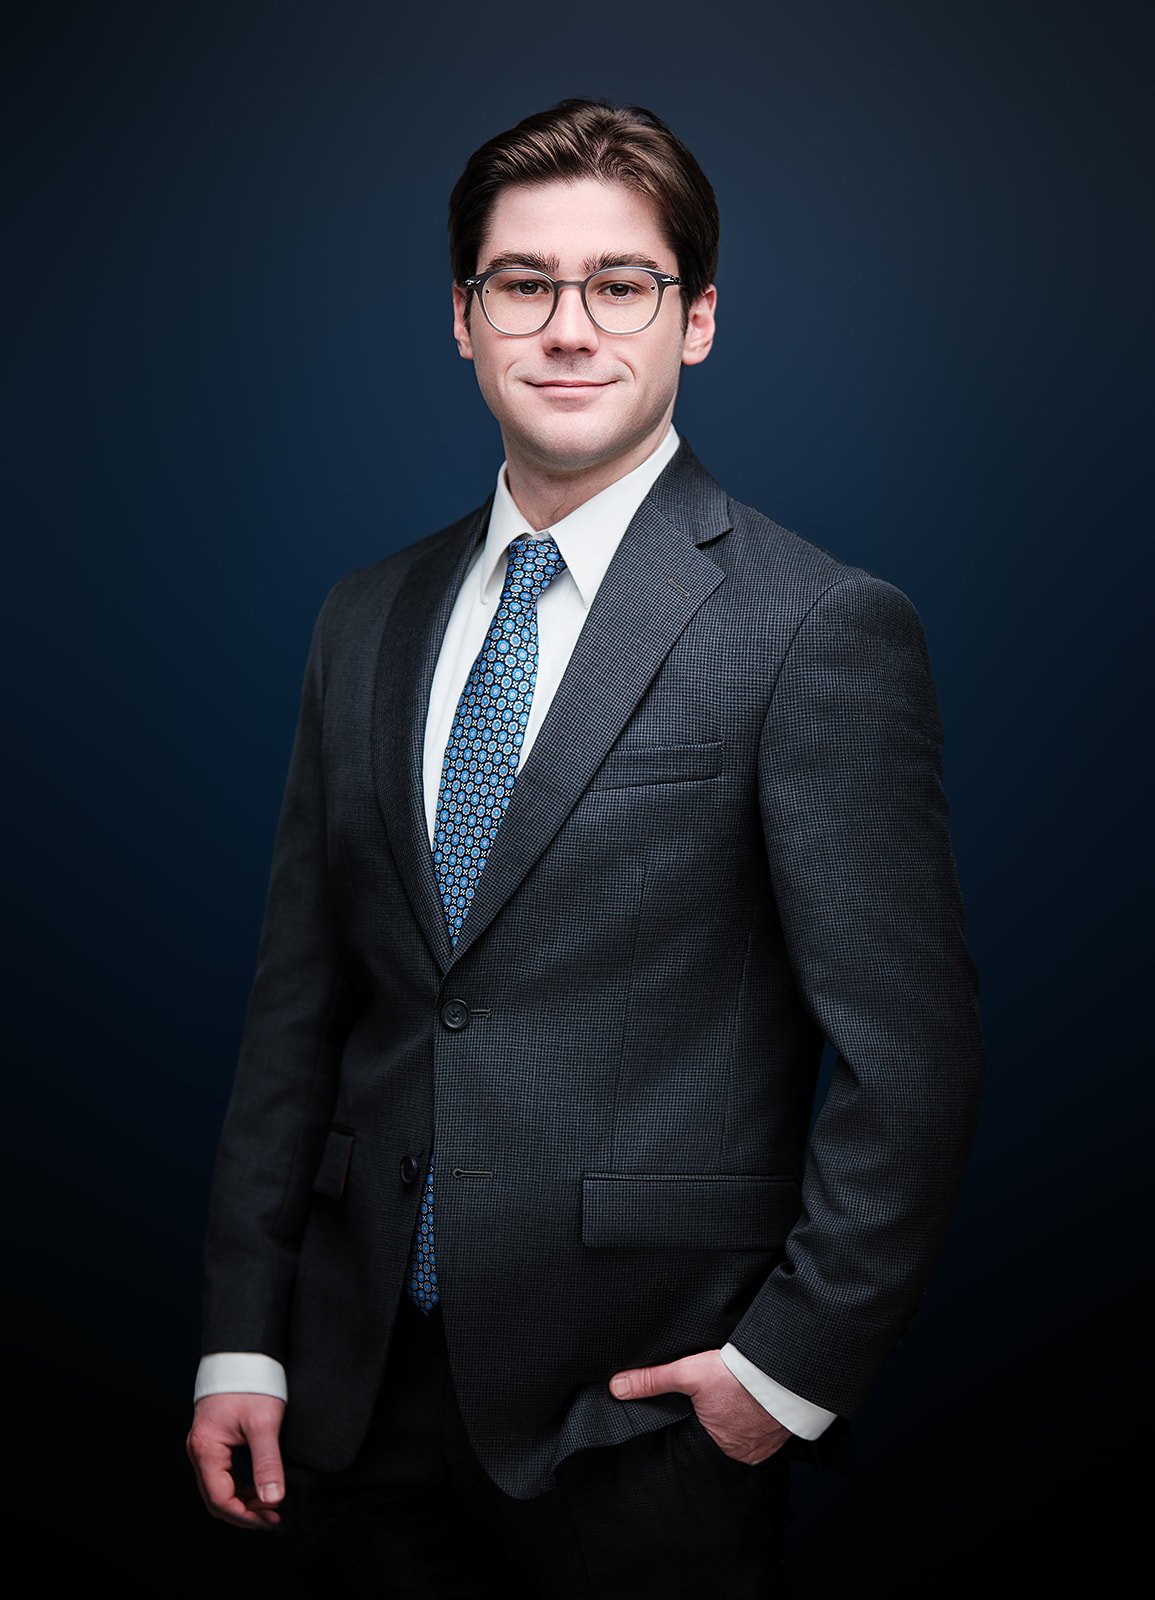
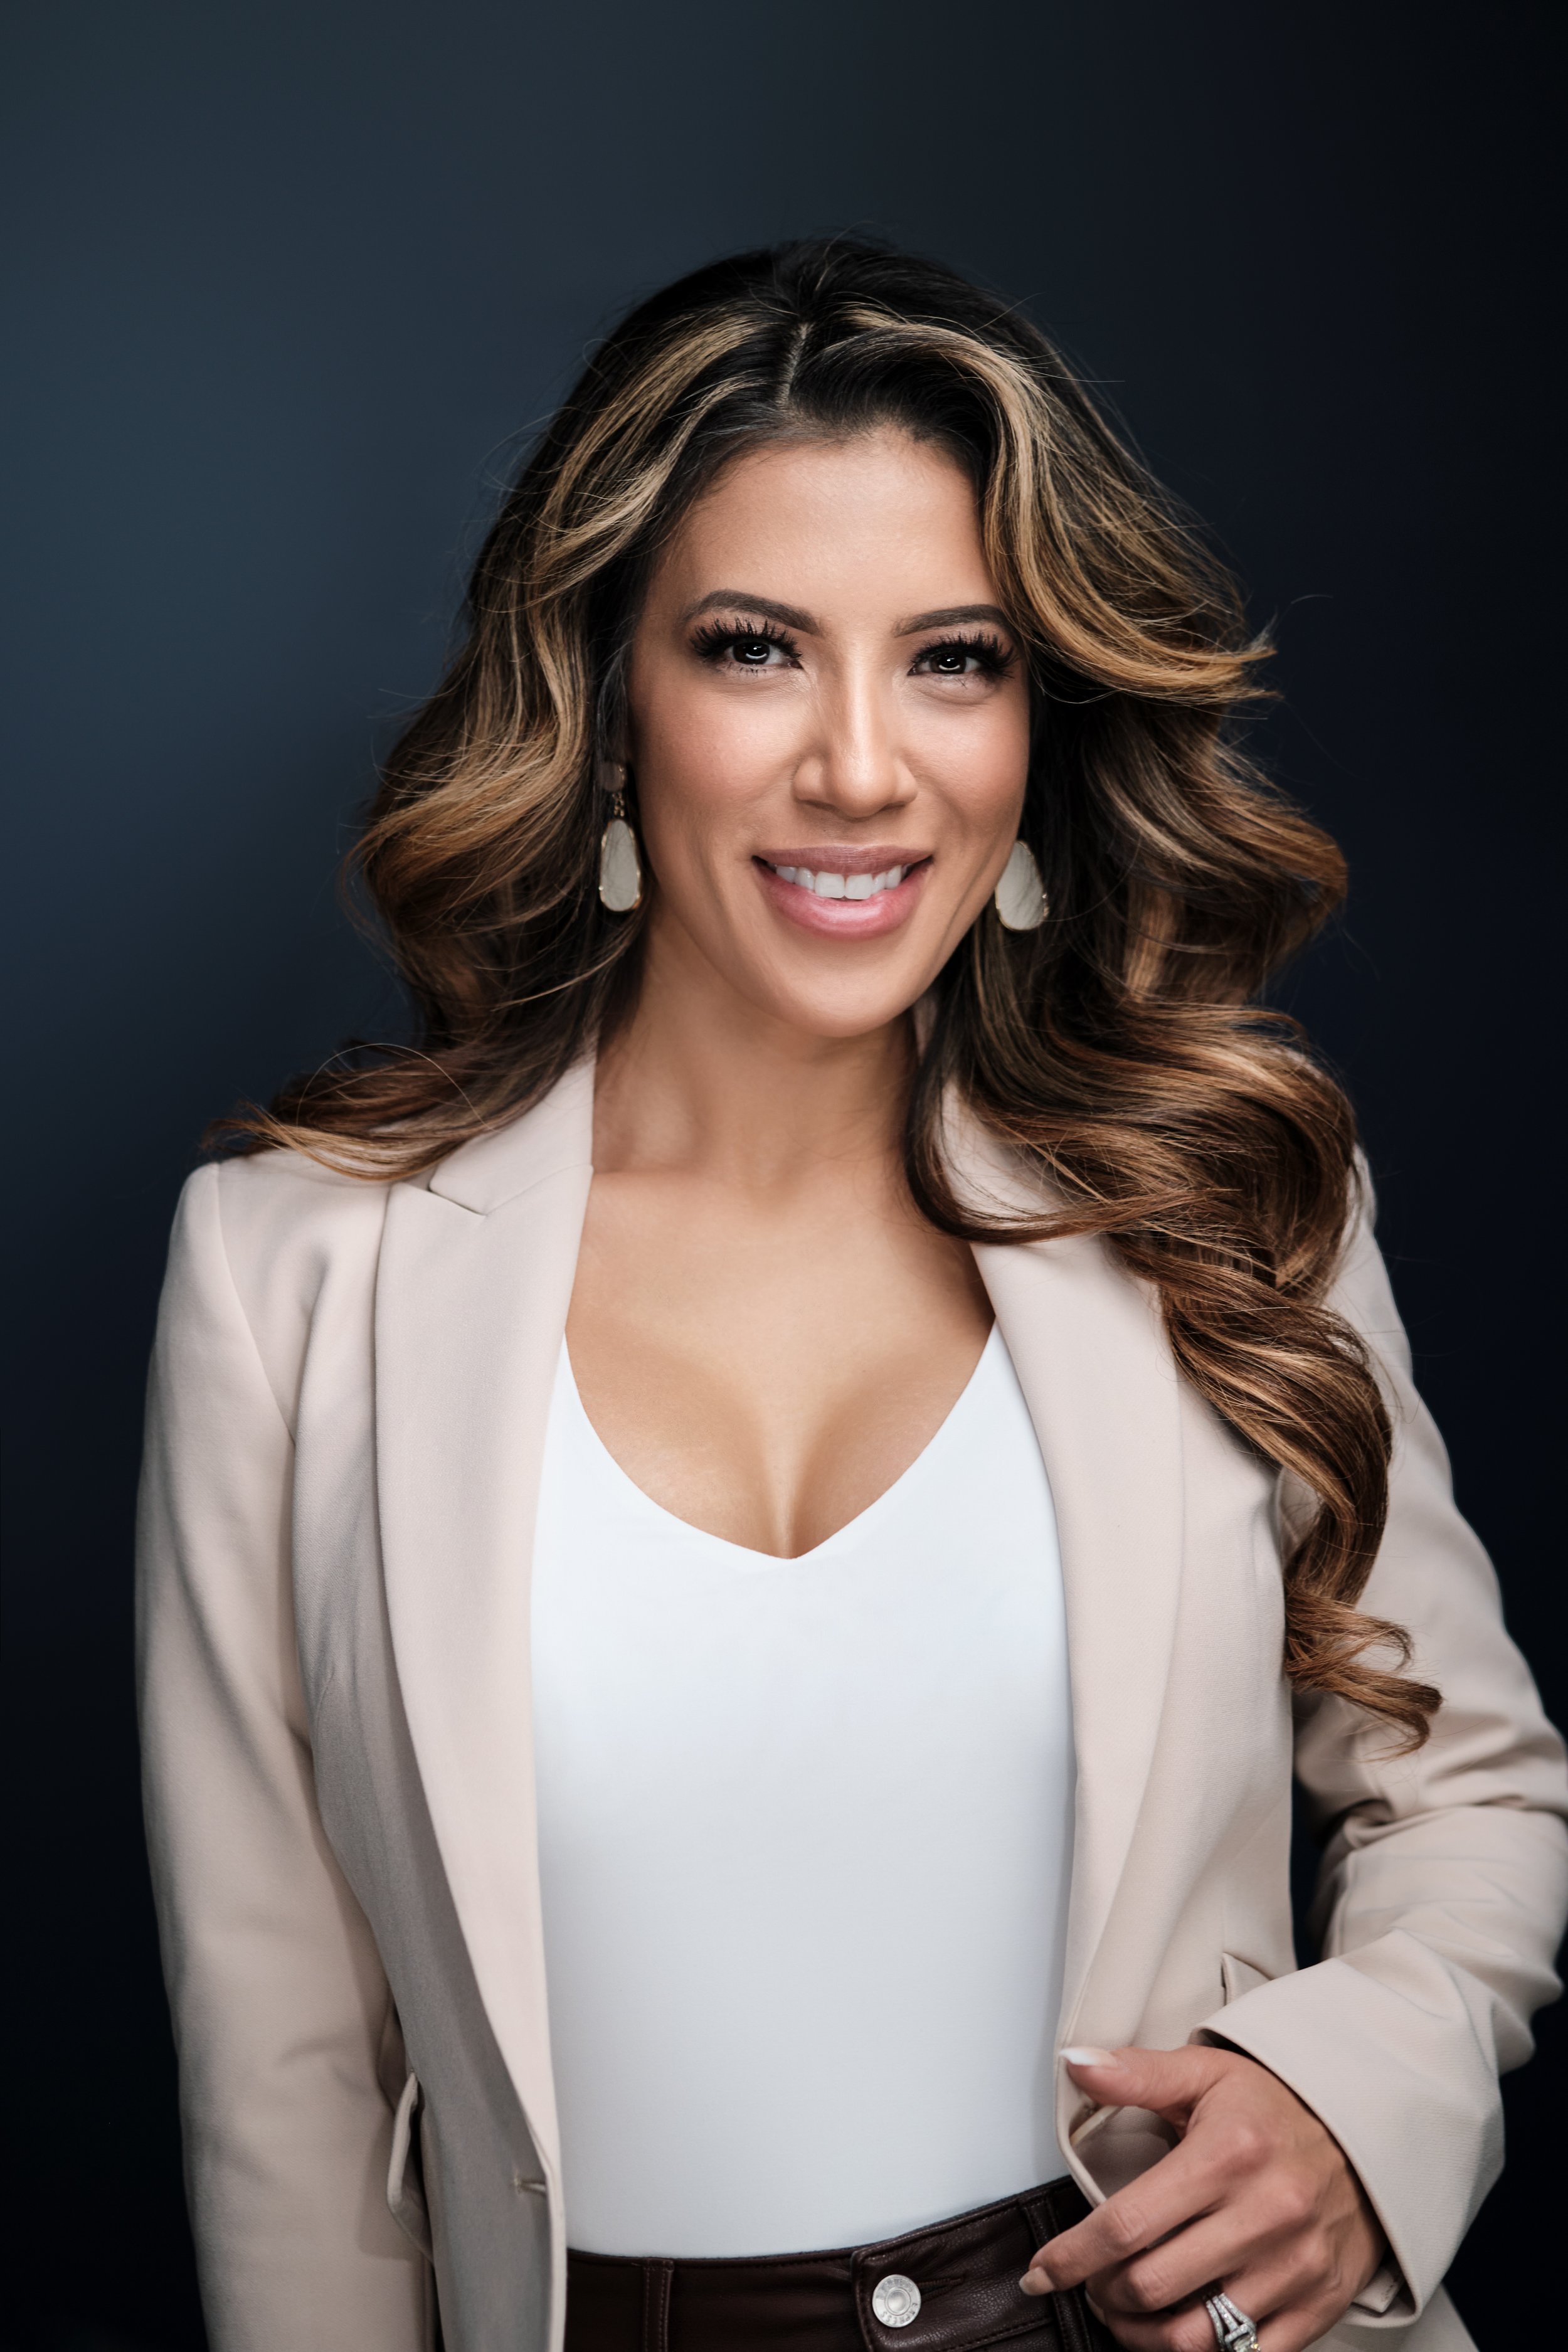
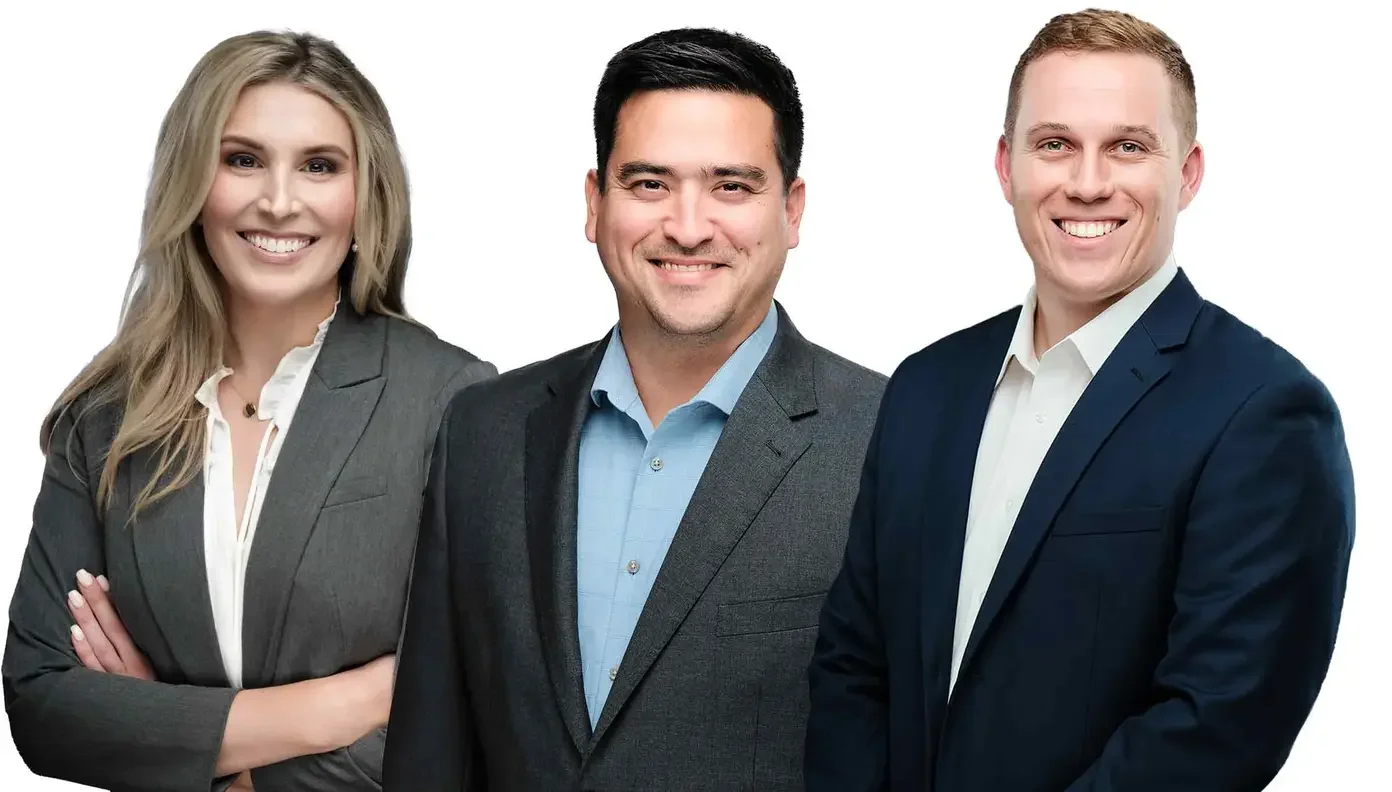
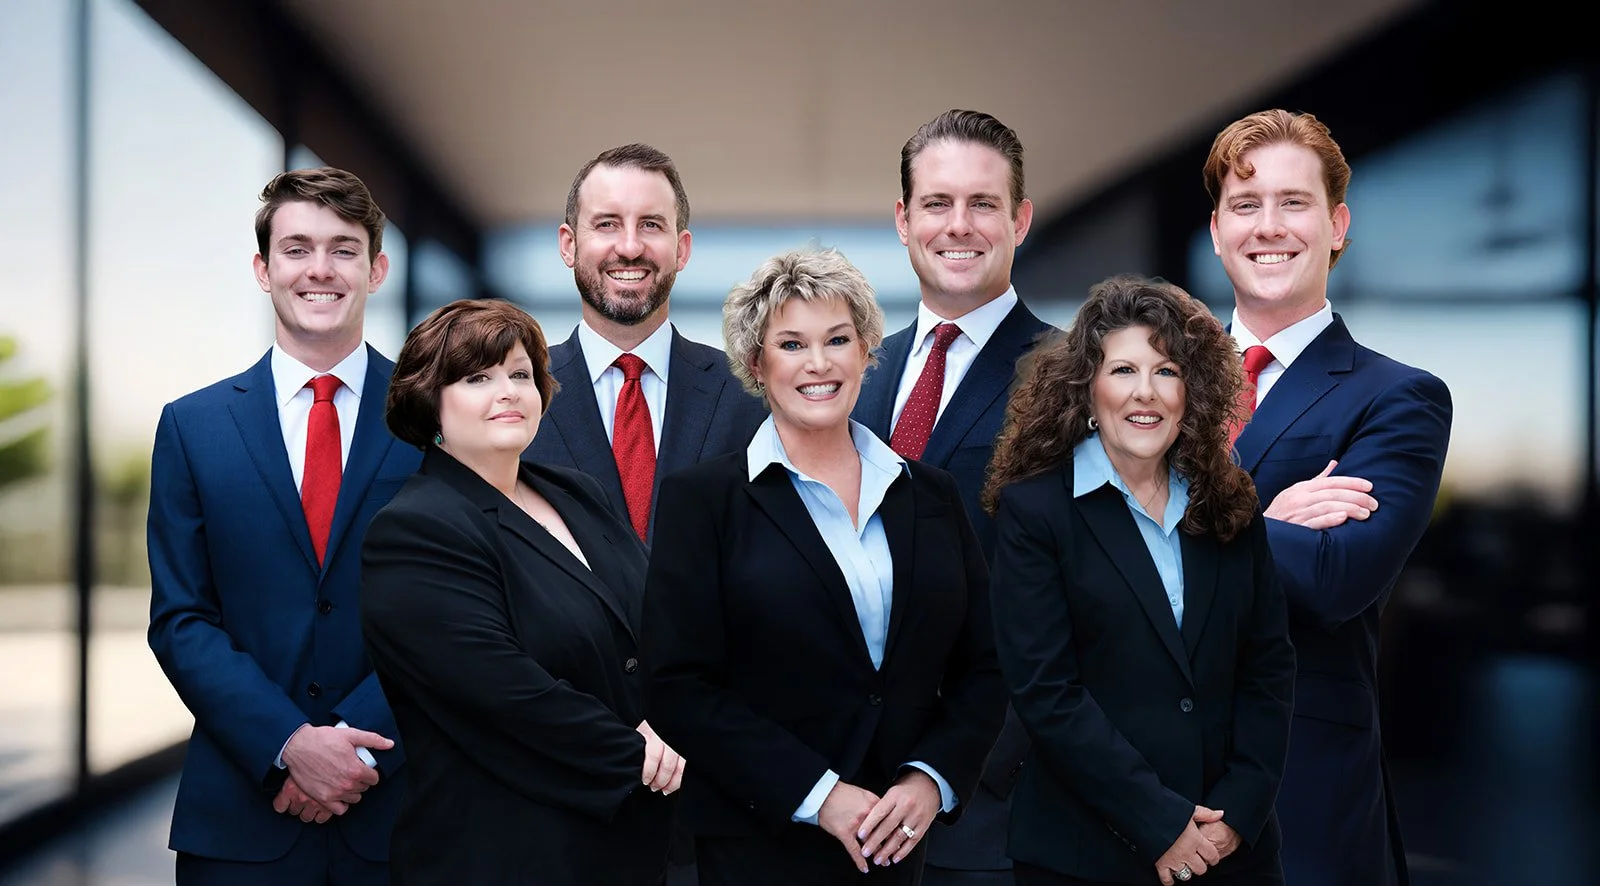
Our team and staff headshot composites make your company look polished and approachable while staying easy to update as your team evolves. Each person gets their best photo, and the final image stays consistent and professional.
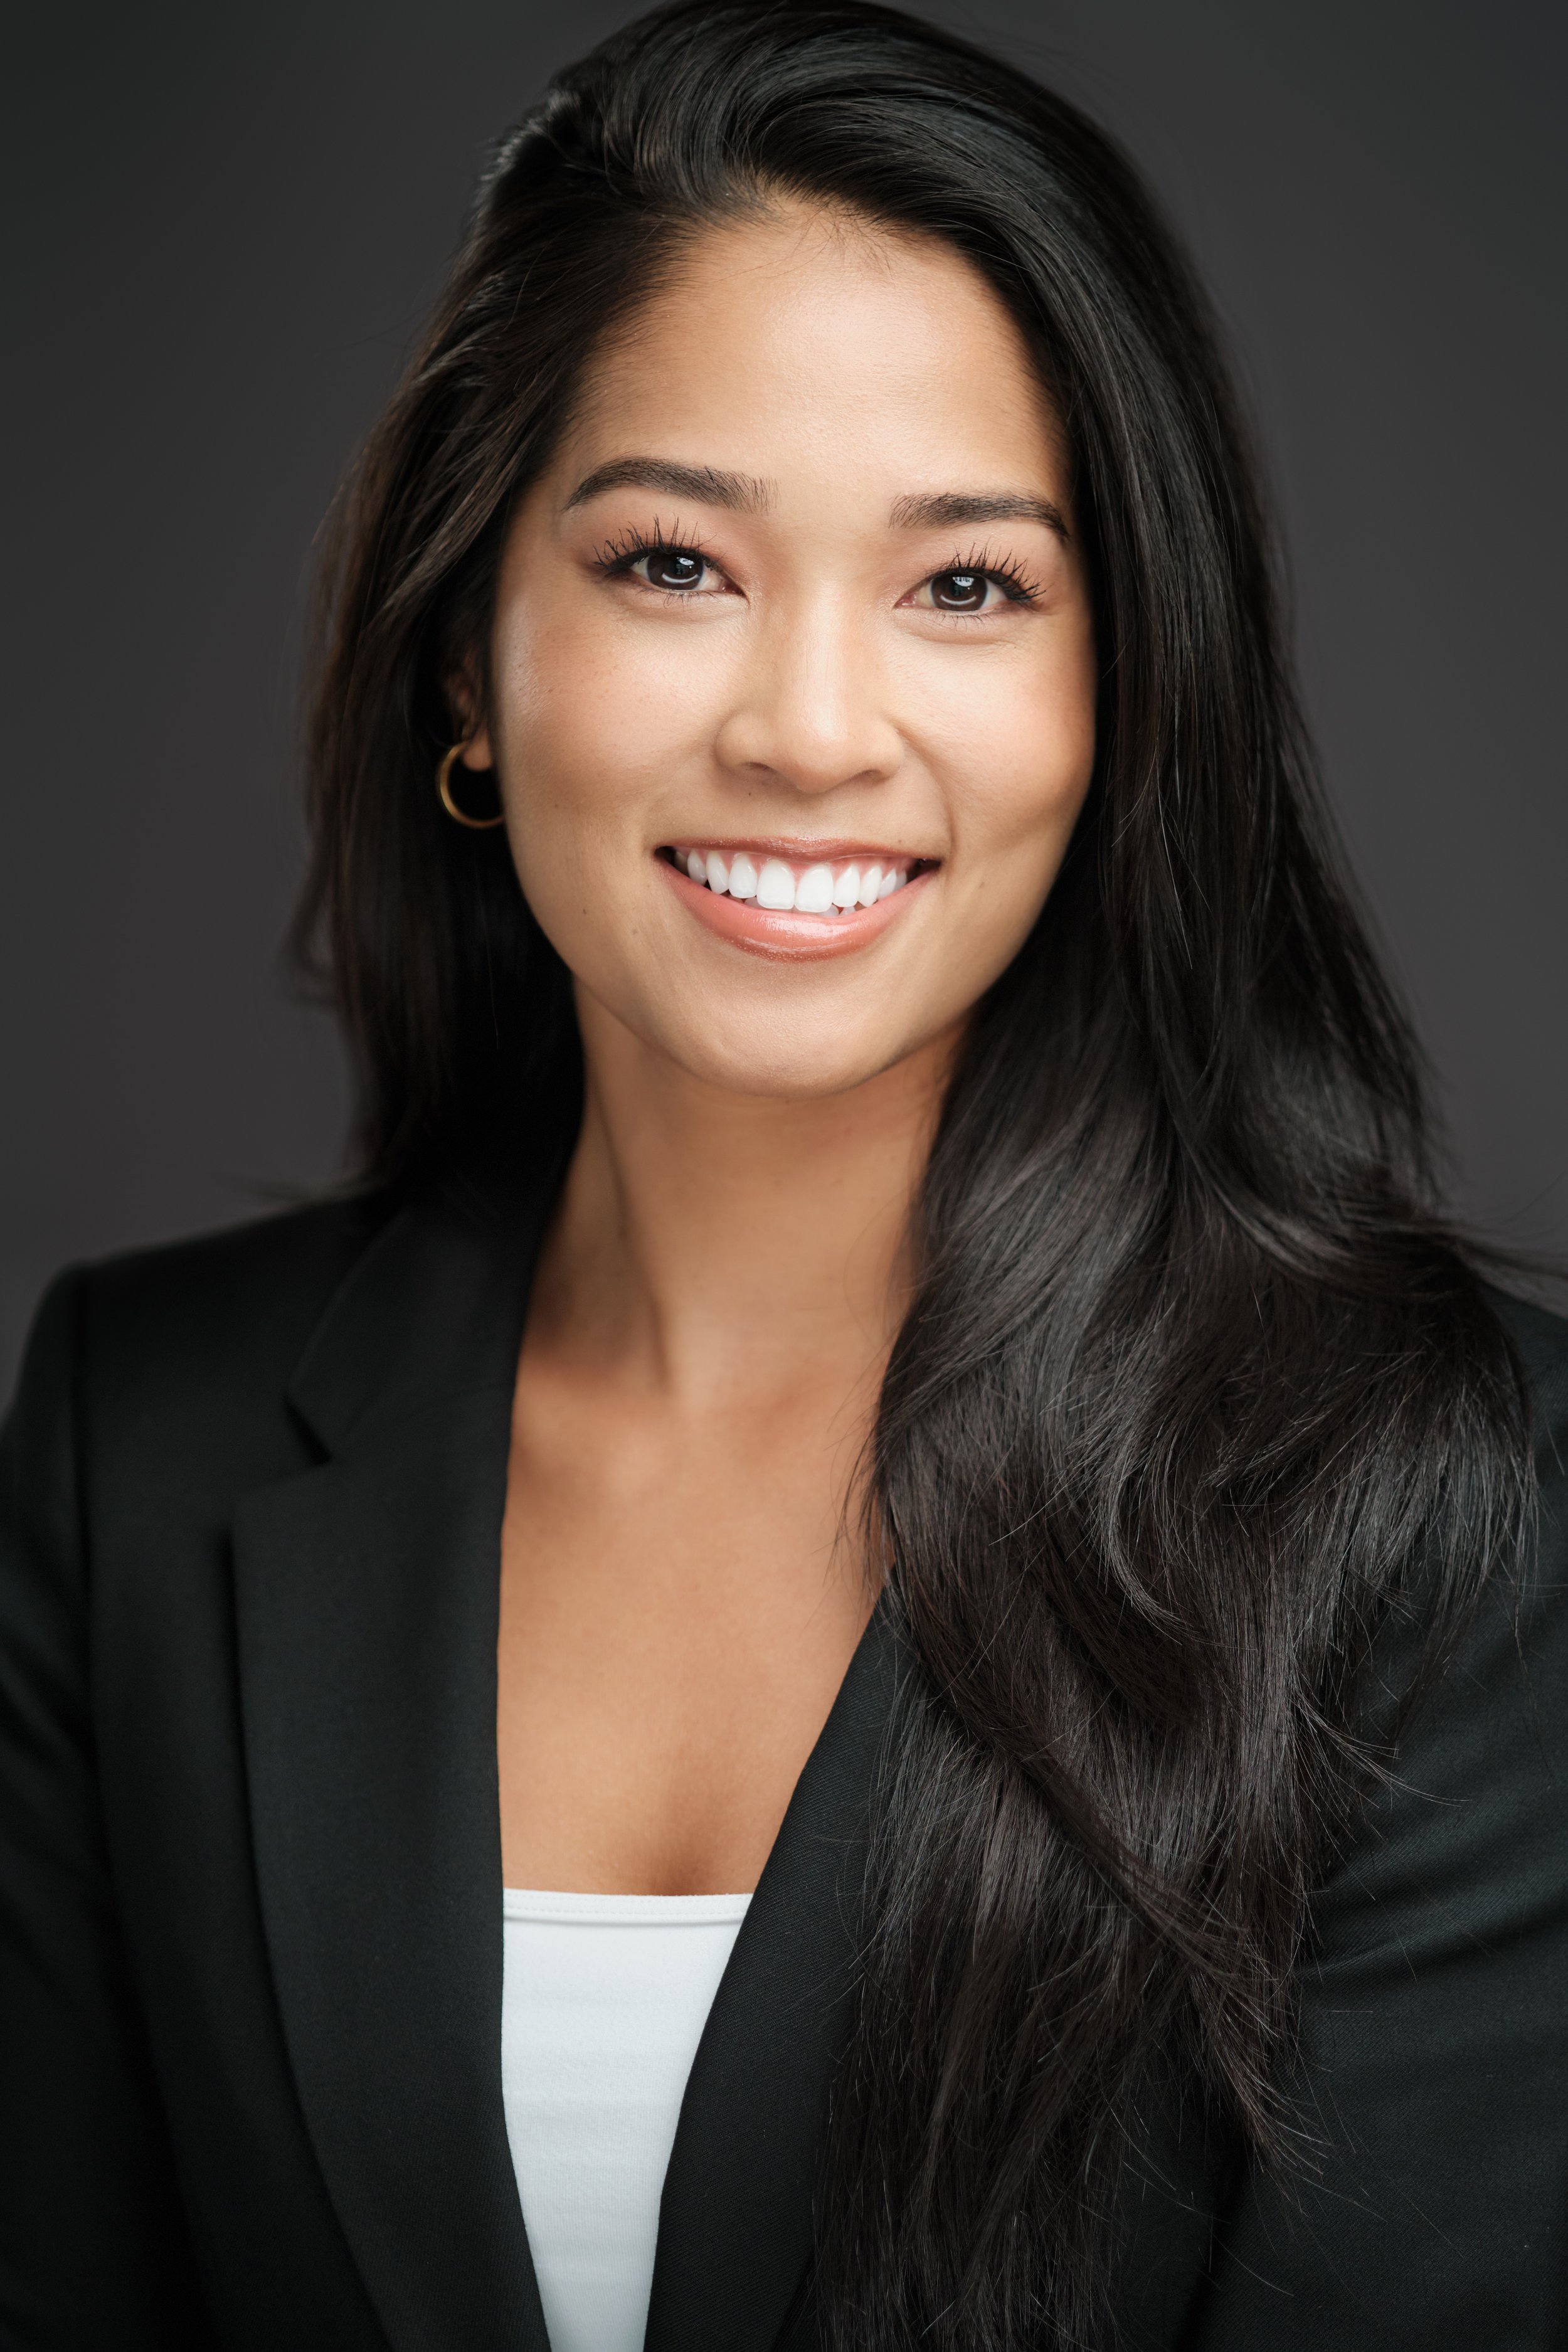
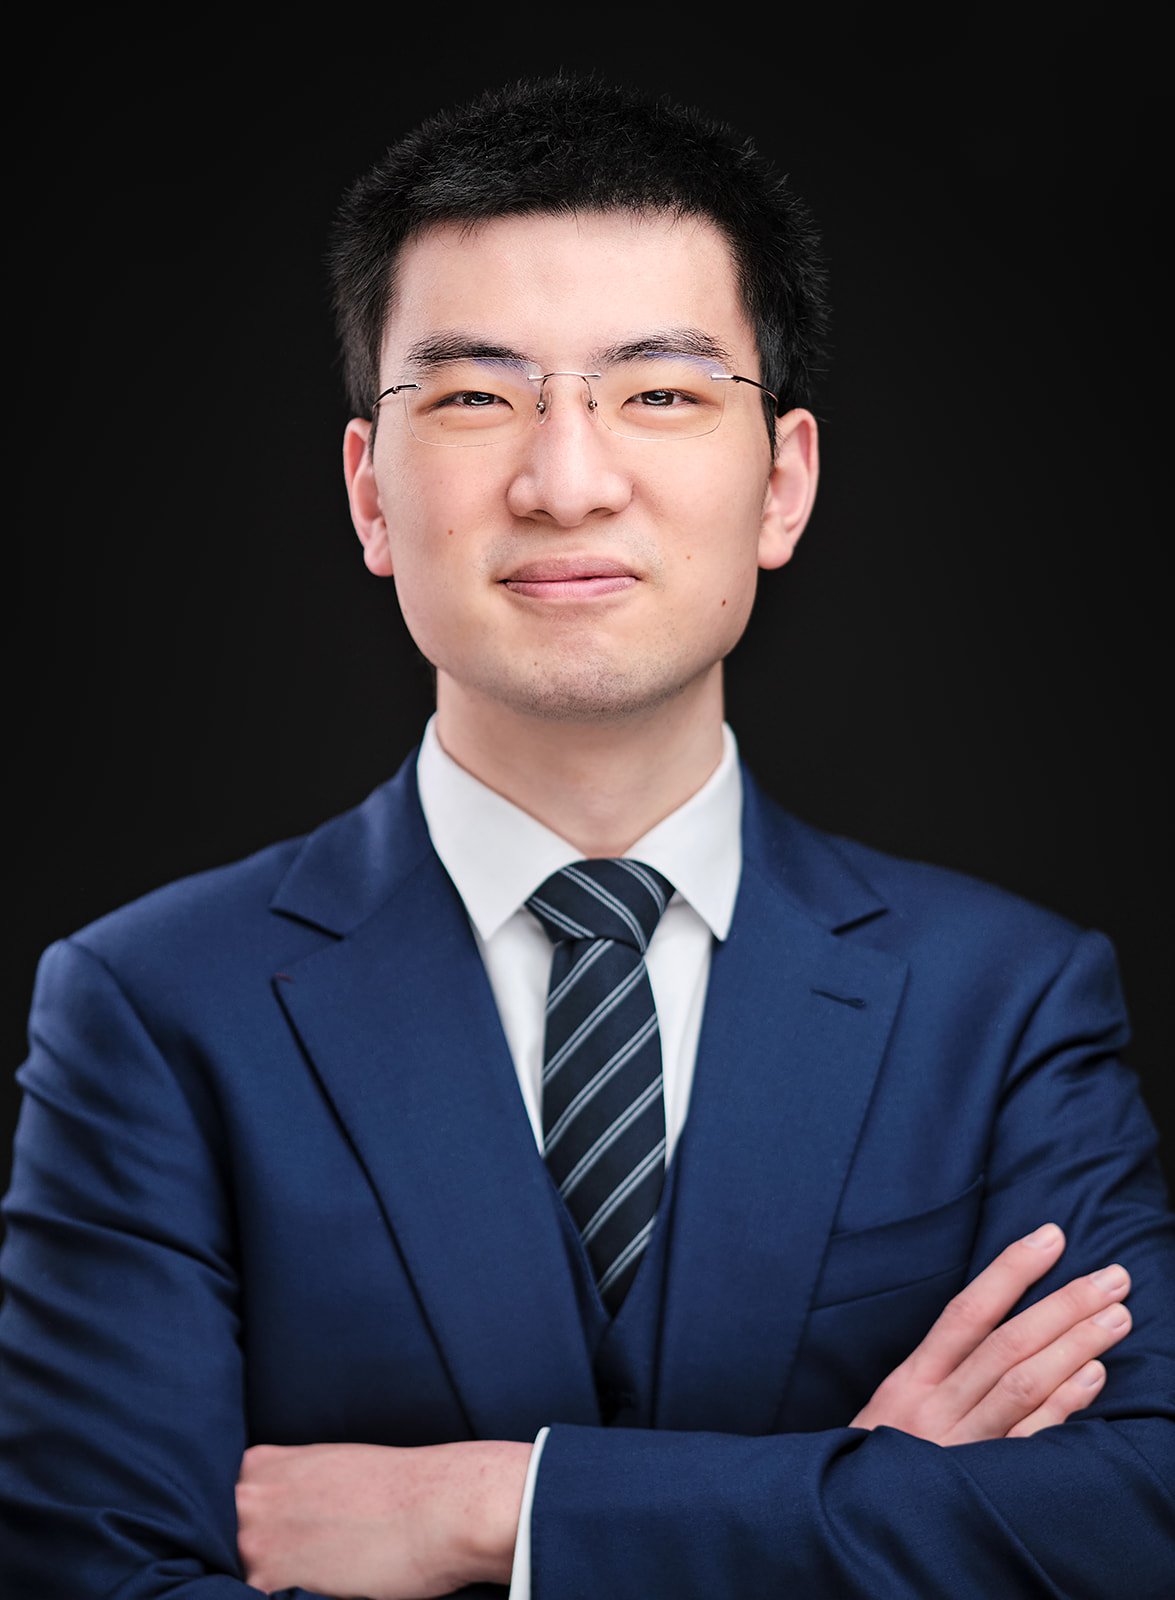
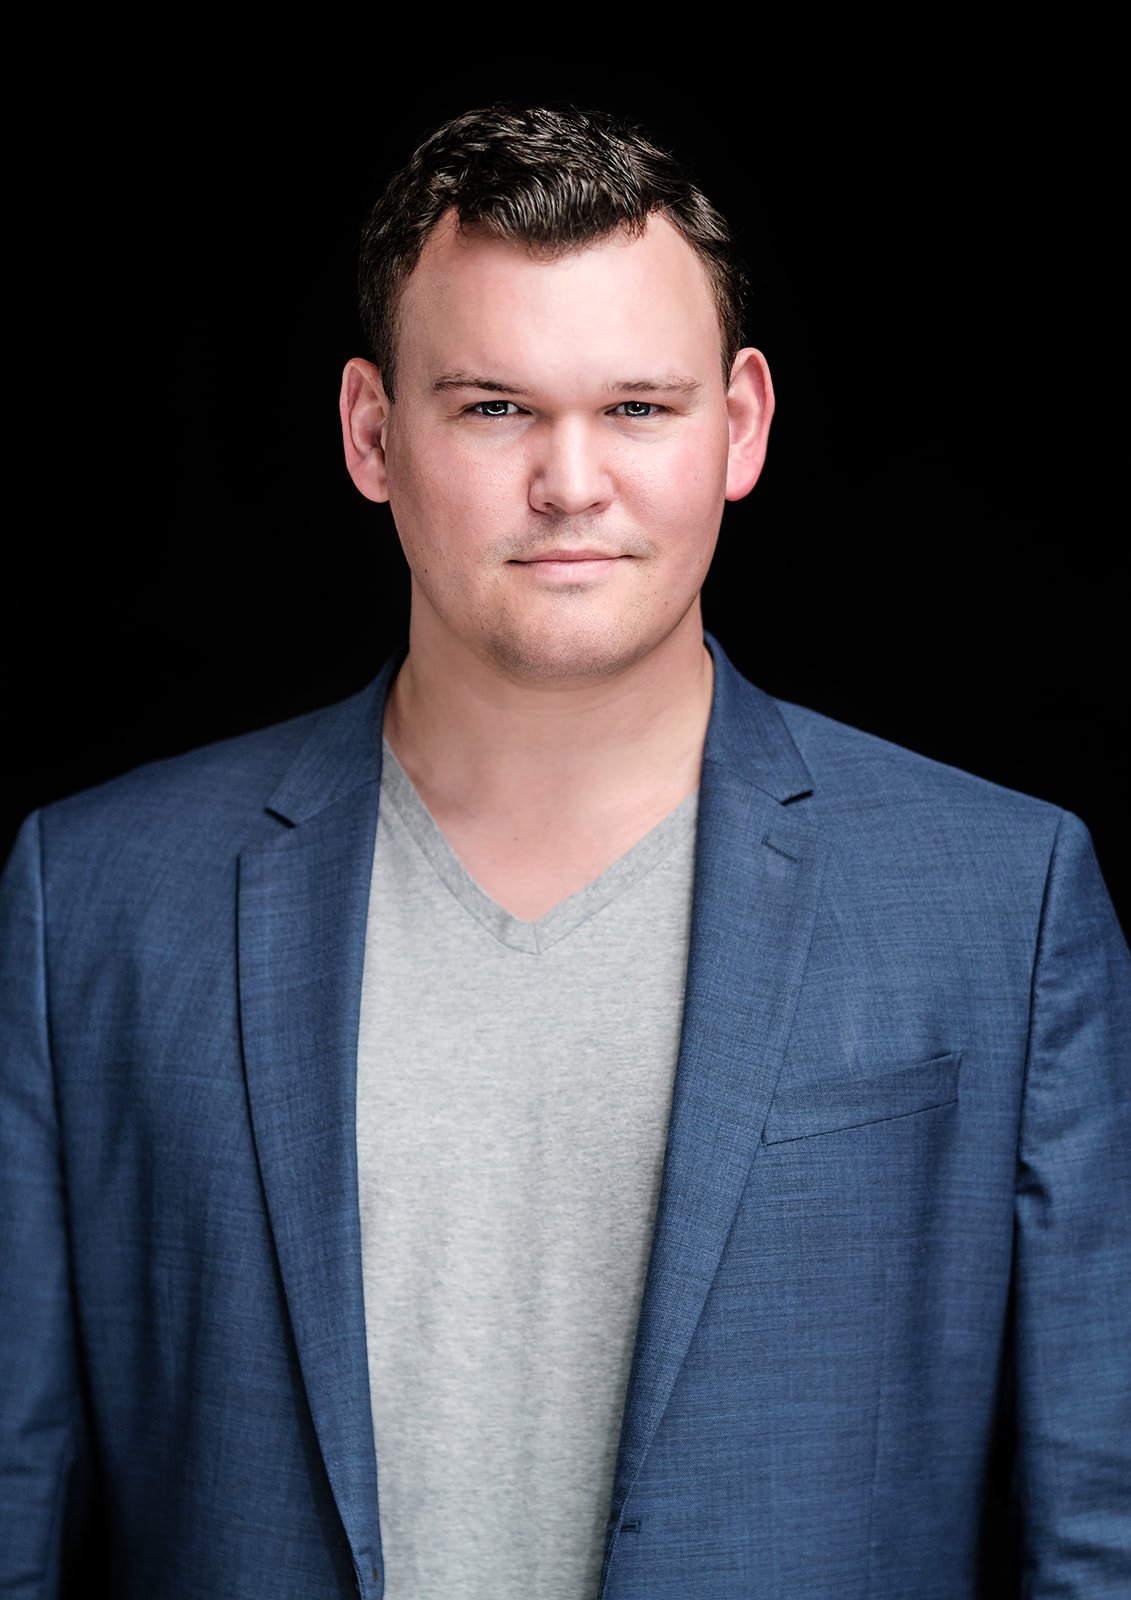
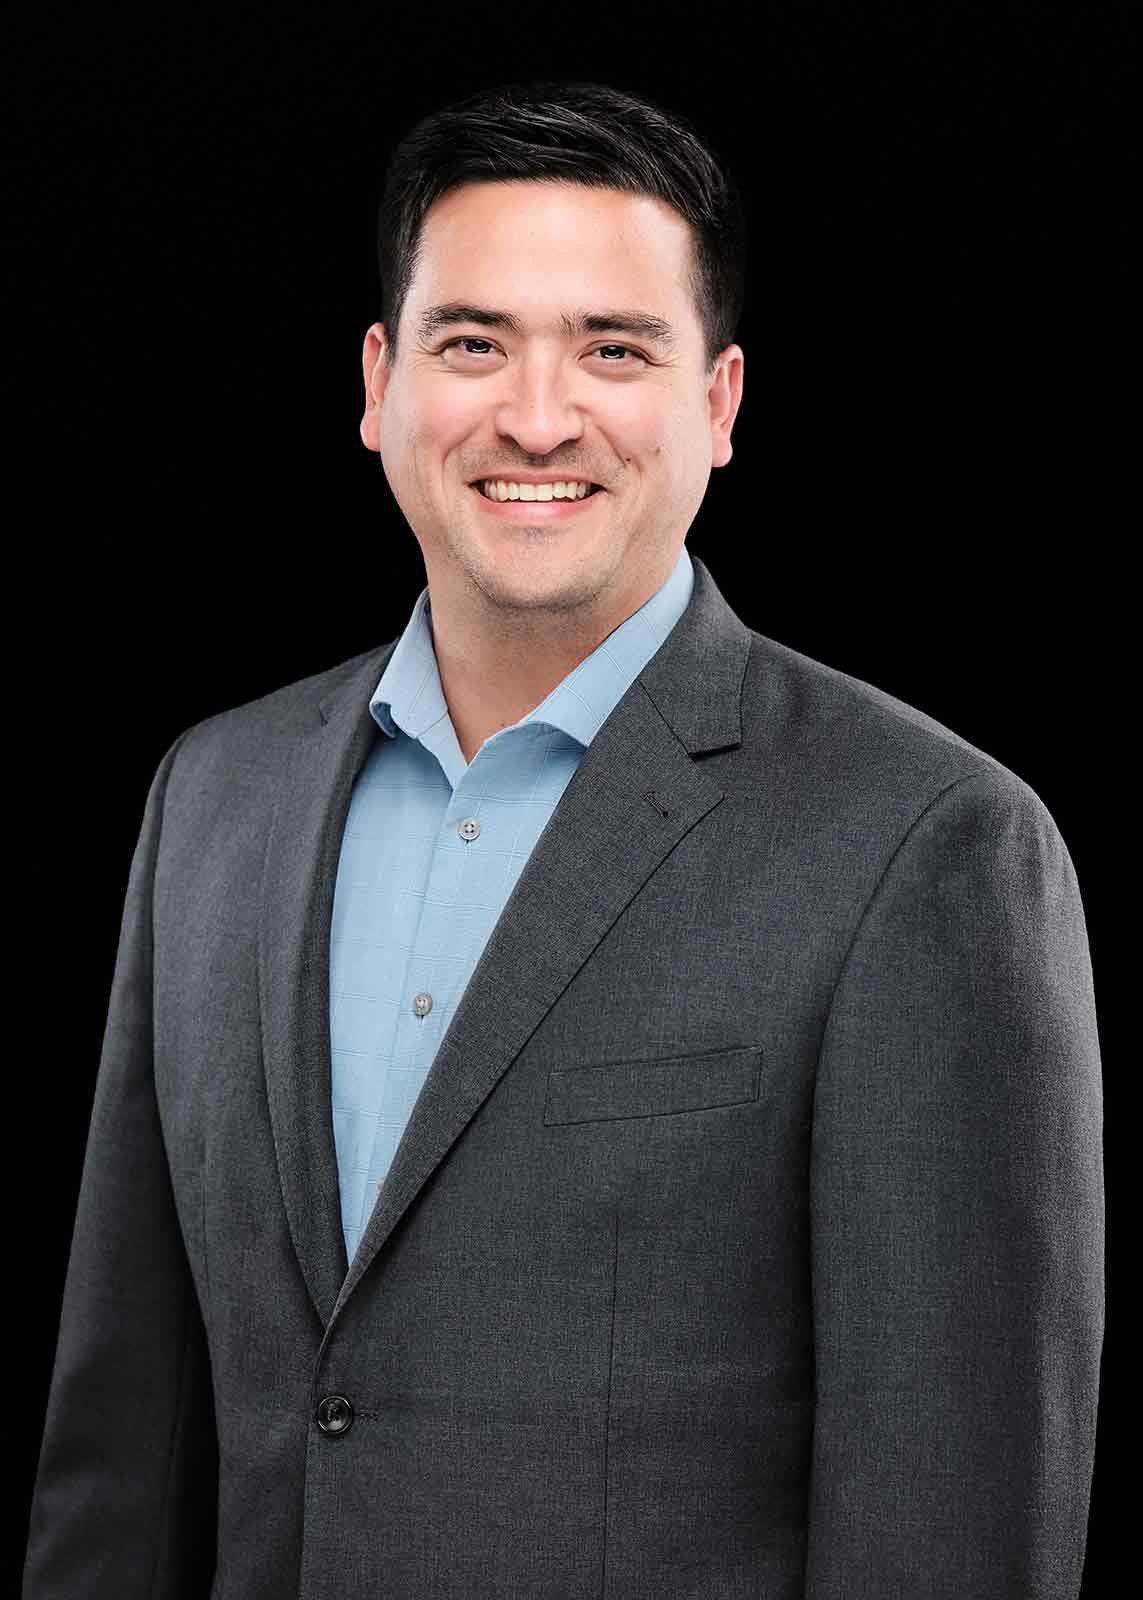

This Isn't for Everyone.
If you're looking for the cheapest headshot photographer in St. Louis, we're not it. You can find someone on Fiverr for $50.
But if you're someone who understands first impressions happen before you ever speak, then you already know: your headshot (or your team's headshots) are doing the talking for you right now.
That executive recruiter scrolling LinkedIn isn't reading your bio first. They're deciding in 3 seconds if you look promotable. That potential client checking your website isn't calling you because of your résumé, they're calling because you look like someone who has their act together.
Clients notice when your CFO's headshot looks nothing like your VP of Sales. Talent notices when your careers page looks like a patchwork of five different photographers over three years. Investors notice when your leadership team doesn't look cohesive.
Inconsistent headshots, or cheap ones, are a liability you can't afford.
We work with:
CFOs, hospital systems, and law firms that understand: your team's image is part of your competitive advantage
Executives and entrepreneurs who need to project authority without arrogance
Attorneys and consultants whose credibility starts with how they're perceived
Real estate agents and financial advisors who know trust is built visually before it's earned verbally
Medical professionals (physicians, dentists, surgeons) where trust is non-negotiable
Actors, models, and creatives who need range, not just one safe shot
If you're serious about how you're perceived, individually or as a team, you're in the right place.
Headshot Transformation Examples
Ready to Stop Settling for Amateur Headshots?
For Individuals:
Step 1: Pick your session type (Express or Standard)
Step 2: Choose your date
Step 3: Show up, we'll handle the rest
For Companies:
Step 1: Tell us your team size and timeline
Step 2: We'll send a detailed proposal
Step 3: We'll lock in your date
Call/Text: (314) 877-8877 | Email: hello@henrydavidphotography.com
St. Louis Headshot Studio
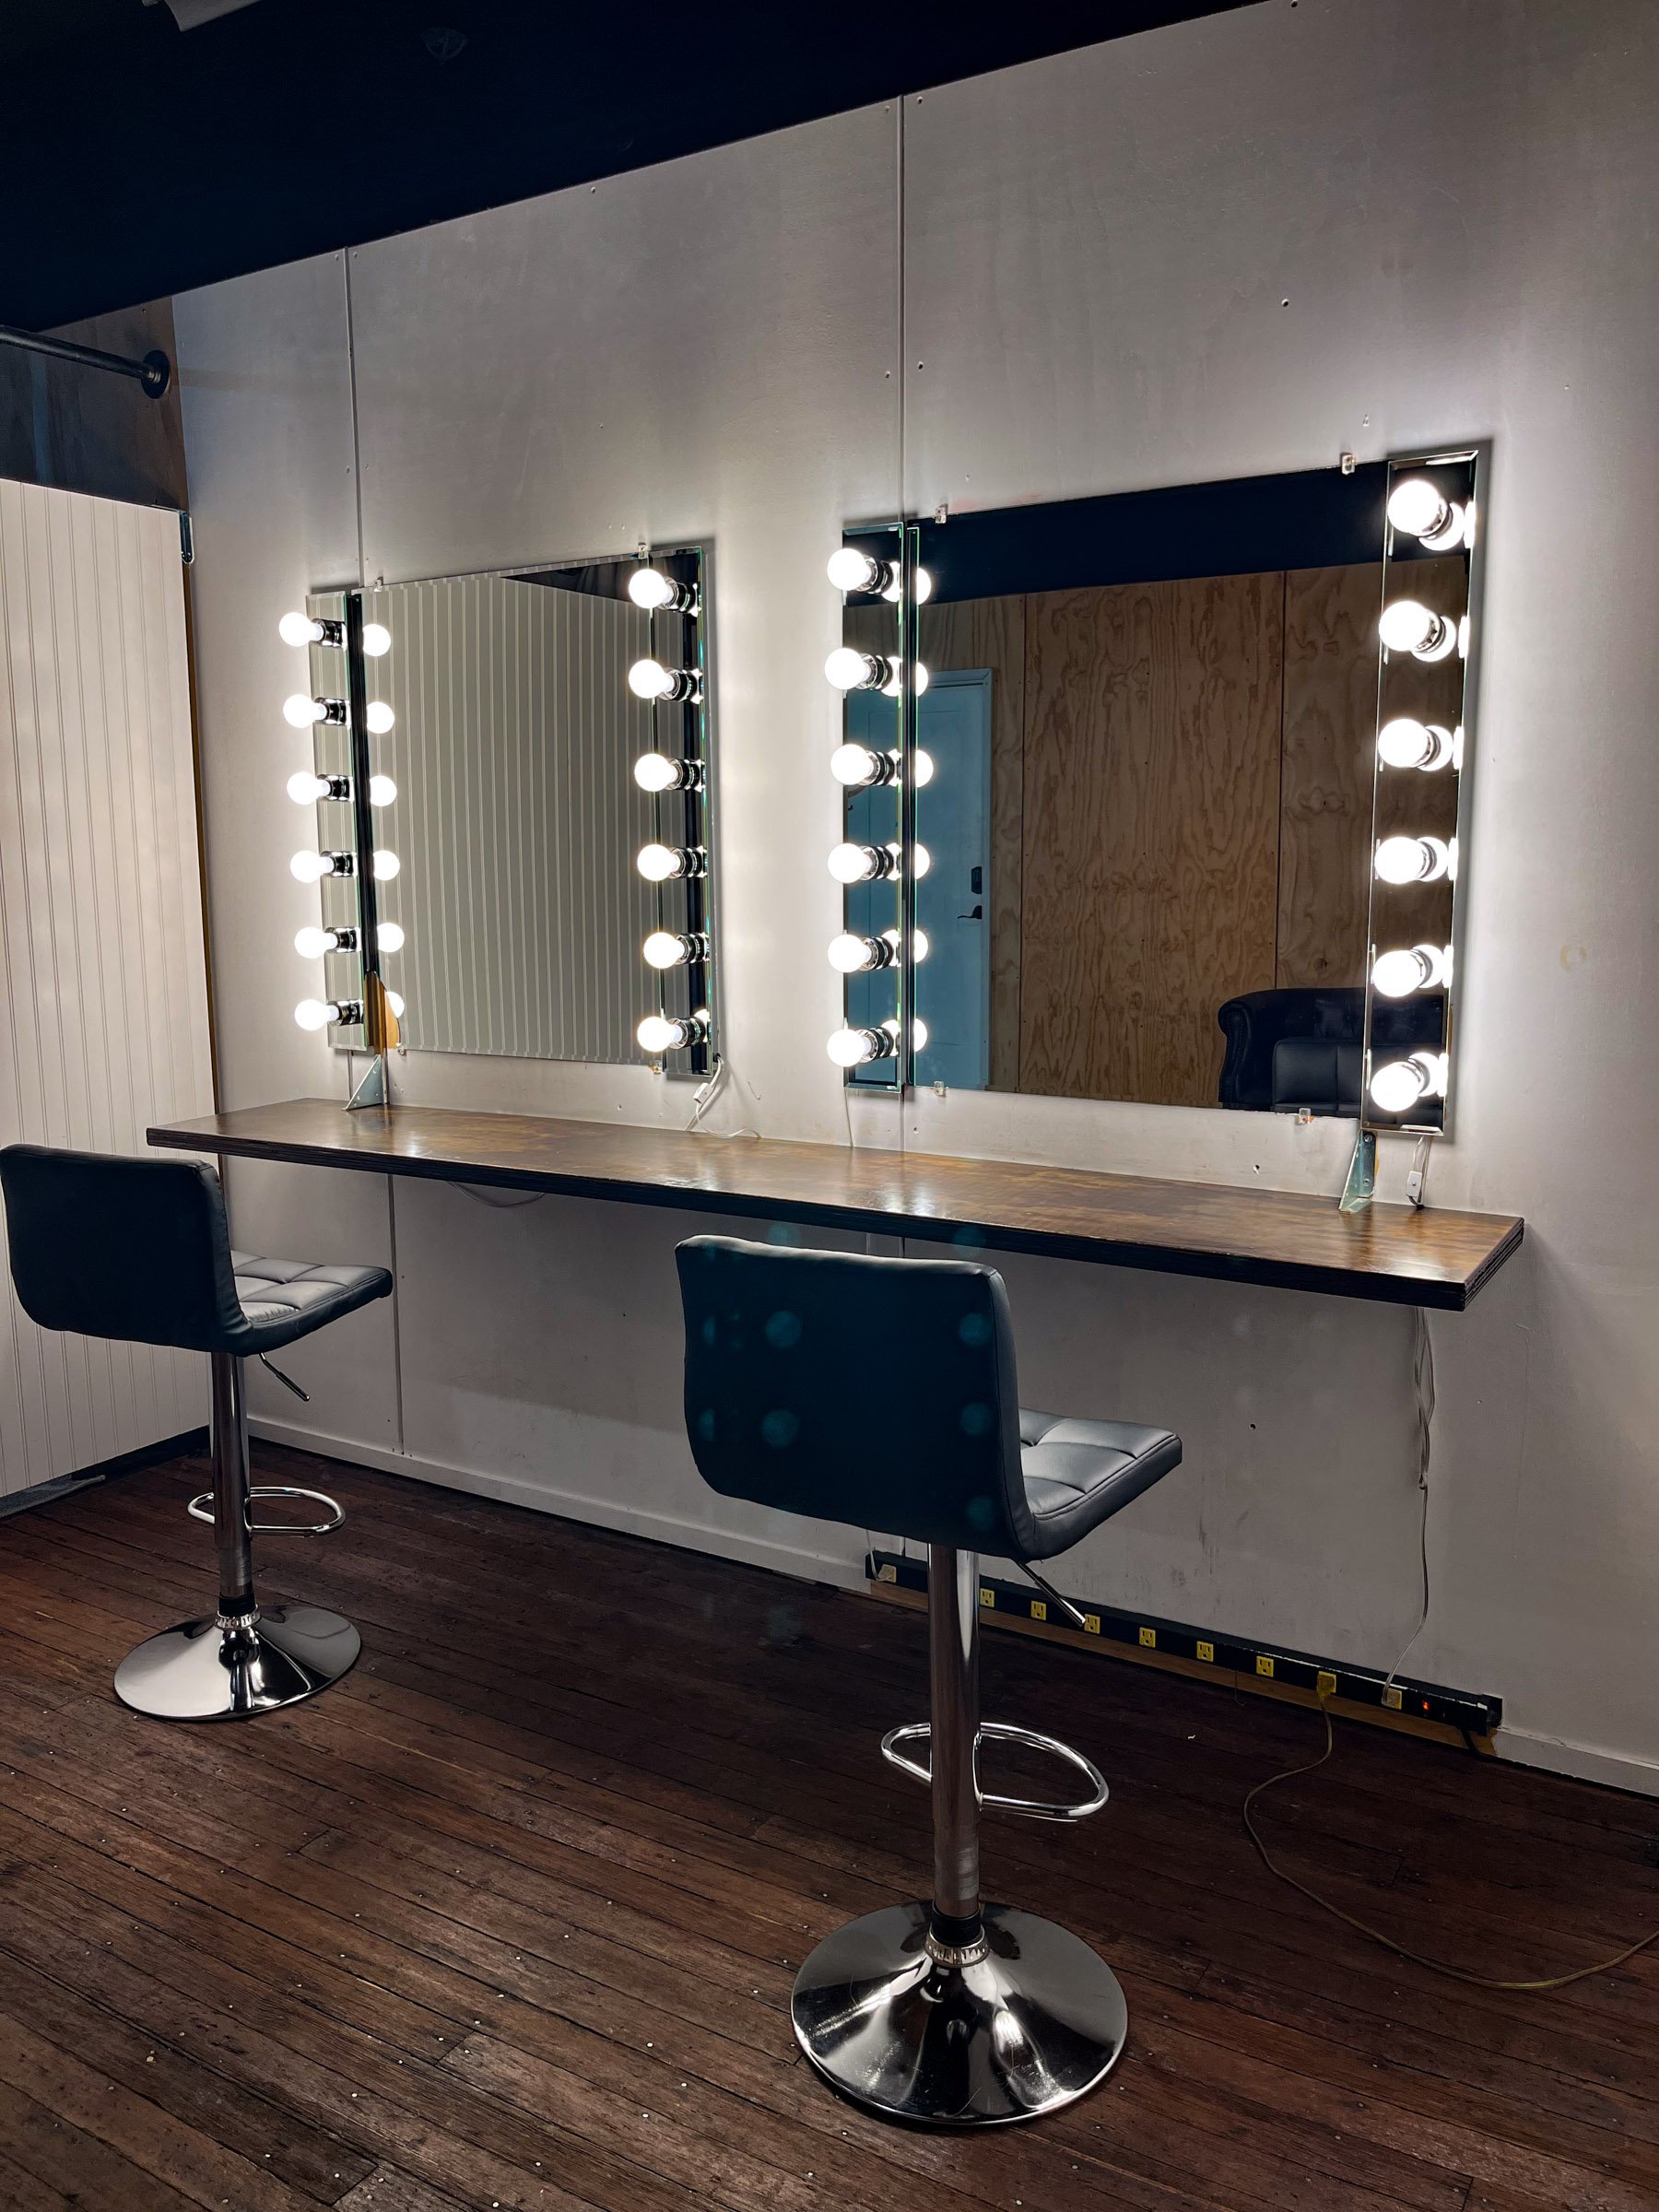
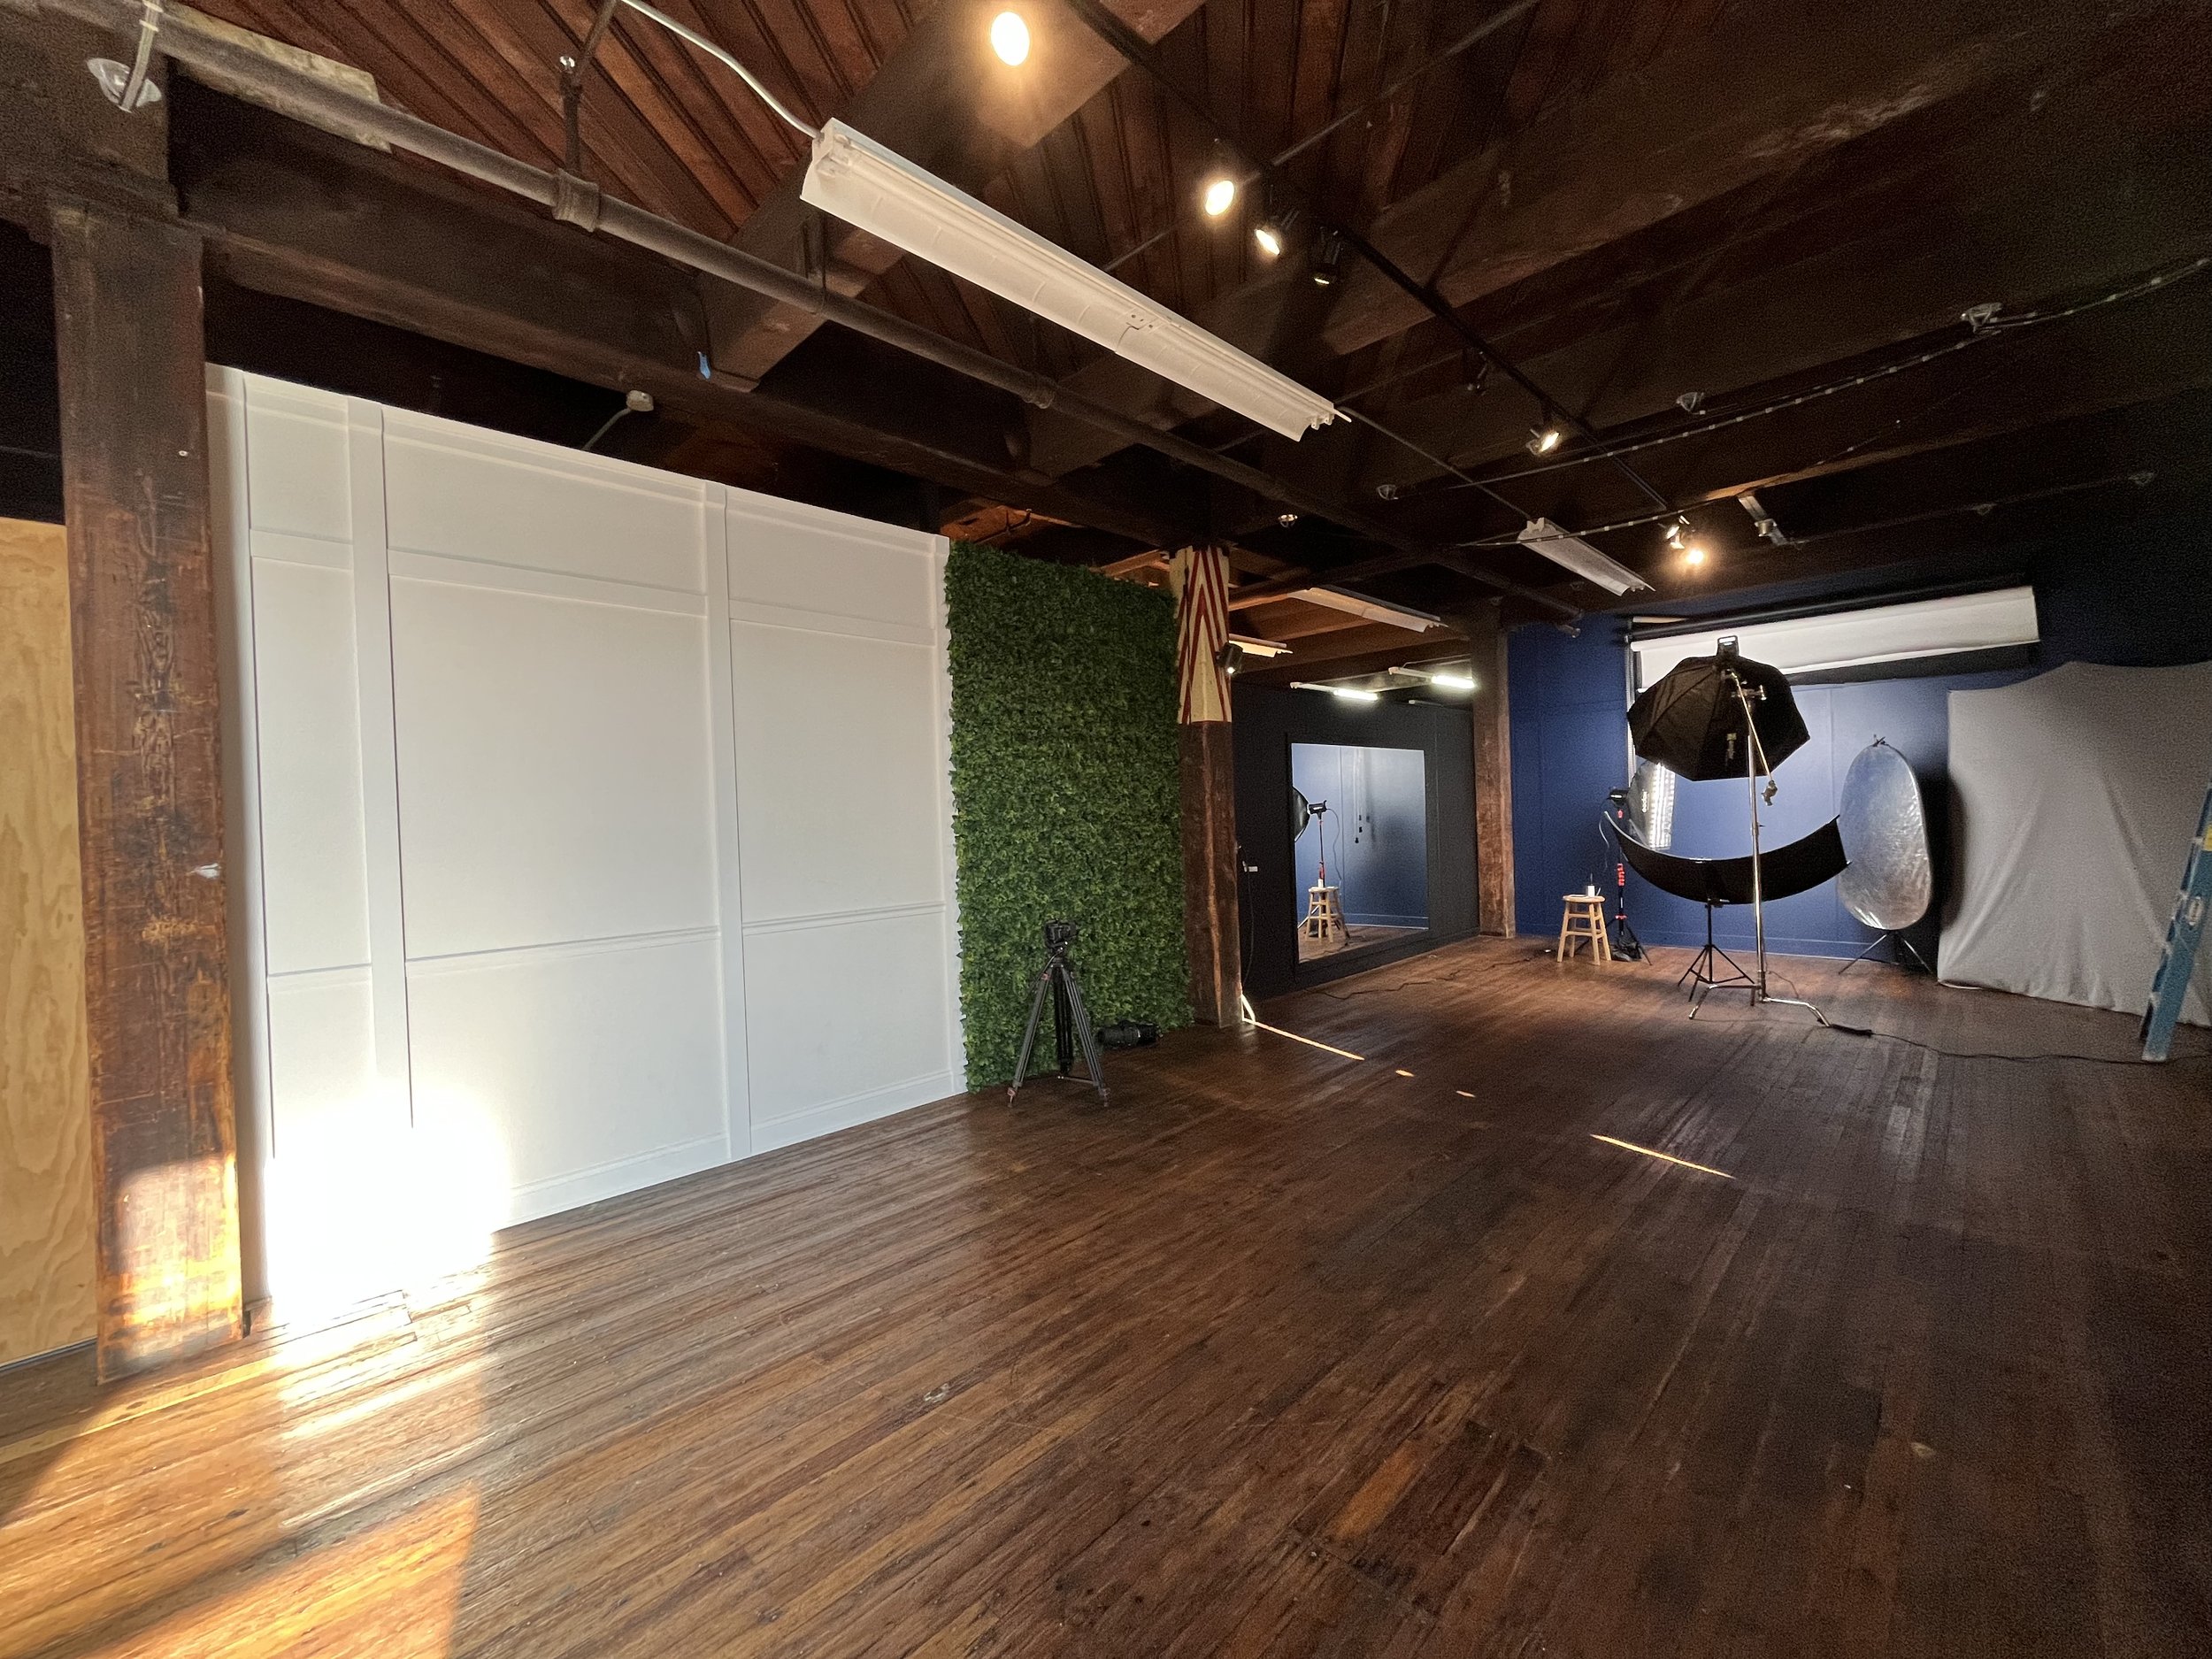
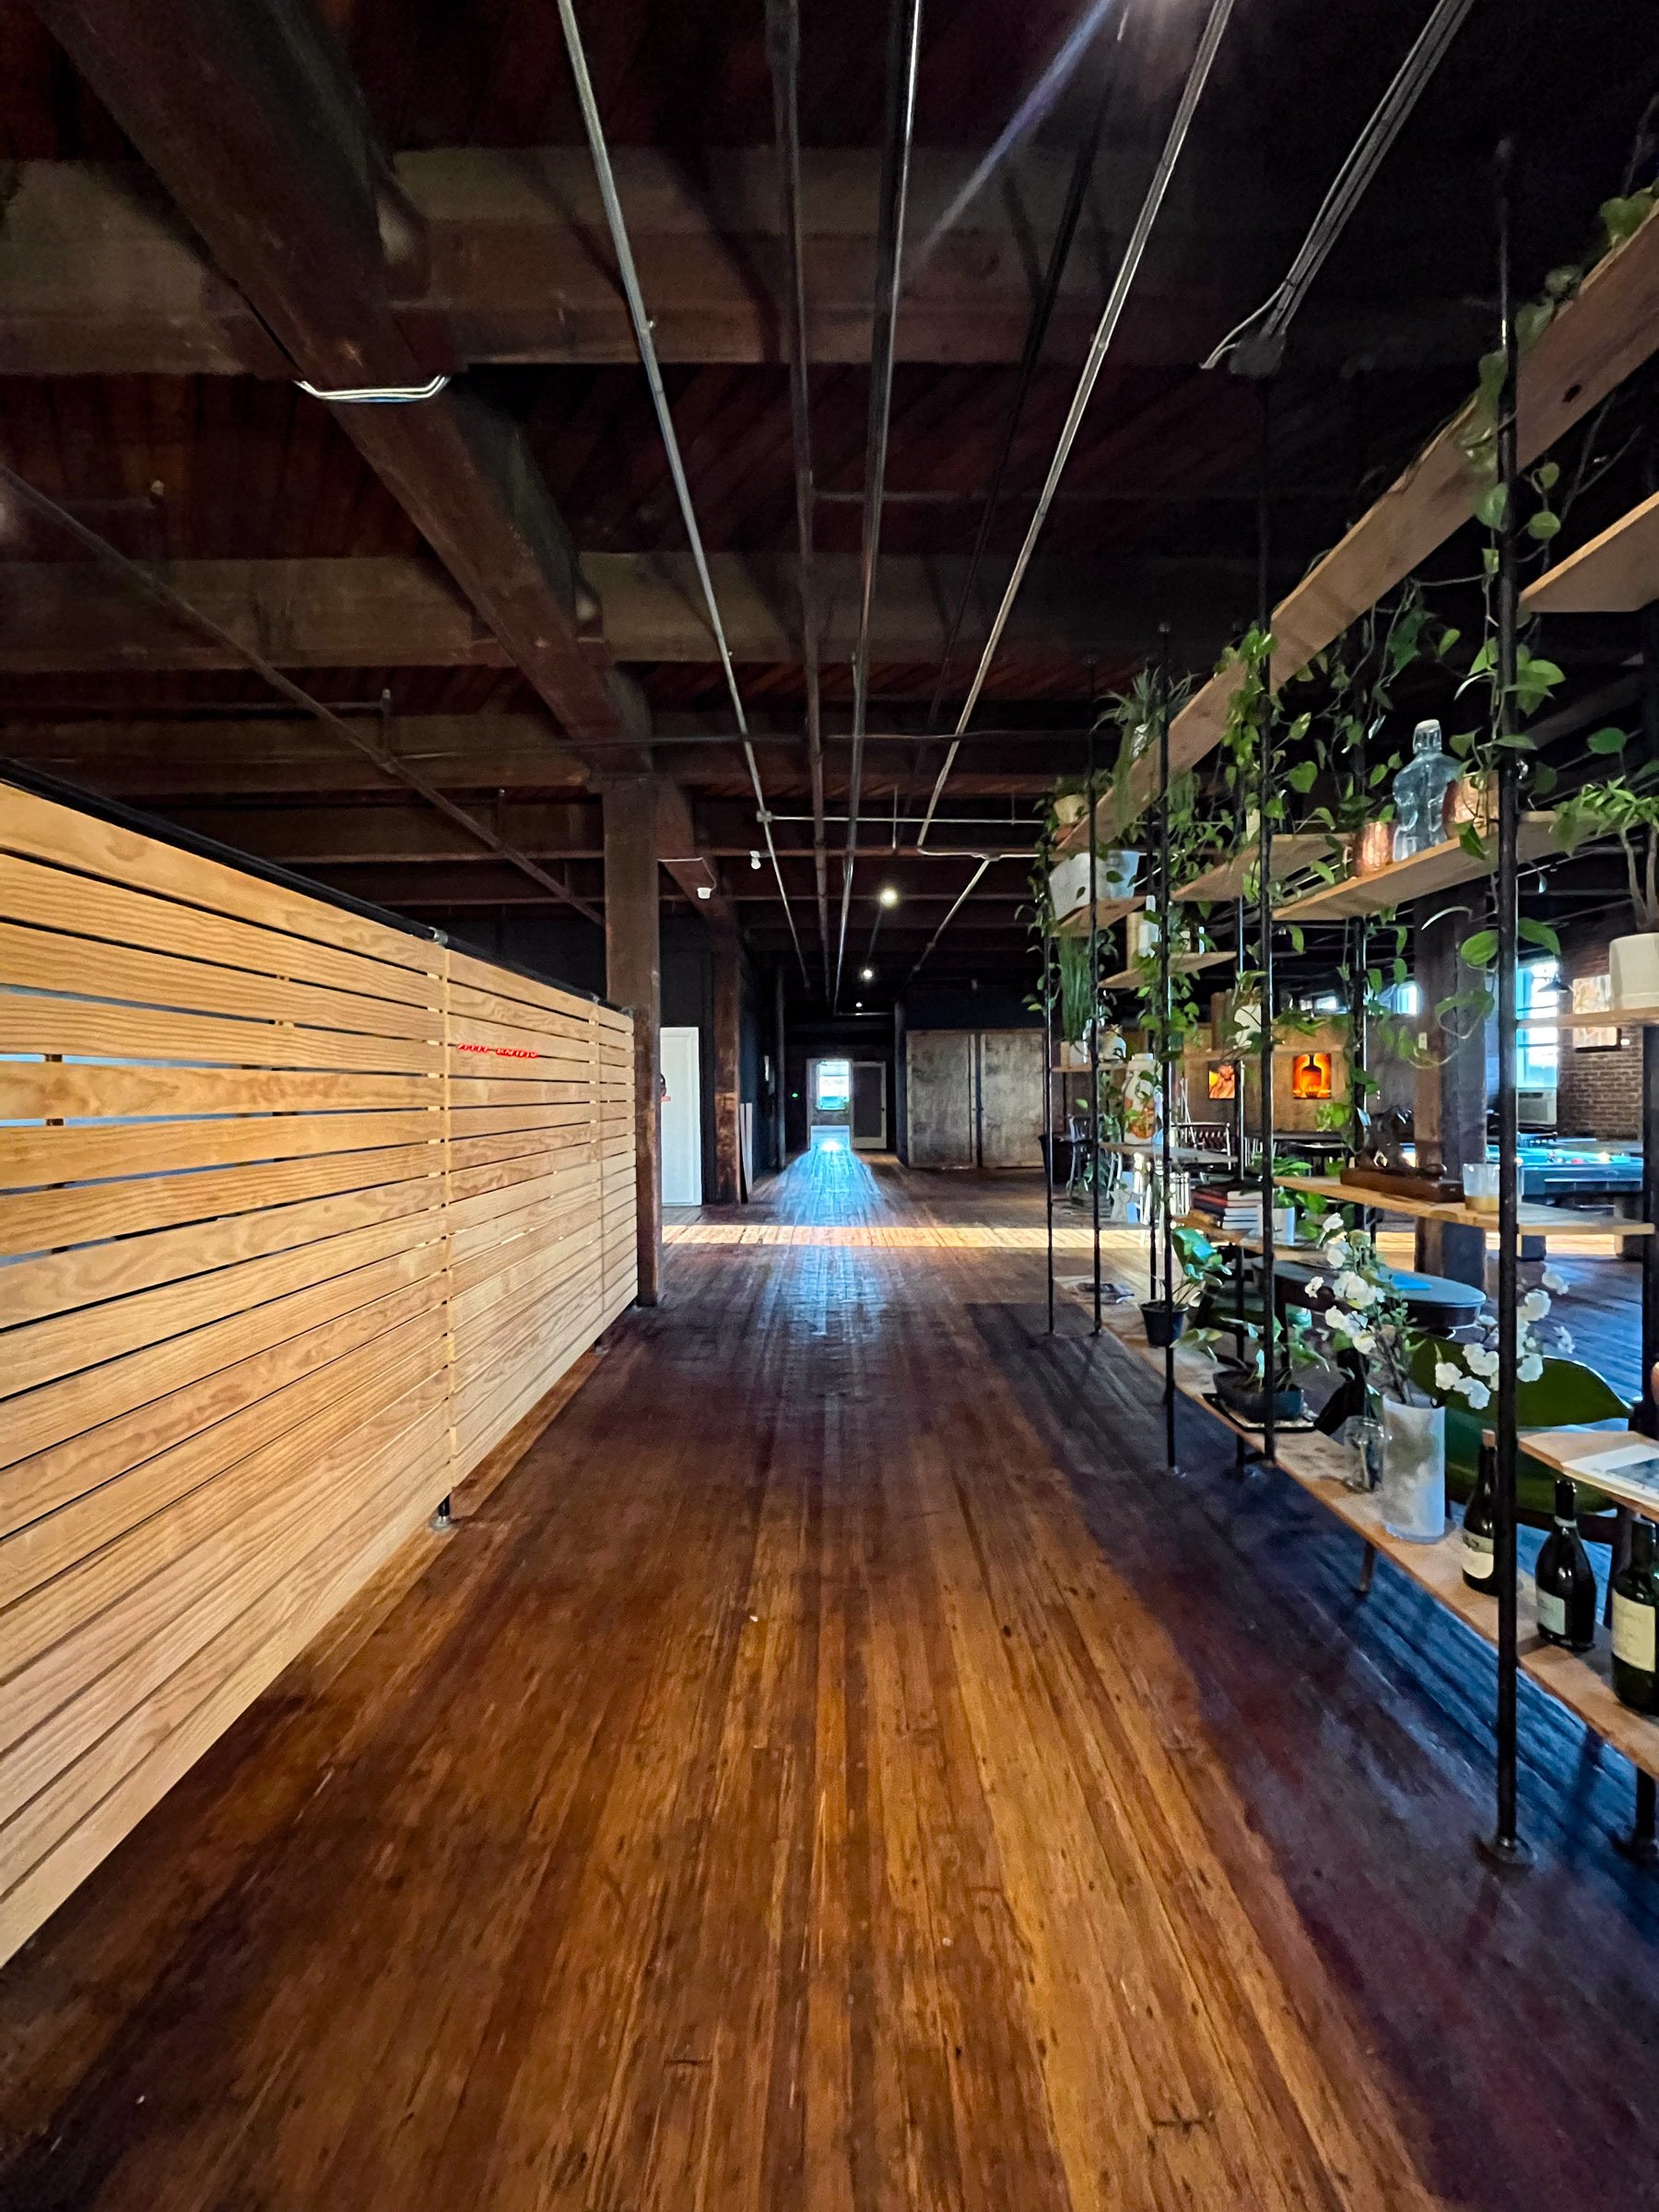
Take a peek inside Henry’s Photography Studio.
Features:
Spacious 1,000+ square foot studio
Makeup and Hair Station
Private Changing Area
3 Seamless Backdrops
Henry David Photography is a member of the Professional Photographers of America. He is rated as one of the top three best commercial photographers in St. Louis, MO.
Remote Employee Headshots
Do you manage marketing for a company located outside of St. Louis, with local employees based here?
We specialize in providing headshots that seamlessly match your existing company’s headshots, ensuring consistency and brand alignment.
Contact us today to learn more about our services and availability.
Get a Professional Headshot Quote
Please provide any details about your headshot needs, including preferred dates, session type (individual or team), and any specific requirements. We’ll respond promptly with availability and personalized pricing.
I’m based in Oklahoma City and contacted Henry for a last minute headshot photoshoot for one of our company’s remote employees based in the area. He was very communicative and flexible. His promptness allowed me to be at ease with the time constraints and I appreciate it very much. Naturally the project turned out incredibly well. Definitely book with him!
-Marc Adrian
“Henry did a wonderful job and was very easy to work with. His process is about as effortless as you could possibly make it. My questions were answered right away. He is very professional and made me feel comfortable being photographed (which I hate). The photos are lovely, and I have several outstanding photos to use.”
Your Brand Has Evolved. Has Your Team’s Image?
A new website. A fresh brand identity. But are your team’s photos telling the same story?
Branding isn’t just about logos and color palettes, it’s about people. The faces behind your company are what make it real, relatable, and trustworthy. Before your clients ever send an email or schedule a call, they’re looking to connect. Give them that chance.
I help marketing directors refresh their company’s image with modern, authentic team and leadership photos that match the brand they’ve worked hard to build. No stiff, outdated headshots. No lifeless corporate poses. Just real, confident, and engaging images that make your brand feel as dynamic as the people behind it.
Your audience isn’t just buying a service. They’re choosing the team they want to work with. Let’s make sure they see exactly why that’s you.
Boost ROI, build trust, and drive conversions with professional branding visuals.
Our corporate photography content helps marketing directors and executives align visual media with business goals - enhancing engagement, talent attraction, and customer credibility.
“In today’s content-saturated world, visuals are more than just pretty pictures, they’re performance assets. A well-executed branding shoot can elevate your perceived value, boost conversions, enhance recruitment, and build long-term trust in seconds. Whether you're leading marketing strategy or running the company, knowing how to leverage professional photography and videography as tools for ROI - not just aesthetics - is a competitive advantage.”
👉 Read the full Marketing Director’s Guide to ROI-Driven Branding Photography & Videography
On-Site Team Headshots for Missouri Public Health Institute
We brought our mobile headshot studio to Missouri Public Health Institute’s St. Louis campus to deliver fast, professional portraits for team members traveling in from across Missouri.
See how we make team and staff headshots easy for your organization.
A headshot is often your first impression. If you look your best, you'll feel confident, and this will come out in your headshots.
You’ve booked a headshot session and are preparing to come to your photoshoot. How should you prepare? Here’s what you can do to ensure effective results from the shoot:
Headshot Preparation & Style Guide
Sleep
You want to be as fresh and relaxed as possible on your shoot day. Drink plenty of water and get between 7 and 8 hours of sleep. Although we can remove dark circles during editing and retouching, you should get enough sleep on the night before to look truly well rested in your photos.
If for some reason you didn't get a good night’s rest, and you do have bags under your eyes, applying a cold compress to the area will help reduce the swelling.
Fully remove your makeup and be sure to moisturize your skin before going to sleep to freshen it up and prepare your skin for the photoshoot.
Grooming
Wash your face before the session to remove dirt and oil from your skin and to reduce shine.
Do not apply excess face lotion the day of your session - it will make your face shiny under the lights.
A great hair cut is key to looking sharp. We recommend getting a hair cut within three to seven days of your headshot session.
If you are curling your hair or if you have a hairstyle that needs complex styling, we recommend booking your session in the morning so your hair is in it's best condition for your photoshoot.
Trim your ear, nose, and eyebrow hairs if needed
If you shave daily, we recommend shaving within 4 hours of your session
If you have a beard, make sure it’s neatly trimmed
Don’t worry if you have razor cuts or irritation, this can be easily removed in retouching
Hair & Makeup
The hair and makeup in a professional headshot should be timeless, classic, and natural.
Professional hairstyling and makeup is not just for film and television. Studio photography requires lighting that is very similar to the lighting on a film set, so that shine on your forehead or nose, or the redness from getting too much sun will be noticeable in your headshot.
It is always a great idea to hire a hairstylist and makeup artist (I’m happy to recommend a few very talented stylists). However, if you plan on applying your own makeup, the most important thing is to wear a photo quality matte powder makeup that will reduce shine on your face. Also, try to balance out your skin tone and color, especially if you have red areas.
Acne or other skin conditions can be removed or reduced in retouching. Don’t overdo your makeup to cover up these blemishes.
Hair Dyeing: If you are not accustomed to dyeing your hair on a regular basis, please do not dye your hair in advance of your photoshoot. Gray hairs are best addressed in Photoshop editing.
Clothing
Keep it simple! Don’t overthink your wardrobe. Headshots are about you and not on what you are wearing. Your face should be the focus in the photograph, so avoid distracting patterns and loud colors.
Choose clothing and accessories with a timeless style. Unless you plan on frequently updating your headshot, it’s best to stay away from fashion trends that may date your headshot.
Dress appropriately for your industry. For example, a traditional business calls for a formal look while creative industries may allow for more flexibility. In general, it’s better to be over-dressed than under-dressed.
Make sure your clothes are wrinkle and lint-free before arriving.
Ladies: avoid loose hanging fabric in the sleeves and around the torso. Wear a jacket - jackets add structure around the arms and shoulders, they flatter and frame your face, and create leading lines that are aesthetically pleasing. Variations on professional include: suit jacket and button-up shirt, button-up shirt alone, suit jacket with blouse, cardigan and blouse, suit jacket and dress, cardigan and dress, dress alone.
Gentlemen: find your best suit, the one that makes you feel sharp and confident, and bring a few of your favorite ties if you are accustomed to wearing one. Variations on professional outfits include: suit and tie, suit without tie, dress shirt and tie, dress shirt without tie, sport coat and dress shirt, dress shirt and tie under v-neck sweater.
Color
Do wear colors but nothing too bold. Solid colors always work best and you cannot go wrong with matching colors in your outfit with the color of your eyes. Blue works for everyone. Earthy browns and greens are great choices for a timelessly understated look. It’s always better to lean toward neutral colors than to have multiple colors that compete with one another. Consider reviewing fashion catalogs or Pinterest boards for ideas. The models in these publications are professionally styled and will give you a good sense of clothing and color combinations. If your current wardrobe is out of date or does not fit you well, this may be a good opportunity to invest in some new clothes that will make you feel confident for your photoshoot.
Accessories
Keep accessories to a minimum and choose simple pieces that complement your outfit.
Bring more clothes than you’ll need so you have options. We can always assist you in choosing the most flattering outfits.
Bring any jewelry or accessories you wish to wear.
Bring any makeup and hair products you use to do touch-ups at the studio.
What to bring
If you have any questions about how to prepare that were not answered here, please send a message.
A splendid experience. Very professional and exquisite skills. Knows how to use lighting and can evoke any mood from his repertoire of incredible ability. Recommended for anyone seeking a professional headshot or something much more….
Dr. Tahir Rahman
Henry was very professional and I was pleased with how the session turned out. He was super friendly and I felt very comfortable shooting with him due to this being my first time. He suggested great spots for lighting and worked with what made me feel most confident. Henry shot my best angles and gave me guidance for posing. Highly recommend!
Carly Browning
Henry was extremely professional and prompt, and was able to slide me in for a photo shoot within hours of my request. He has an eye for detail while also being able to quickly get a number of shots and have a location in mind for the perfect background, very convenient for a busy schedule like mine. I'd strongly recommend Henry David Photography to anyone looking for professional quality!
Nicole Johnson
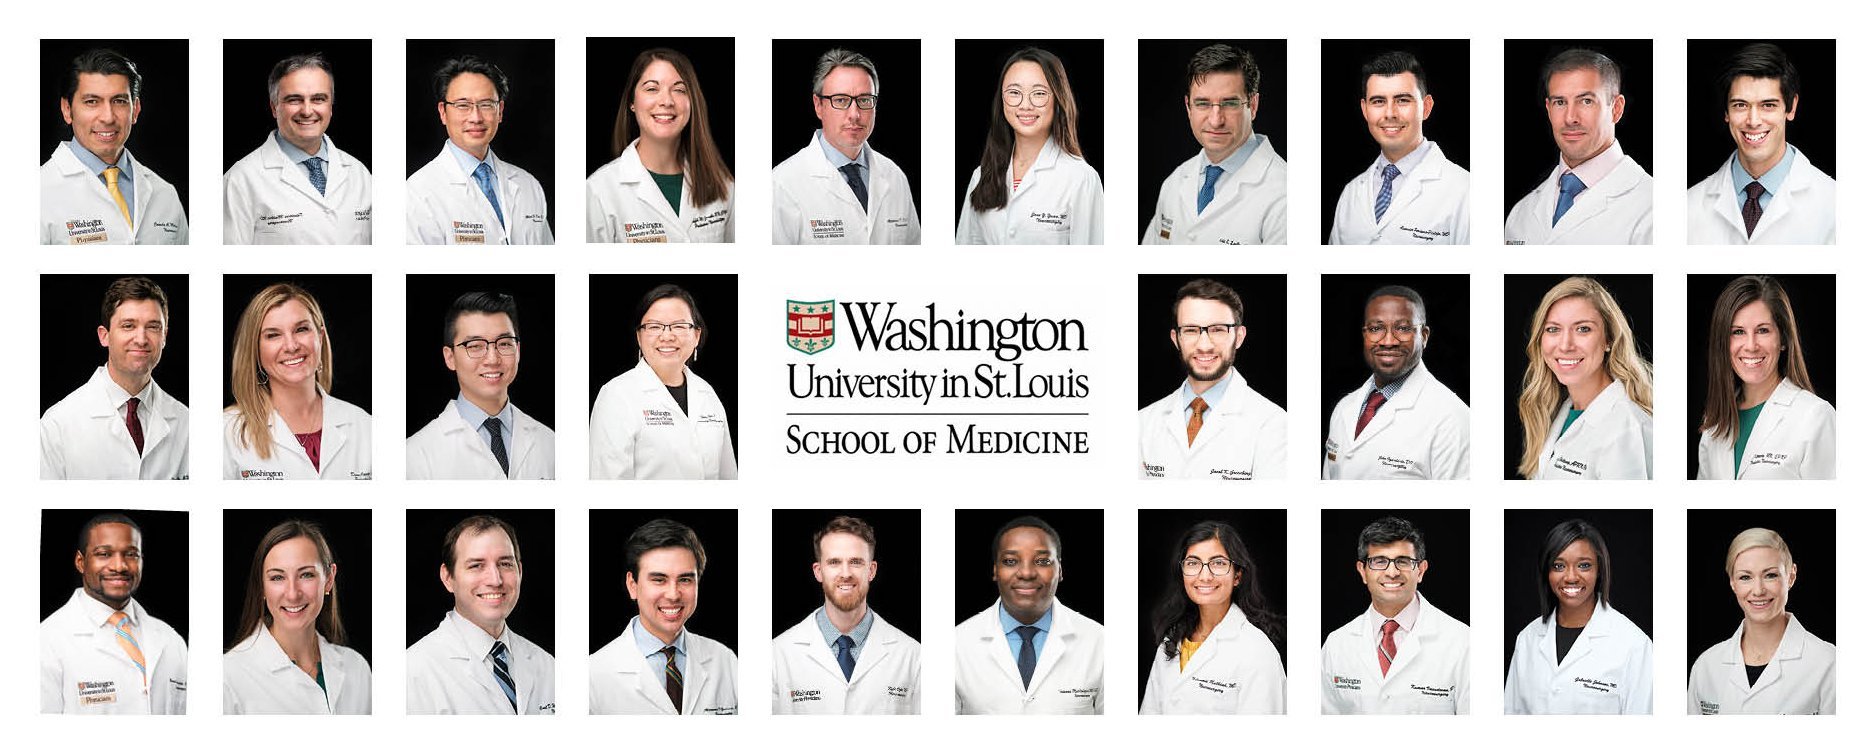
Client Spotlight: Washington University Neurosurgery
Capturing Excellence in St. Louis Healthcare
I had the privilege of returning to Washington University’s Department of Neurosurgery - one of the top-ranked neurosurgical programs in the country - to photograph their newest faculty, staff, and providers. Located right here in St. Louis, this thriving department leads the way in brain, spine, and vascular care, and it's always an honor to help represent the people behind such groundbreaking work.
A Full-Service Headshot Experience
For this on-site session, I brought my portable studio setup directly to the medical campus to accommodate their busy clinical schedules. Each session was quick, relaxed, and dialed in to match WashU Medicine’s professional brand standards. The result: clean, consistent, and expressive portraits ready for use on faculty directories, internal communications, and speaking engagements.
Need Professional Headshots for Your Medical or Academic Team?
Whether you're a St. Louis healthcare provider, university department, or startup team, I offer flexible headshot sessions that meet you where you are—literally and professionally. Reach out to learn more about on-location headshots in St. Louis and how I can help your team look its best.
What You Get That Most Photographers Don't Offer:
Real-Time Image Review (Tethered Shooting)
You see every shot as we take it. No surprises. No waiting. No "I hope this turned out okay." You leave confident.
Expression Coaching, Not Just Posing
Most photographers say "tilt your head" and hope for the best. I demonstrate every position. You mirror me. The result? Natural, confident expressions—not stiff, awkward poses.
24-Hour Turnaround
Your time is valuable. We deliver proofing galleries in 24 hours, not 2 weeks. Download, use, and move forward immediately.
Professional Retouching Included
Every final image is professionally edited. Skin smoothing, blemish removal, color correction. You look like the best version of yourself—not someone else.
Expert Healthcare Headshots and Marketing Photography
Trusted by Leading Physicians, Dentists, and Healthcare Executives
At Henry David Photography, we specialize in healthcare marketing photography, delivering professional headshots and event coverage that elevate the image of healthcare professionals and organizations. Our deep understanding of the healthcare industry's unique needs means we can create polished, client-facing headshots that convey trust, competence, and approachability—qualities essential in healthcare.
Washington University in St. Louis School of Medicine, Neurosurgery Department
Why Healthcare Leaders Trust Henry David Photography
We’ve had the privilege of working with top healthcare institutions like Washington University in St. Louis School of Medicine, where we were chosen among the top St. Louis Headshot Photographers to provide professional headshots for the entire Department of Neurosurgery. Physicians from one of the nation’s leading medical schools trust us to capture their professionalism and expertise in every image.
Marketing Content for Mind Body Talent St. Louis - Lifestyle Photography by Henry David
Healthcare Marketing and Rebranding Expertise
At Henry David Photography, we understand that your headshot is an essential part of your brand. We’ve partnered with healthcare marketing agencies like Tiller-Hewitt Strategies and Mind Body Talent to deliver high-quality executive portraits and event coverage that align with their rebranding efforts. Whether it’s supporting a corporate rebrand or covering healthcare events, consult with us to ensure that the visual content we create strengthens your brand and elevates your marketing strategy.
ERAS Headshots for Residency Applications
For medical students, a professional headshot is a critical part of the ERAS residency application process. At Henry David Photography, we help applicants present a polished, confident image that makes a lasting impression on residency programs. With extensive experience in ERAS headshots, we know how to create images that meet the specific requirements while reflecting the applicant's professionalism and dedication.
Headshots for Physicians and Healthcare Executives
We also have experience working with healthcare providers like Heartland Dental, Forefront Dermatology, Epiphany Dermatology, creating headshots that highlight the team’s expertise and approachability. For physicians, dentists, and healthcare executives, we deliver high-quality, professional headshots that enhance your reputation and help you build trust with patients and colleagues alike.
Why Choose Henry David Photography for Your Healthcare Headshots?
Industry Expertise: With years of experience working directly with leading healthcare organizations, we understand the importance of professionalism and trust in your imagery.
Customized Approach: We tailor every session to your needs, ensuring your headshot aligns with your personal brand and the image your patients and peers expect.
Quick Turnaround: We know healthcare professionals have busy schedules, which is why we offer efficient sessions and fast delivery without sacrificing quality.
Whether you're a physician, dentist, healthcare executive, or medical student looking for ERAS headshots, Henry David Photography is here to help you look your best. Our work will enhance your professional image and reinforce the trust your patients and team members rely on.
Book Your Healthcare Headshot Today
If you're ready to elevate your personal brand with a headshot that showcases your expertise, trust Henry David Photography. Contact us today to schedule your session and see the difference professional healthcare photography can make.
“Henry was incredible! The photos turned out beautiful, he made me feel comfortable and was able to capture great shots. As inexperienced as I am, he still made it enjoyable and helped guide me! Highly recommend!”
“Just amazing - I have never loved a headshot or the experience but Henry made it easy AND made me look good. Absolutely worth the investment”
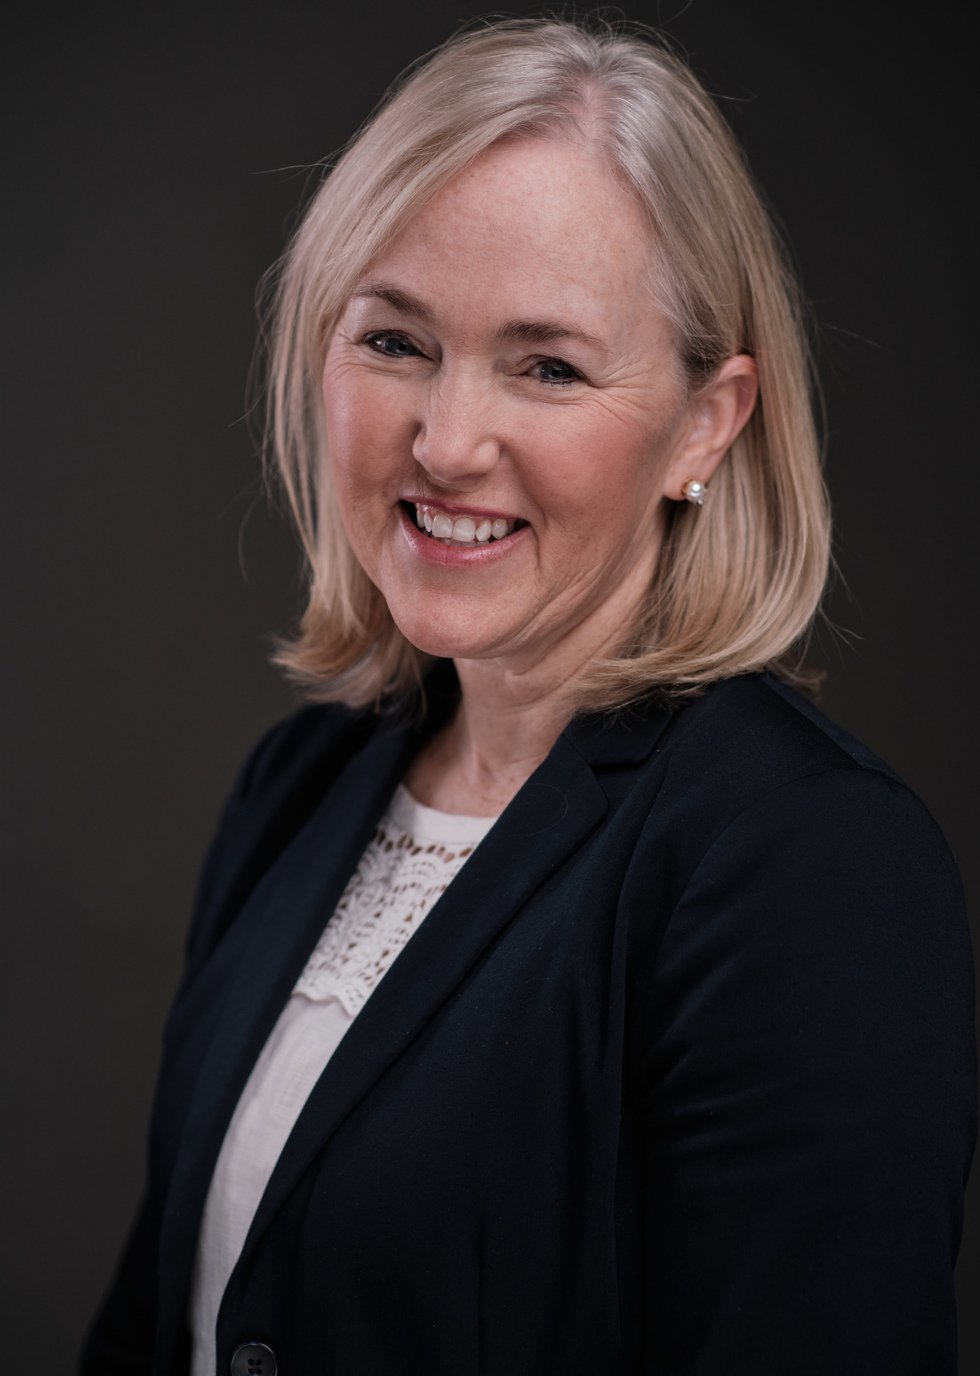
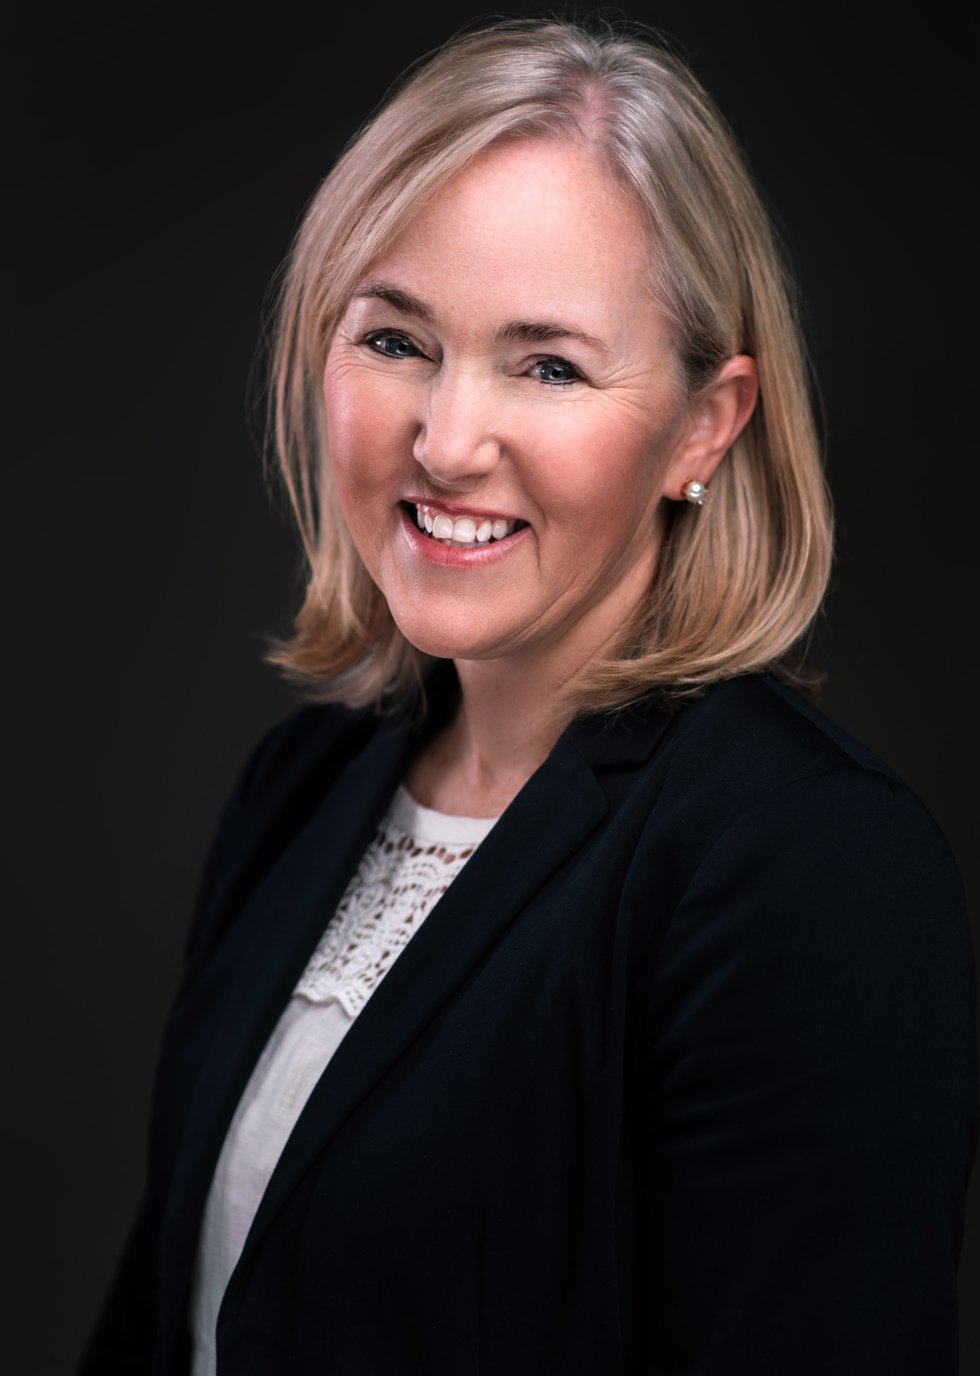
Headshot Editing & Retouching
Precise retouching is critical to the success of your headshot.
Every professional headshot can benefit from the editing and retouching process. Correctly executing these steps can transform your headshot photo into a marketing tool that has immediate and lasting impact.
Editing is at the heart of what I do as a professional photographer. If I’m not in the studio shooting, I’m at my computer retouching.
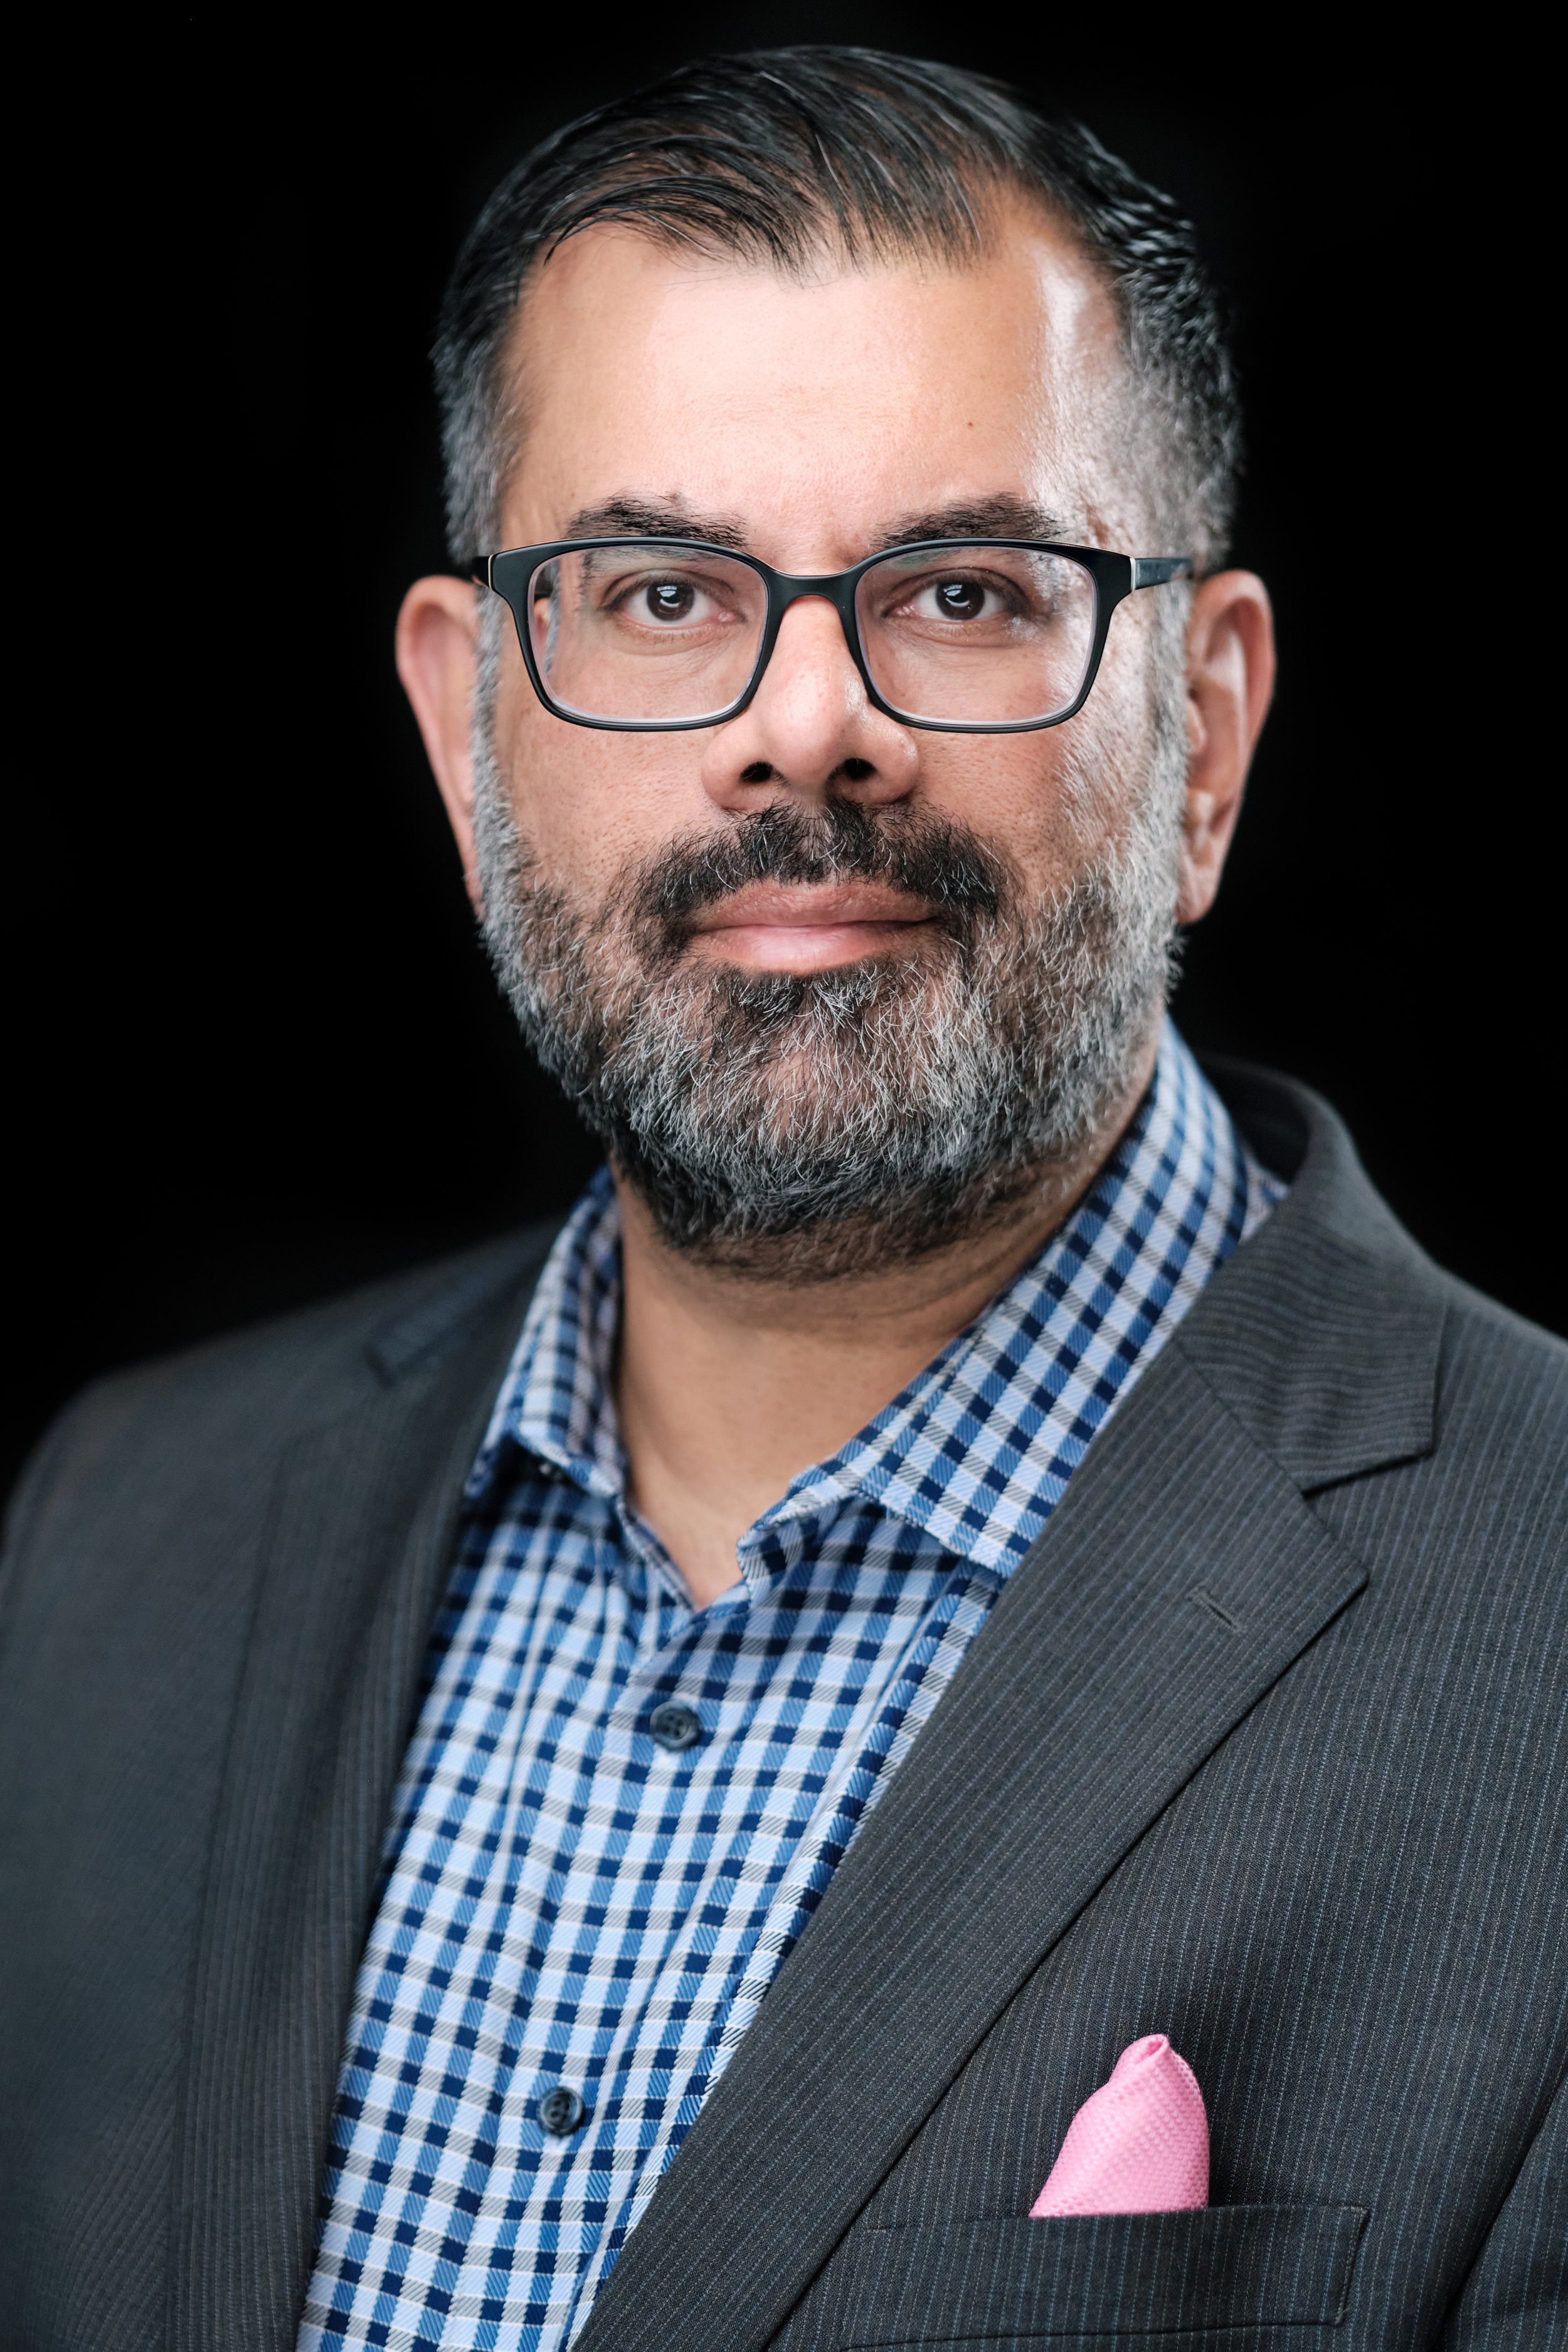
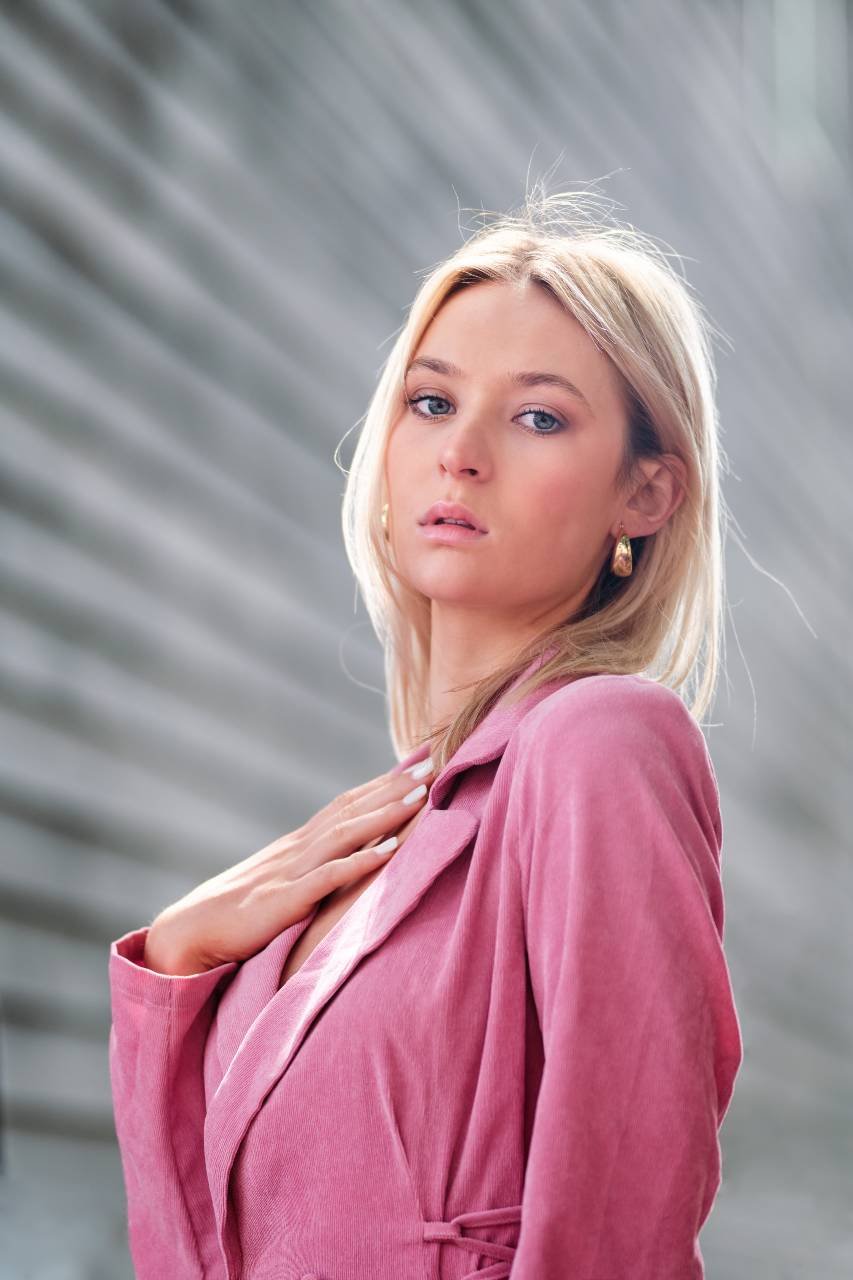
I’ve crafted a flexible approach that always produces a captivating polish to your headshot photo, and includes eye bag removal, wrinkle reduction, blemish removal, teeth whitening, eyebrow enhancement, facial slimming and more.














As we head into 2026, something has changed in a meaningful way. Cinematic mode hasn’t just improved visually; it now behaves much more like true depth of field. Thanks to larger sensors, smarter depth mapping, and LiDAR-assisted spatial data, the gap between computational blur and real optical behavior has finally closed.