
Studio Lighting for Portrait Photography: Mastering the Single Light
The best way to learn about lighting is to experiment with a single light and learn how to use it effectively.
In this article we will discuss how to study light, reverse engineer lighting setups, and how to vary a single light source to create a wide range of looks.
Photography is all about lighting.
Lighting is an important aspect of portrait photography because it helps to create a mood and bring out the best features of the subject. Different lighting techniques can be used to flatter the subject and create a desired effect.
For example, using soft, diffused light can help to create a warm and inviting atmosphere, while using hard light can create a more dramatic and intense effect. Good lighting can also help to reduce the appearance of blemishes and imperfections, and bring out the natural beauty of the subject.
Additionally, lighting can help to set the tone of the photograph and convey a specific message or emotion.
Natural vs. Studio Light
When we shoot portraits outdoors without the use of flash, we are only able to use available light.
Natural light can be very beautiful and effective, and some forms of natural light are very difficult to recreate in the studio.
However, if we want to have ultimate control over what a portrait communicates, it’s imperative that we master studio lighting.
Start with a Single Light
As a beginner photographer, the best way to learn about lighting is to experiment with a single light and learn how to use it effectively.
In the fashion photography world, using a single light is standard. That’s right - most of the magazine covers you’ve seen use just a single key light.
In this article we will discuss how to study light, reverse engineer lighting setups, and how to vary a single light source to create a wide range of looks.
Study the reflection in the eyes
We can reverse engineer the lighting just by looking at the reflection in the eyes. Let’s learn how to recreate most any lighting setup just by looking at the resulting photo.
The reflection made in the eyes (known as a “catch light”) of the subject gives us a lot of information about what lighting setup was used.
Let’s dive in!

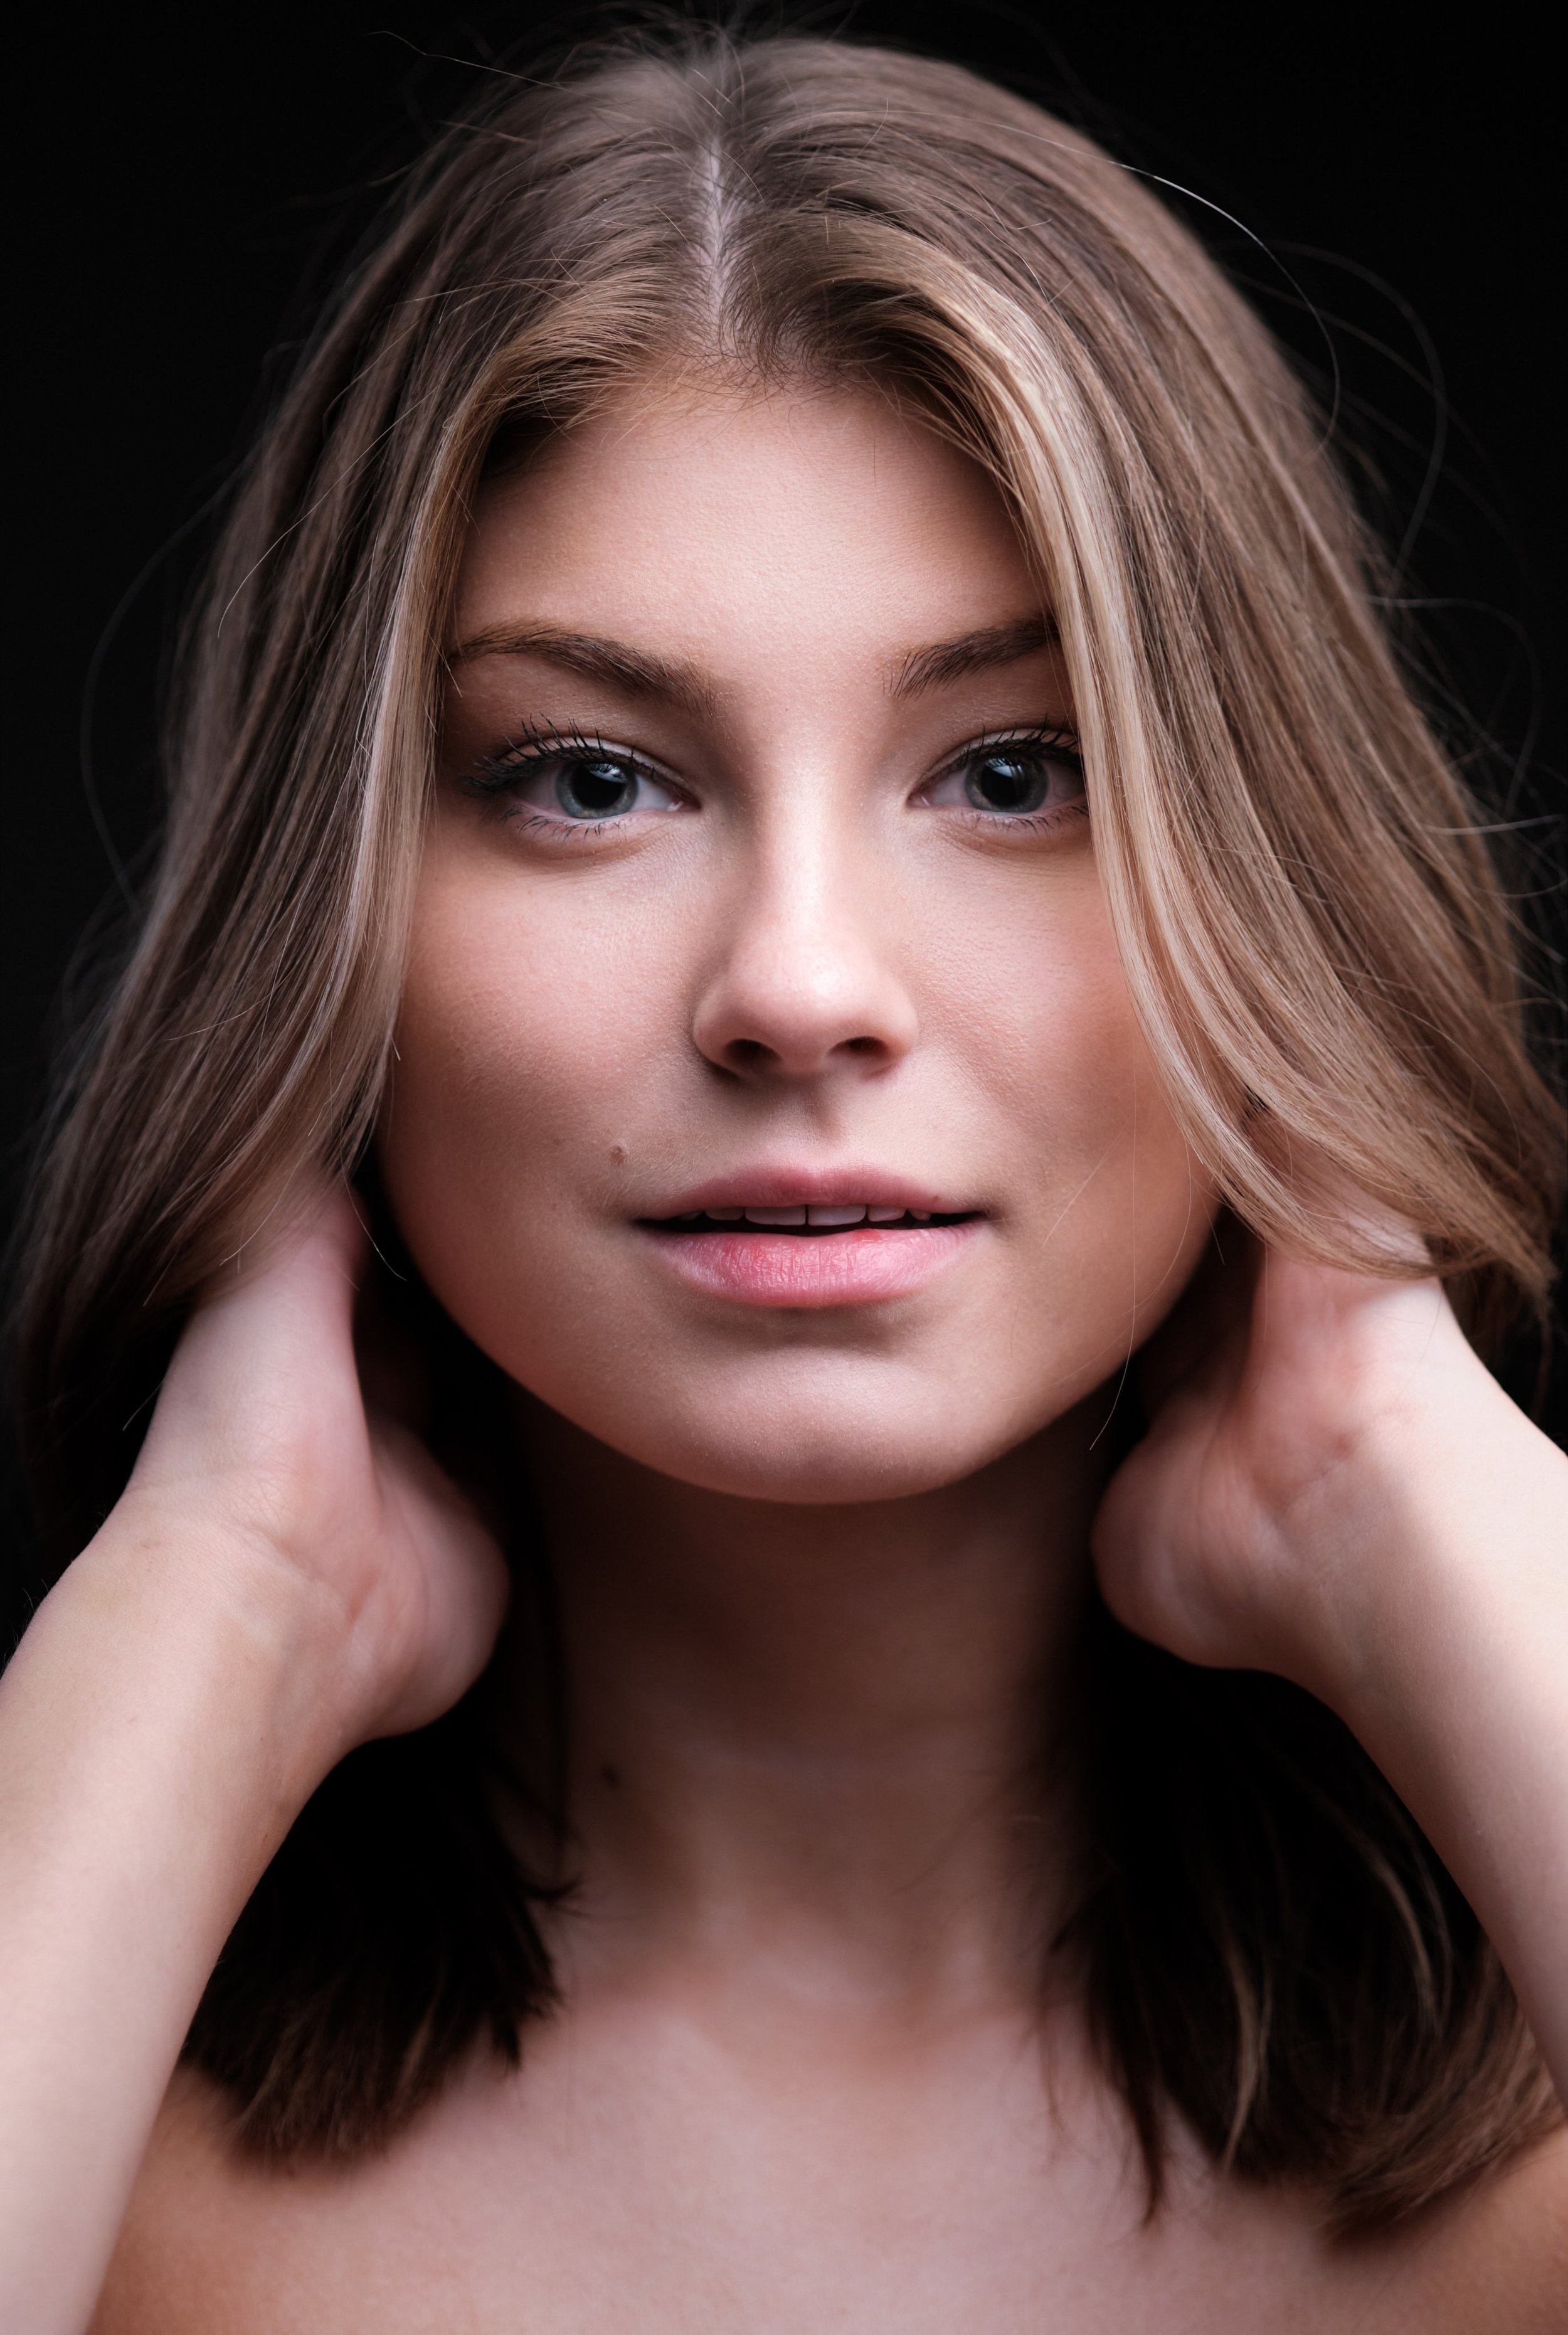
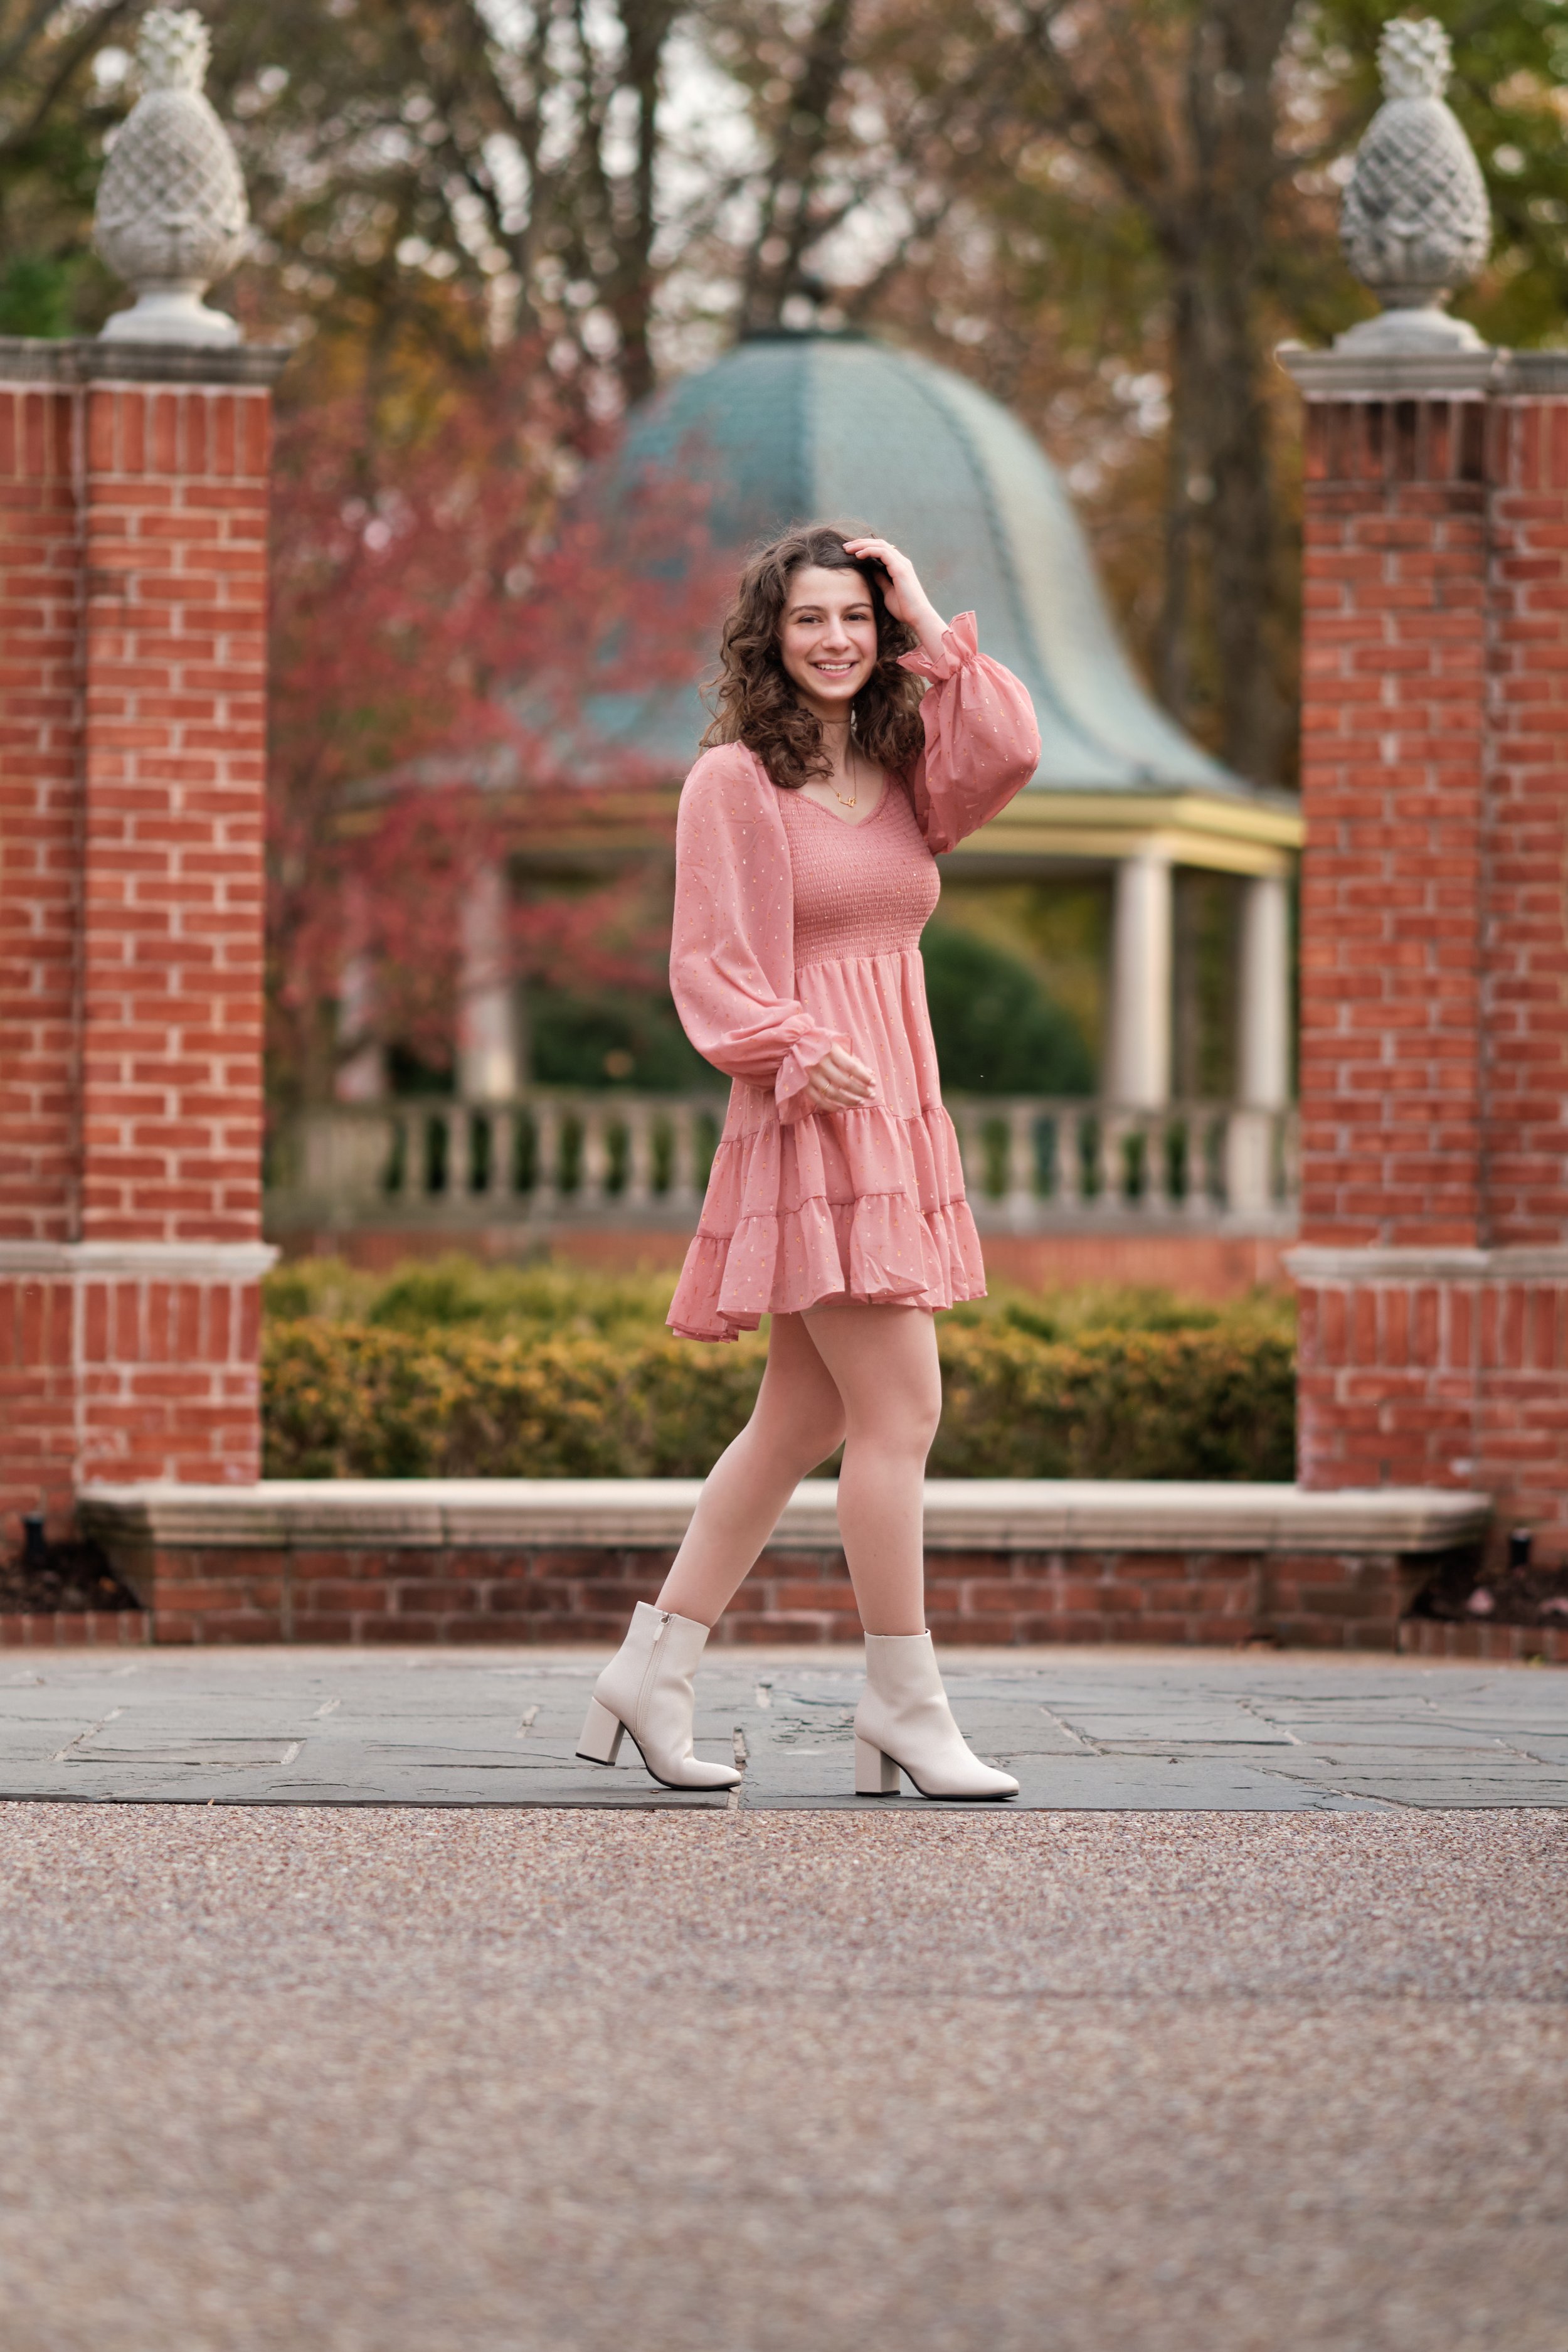
In this first example, we see a relatively large reflection that is slightly off center.
The large size indicates that this is a soft light source, which should produce a very blended fall-off from highlights to shadows.
The centering of the light should yield even lighting across the face, with perhaps a bit more shadow on the left (subject’s right-hand side) - opposite the side of the light source.
Here’s what we get:

Soft Overhead (slightly off-center) Lighting Example - Full Photo. Model: Emma Sweeney
Let’s try another one:

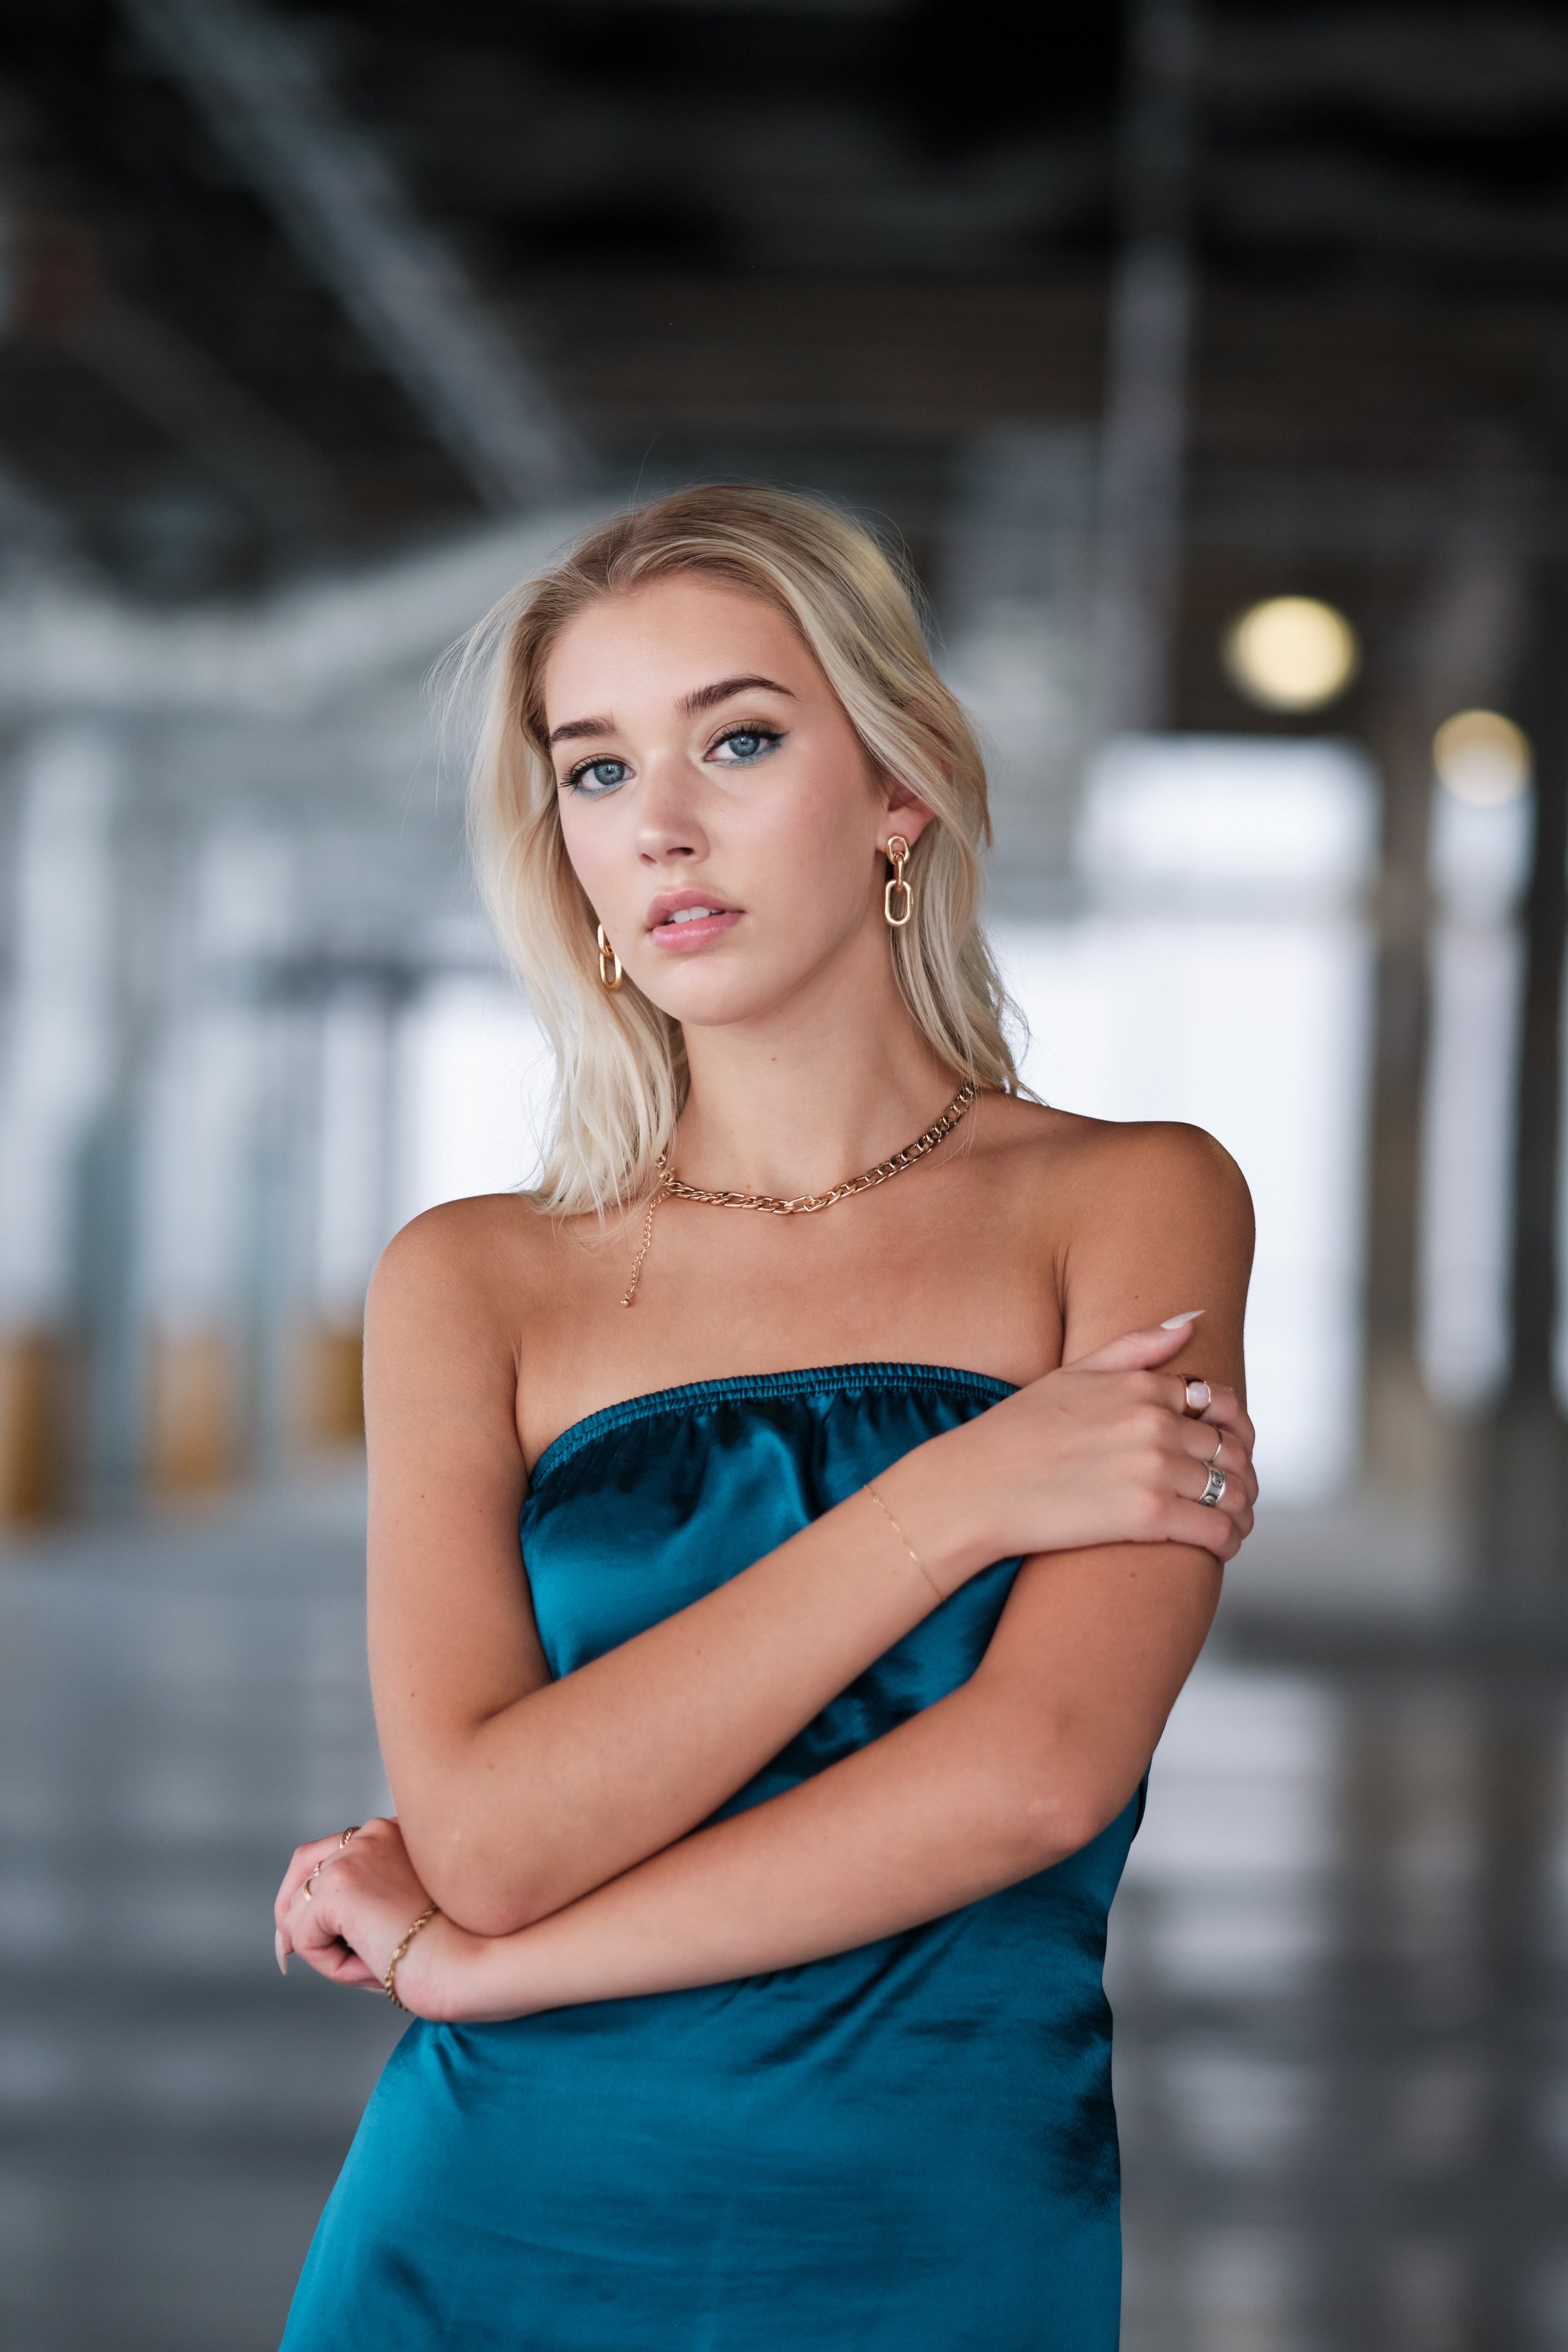
The catch light shows a large light source on the very left of the subject's left eye. What should the full photo look like?

Soft Side Lighting Example - Full Photo. Model: Taylor Natvig
Did you guess correctly?
Study the transition between highlights and shadows to determine whether a hard light or a soft light was used.
In photography and lighting, the terms "soft light" and "hard light" refer to the quality of the light source. Soft light refers to light that is diffused and creates soft, gentle shadows. This type of light is often described as warm and inviting. Hard light, on the other hand, is more direct and creates sharp, well-defined shadows. Hard light is often described as cold and harsh. Harsh lighting may sound unflattering but in certain instances, particularly in fashion and contemporary beauty publications, it can be used to great effect, producing bold, eye-catching images.
Examine the size of the catch light. This shortcut reveals a universal rule of photography. As a light source becomes smaller relative to the subject, the light turns from soft to hard.
There are two ways to achieve a smaller light source: 1. use a smaller light modifier, or 2. move the light away from the subject (in this case you will need to turn up the power to correct for exposure).

Notice how tiny the white catch light appears in the model’s eye. Without seeing the shadows and highlights in the rest of the photo, we can expect to see defined harsh shadows.
From the placement of the light (in the upper left hand side, but not on the extreme left) we can also predict that the lighting will be “Rembrandt” lighting, resulting in the characteristic “triangle shadow” on the opposite side of the nose.

Hard Lighting Example - Full Photo. Model: Sasha Emiri
Here’s the triangle shaped shadow that invariably results from using a Rembrandt lighting setup where the key light is positioned/angled 45 degrees toward the subject, both from above and on either side.

Rembrandt Lighting Shadow, abrupt transition from highlight to shadow
I’ll leave you with a slightly more advanced single light setup. Can you tell where the light is positioned relative to the subject, just by looking at the reflection of the eyes and the pattern of highlights and shadows?

What type of light source was used? Where was it positioned?
Model: Emma Sweeney
The Gear
The question I’m most often asked is what gear do I use? Although I love cameras, lenses, and lighting equipment as much as the next photographer, it’s important to remember that the gear is not nearly as important as how you make use of it and what you put in front of the lens.
All the photos above were taken with the Fujifilm X-T4 using the Fujinon 90mm f/2 shot wide open, and the light modifier used was a 7 foot Westcott Parabolic Umbrella (with diffusion for the soft light shots) and the Godox AD600 Pro Flash Strobe.
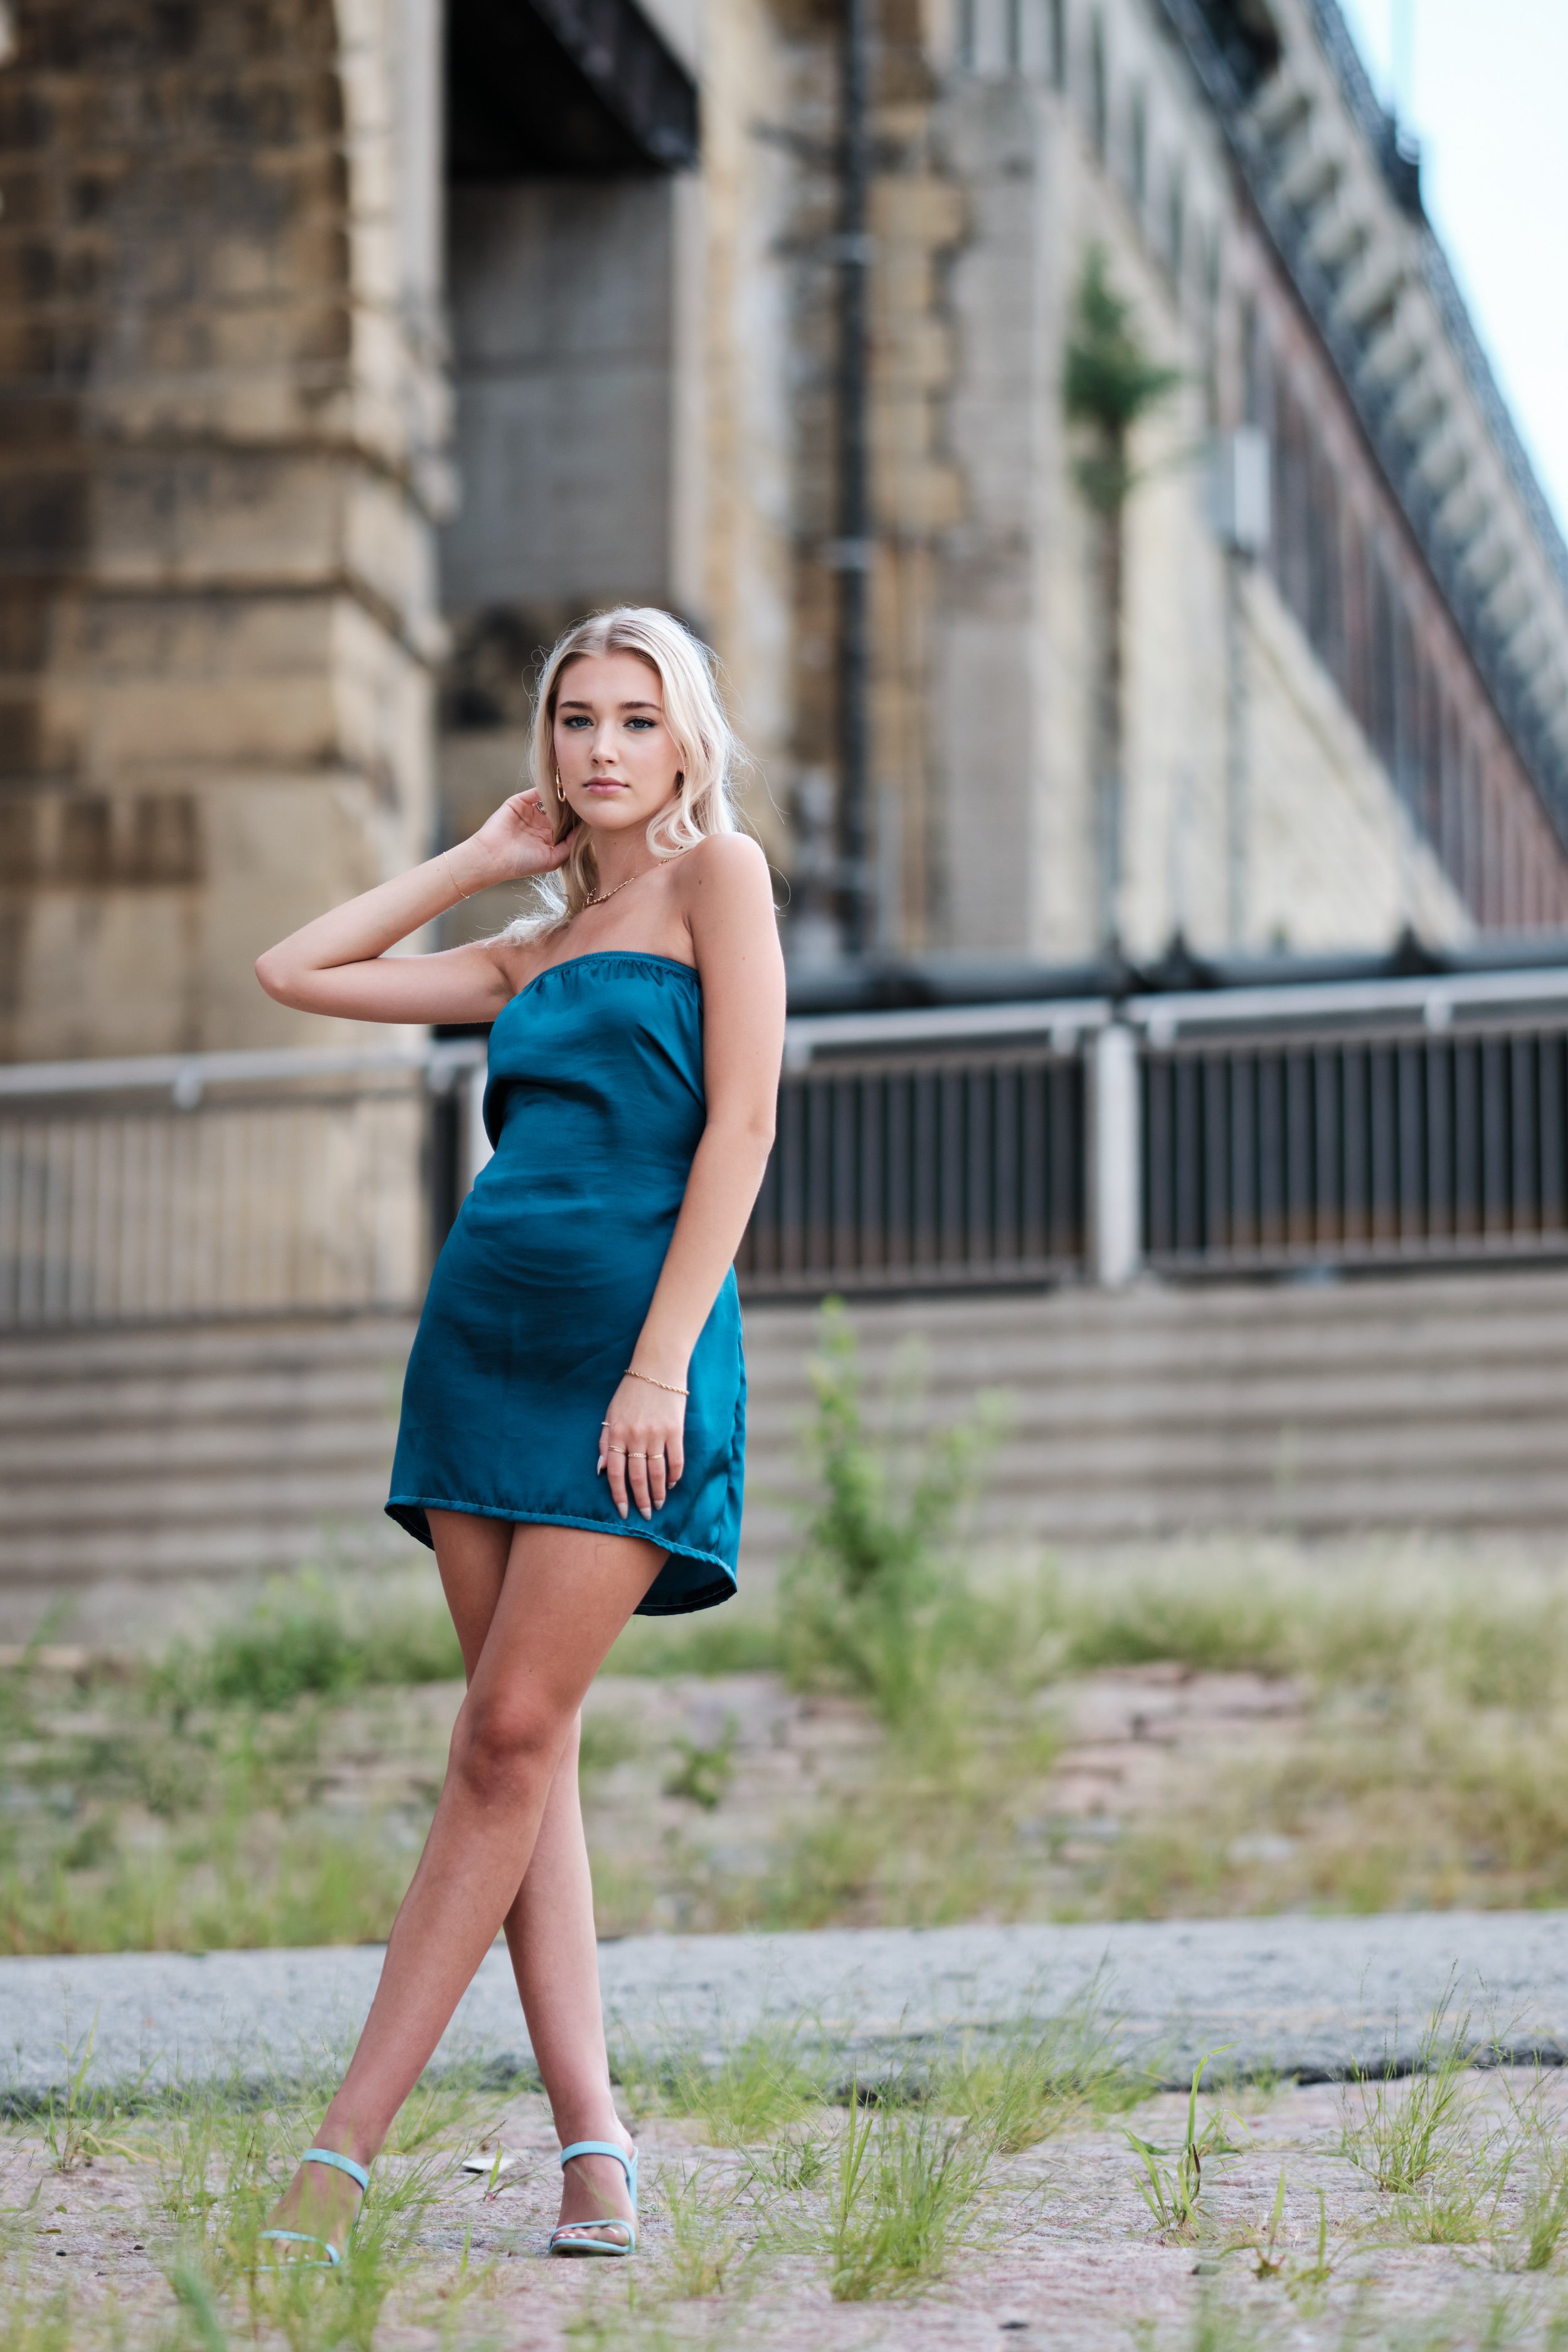
Instagram Worthy Spots in St. Louis: “A Not So Secret” Guide - Vol. 1
What makes it so special, you ask? Well, you couldn’t ask for better natural lighting…
It may sound overdone, but there are many good reasons why parking garages make for great Instagram-worthy spots: the urban-industrial concrete, neutral colors, leading lines, and rooftop access for city skyline views, the list goes on and on.
That said, the not so secret spot I’d like to recommend to you is not your average parking garage!
Located across the street from the U.S. Bank building in downtown St. Louis, the 7th Street Parking Garage is quickly becoming a favorite photo location of this St. Louis based portrait photographer.
What makes it so special, you ask? Well, you couldn’t ask for better natural lighting…
Check out the amazing, flattering, soft light you get through these floor-to-ceiling panel windows. They’re frosted in a way that diffuses the sunlight as if a photographer were consulted to design them.

Fitness Model Morganne Venters, lifestyle portrait photoshoot at the 7th Street Parking Garage in downtown St. Louis. Natural diffused light from floor to ceiling frosted window panels.

Fitness Model Morganne Venters, lifestyle portrait photoshoot at the 7th Street Parking Garage in downtown St. Louis. View with backlighting from the west wall.
If that weren’t enough, there is a giant greenhouse-style arched roof that makes for some wonderfully compelling portraits with soft, beautiful overhead lighting.
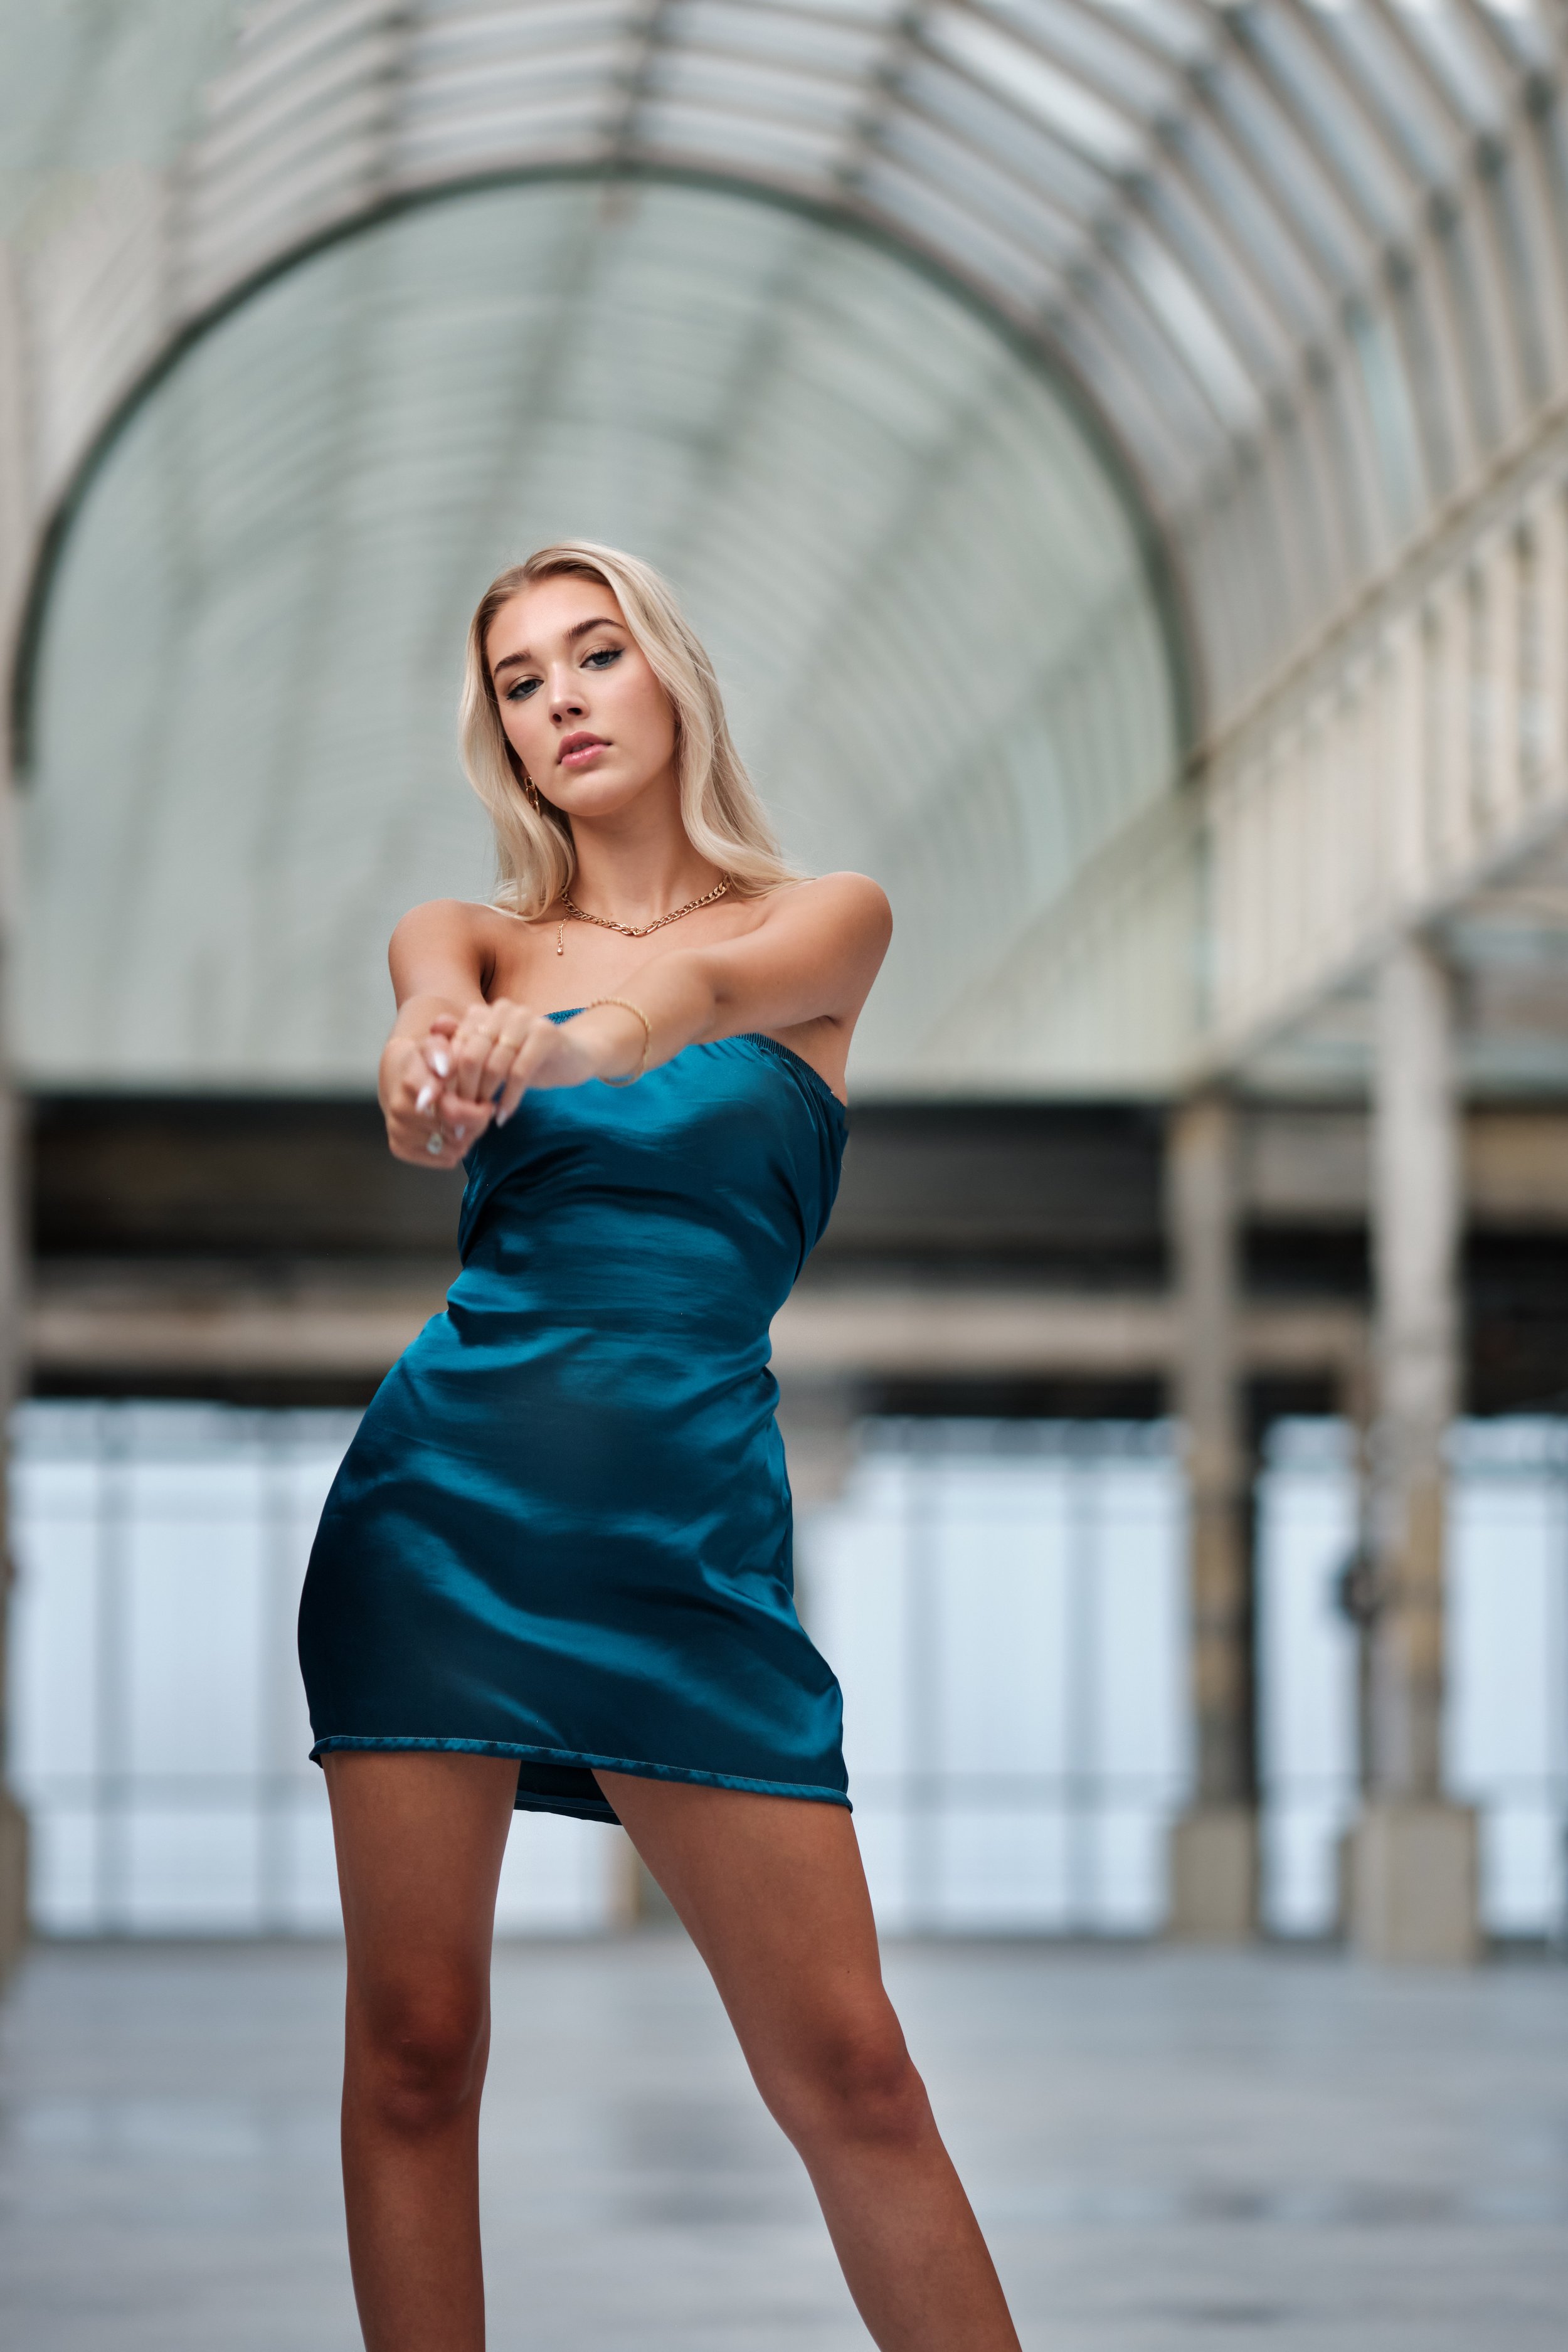
Model Mya Toennies, fashion photoshoot at 7th Street Parking Garage in Downtown St. Louis
Directions: Enter the parking garage on 7th street. The entrance is nearest to the intersection of Locust St and 7th St. Drive up to the top floor and have an awesome time shooting at this very special location!
Pro tip: Try this location in the fall or spring, I highly recommend avoiding going at the peak of summer as it can get extremely hot!

First Impressions and the Importance of a Great Headshot
"First impressions are lasting" understates the actual case. The first impression, with startling frequency, is also the final decision.
"First impressions are lasting" understates the actual case. The first impression, with startling frequency, is also the final decision.
-You, Inc.: The Art of Selling Yourself, by Harry Beckwith and Christine K. Clifford
A 2006 study by Janine Willis and Alexander Todorov showed that people make a judgement about a person's likeability, trustworthiness, and competence, in one-tenth of a second. Furthermore, their research confirms that this first impression does not change with time.
In 2016, Vivian Zayas, professor of psychology at Cornell University, and her colleagues found that first impressions were formed simply from looking at a photograph predicted how people felt and thought about the person after a live interaction that took place one month to six months later.
This is an incredibly powerful argument for making sure your headshots are the best they can possibly be.

Headshot Impression Test on Photofeeler.com
I recently discovered Photofeeler.com and I think it’s a fun way to test out what kind of impression your headshot is making. Photofeeler crowdsources votes from real people who will score the photo on metrics like competency, likeability, and influence. Disclaimer: I’m not in any way associated with this service, but I do think it’s a useful tool.
Written by Henry David, St. Louis Headshot and Portrait Photographer

Top 5 Places to Take Photos in St. Louis
Best photo spots in St. Louis, Missouri
As a photographer based here in St. Louis, I’m continually amazed by the incredible variety of great photo locations in and around St. Louis. The Gateway to the West offers a seemingly endless number of instagrammable locations.
Best photo spots in St. Louis, Missouri
As a photographer based here in St. Louis, I’m continually amazed by the incredible variety of great photo locations in and around St. Louis. The Gateway to the West offers a seemingly endless number of instagrammable locations. If you’re looking for a good place to take pictures in the St. Louis area, consider the following spots:
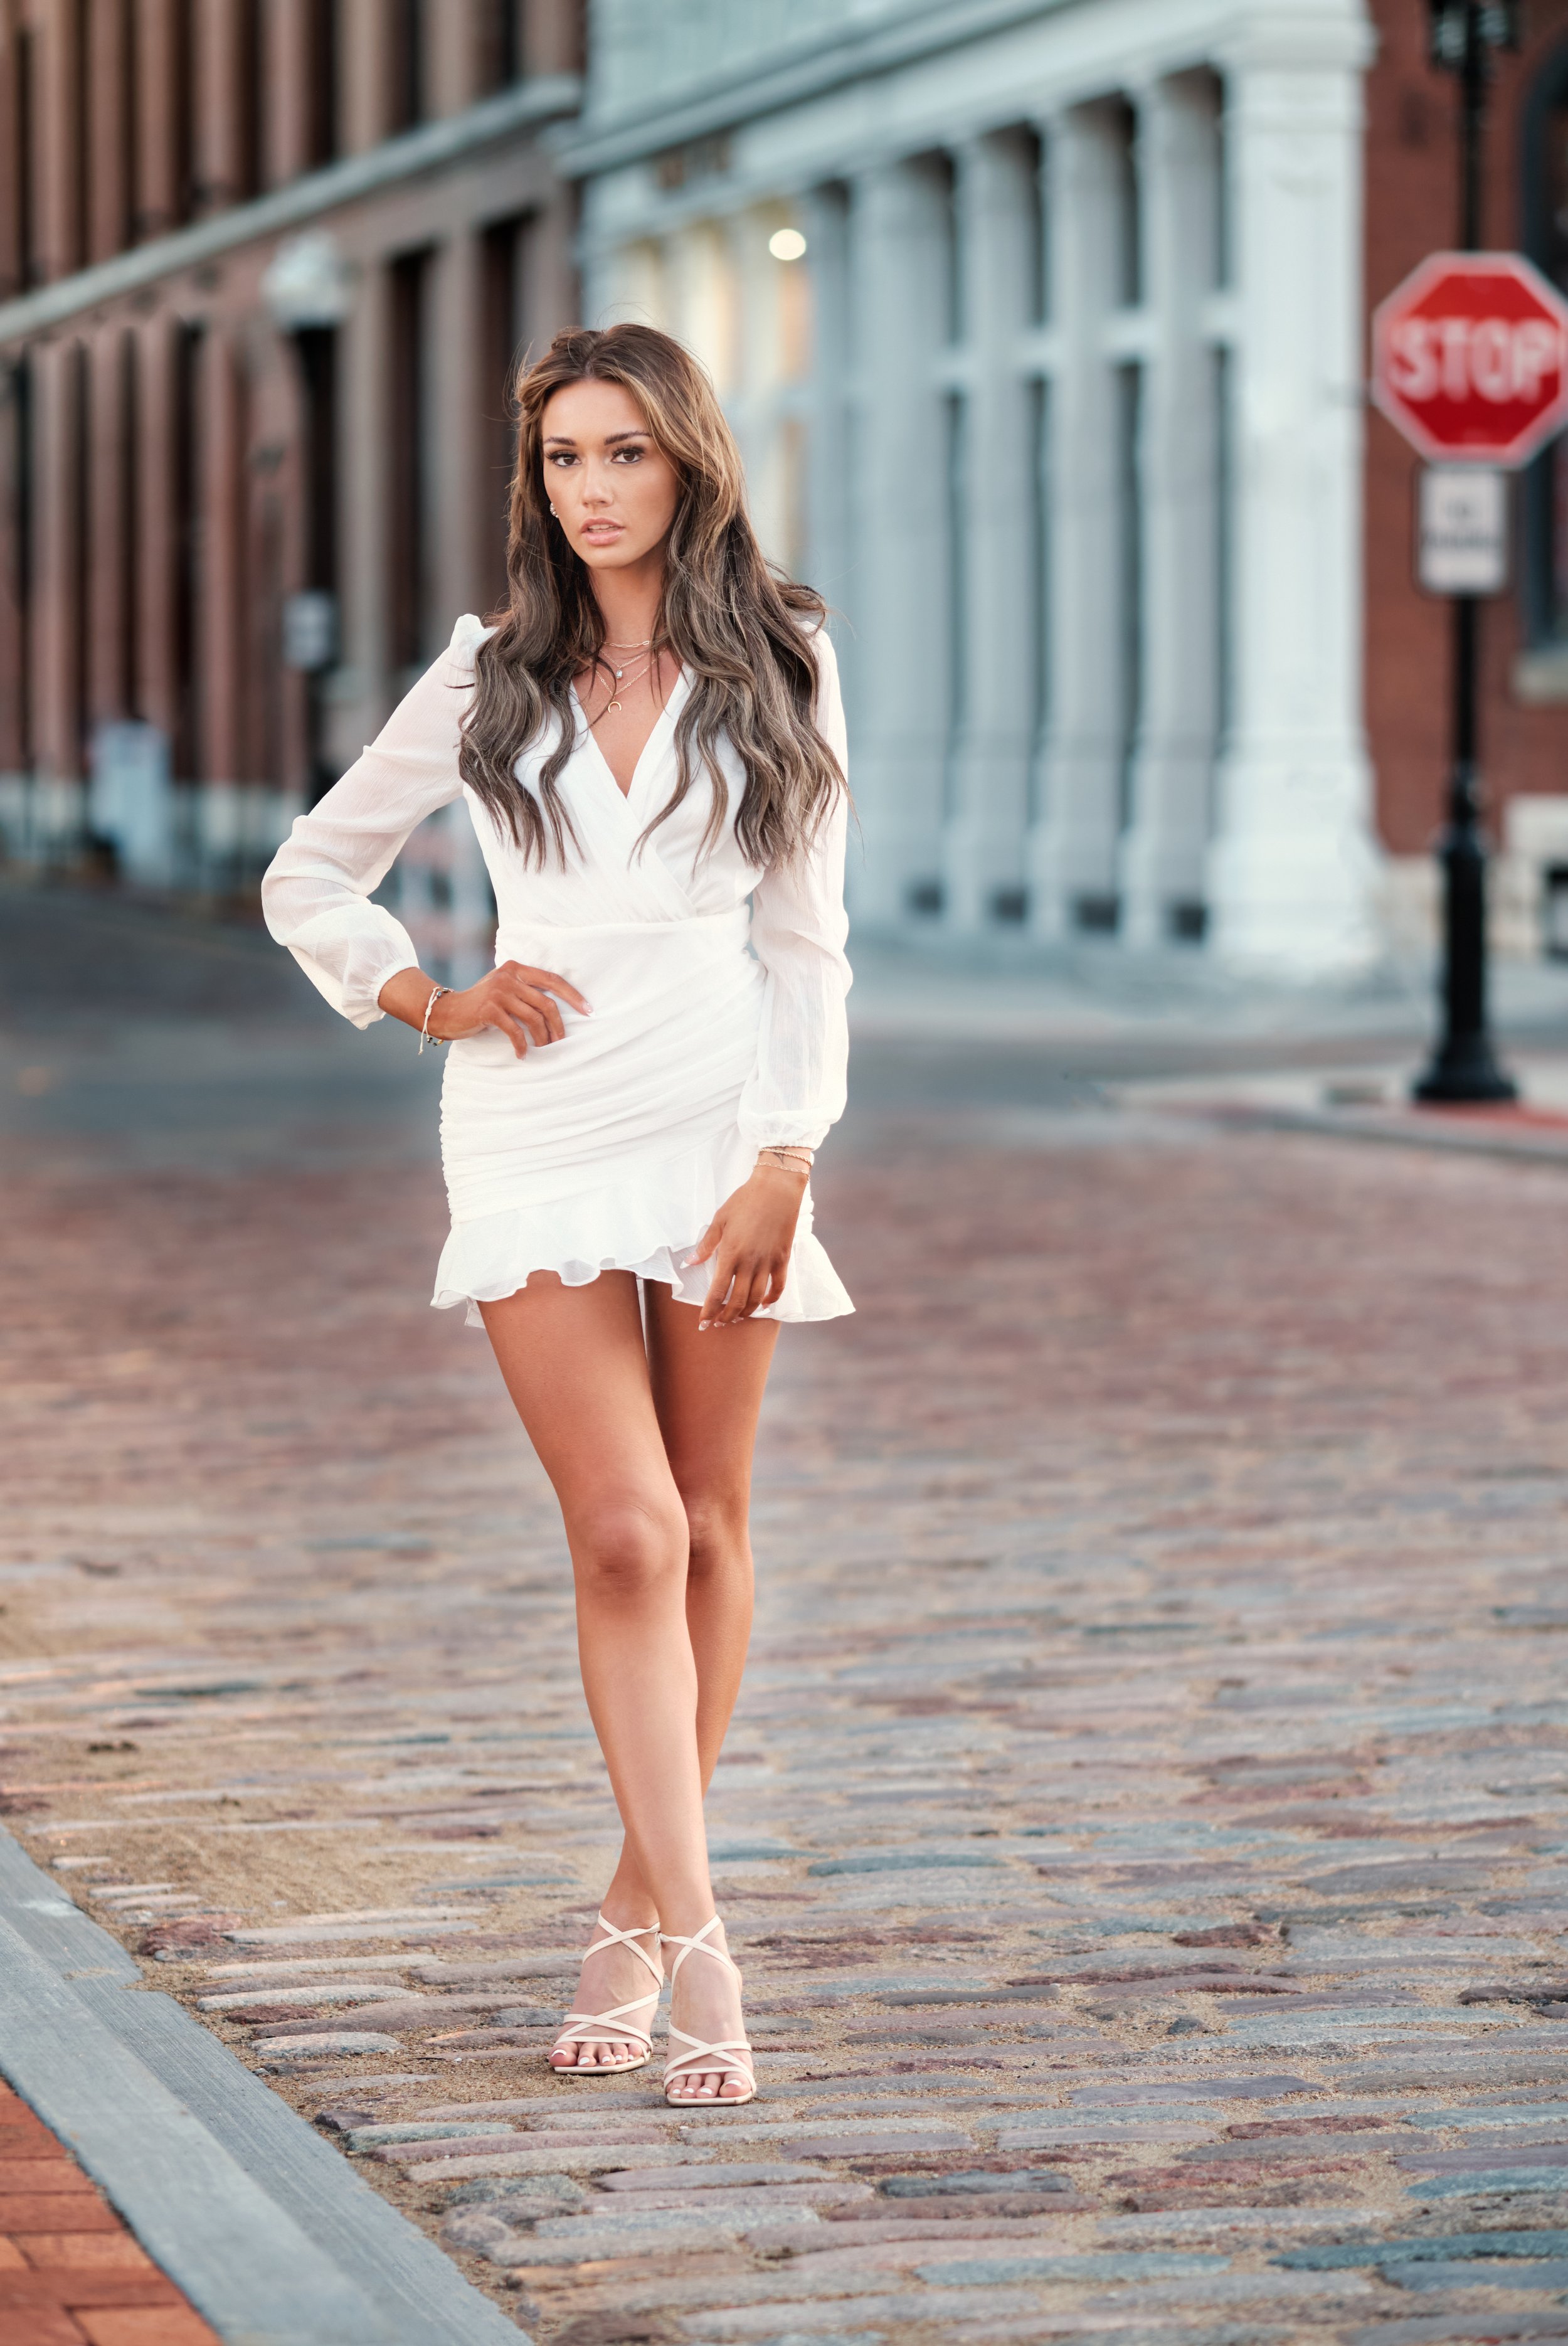
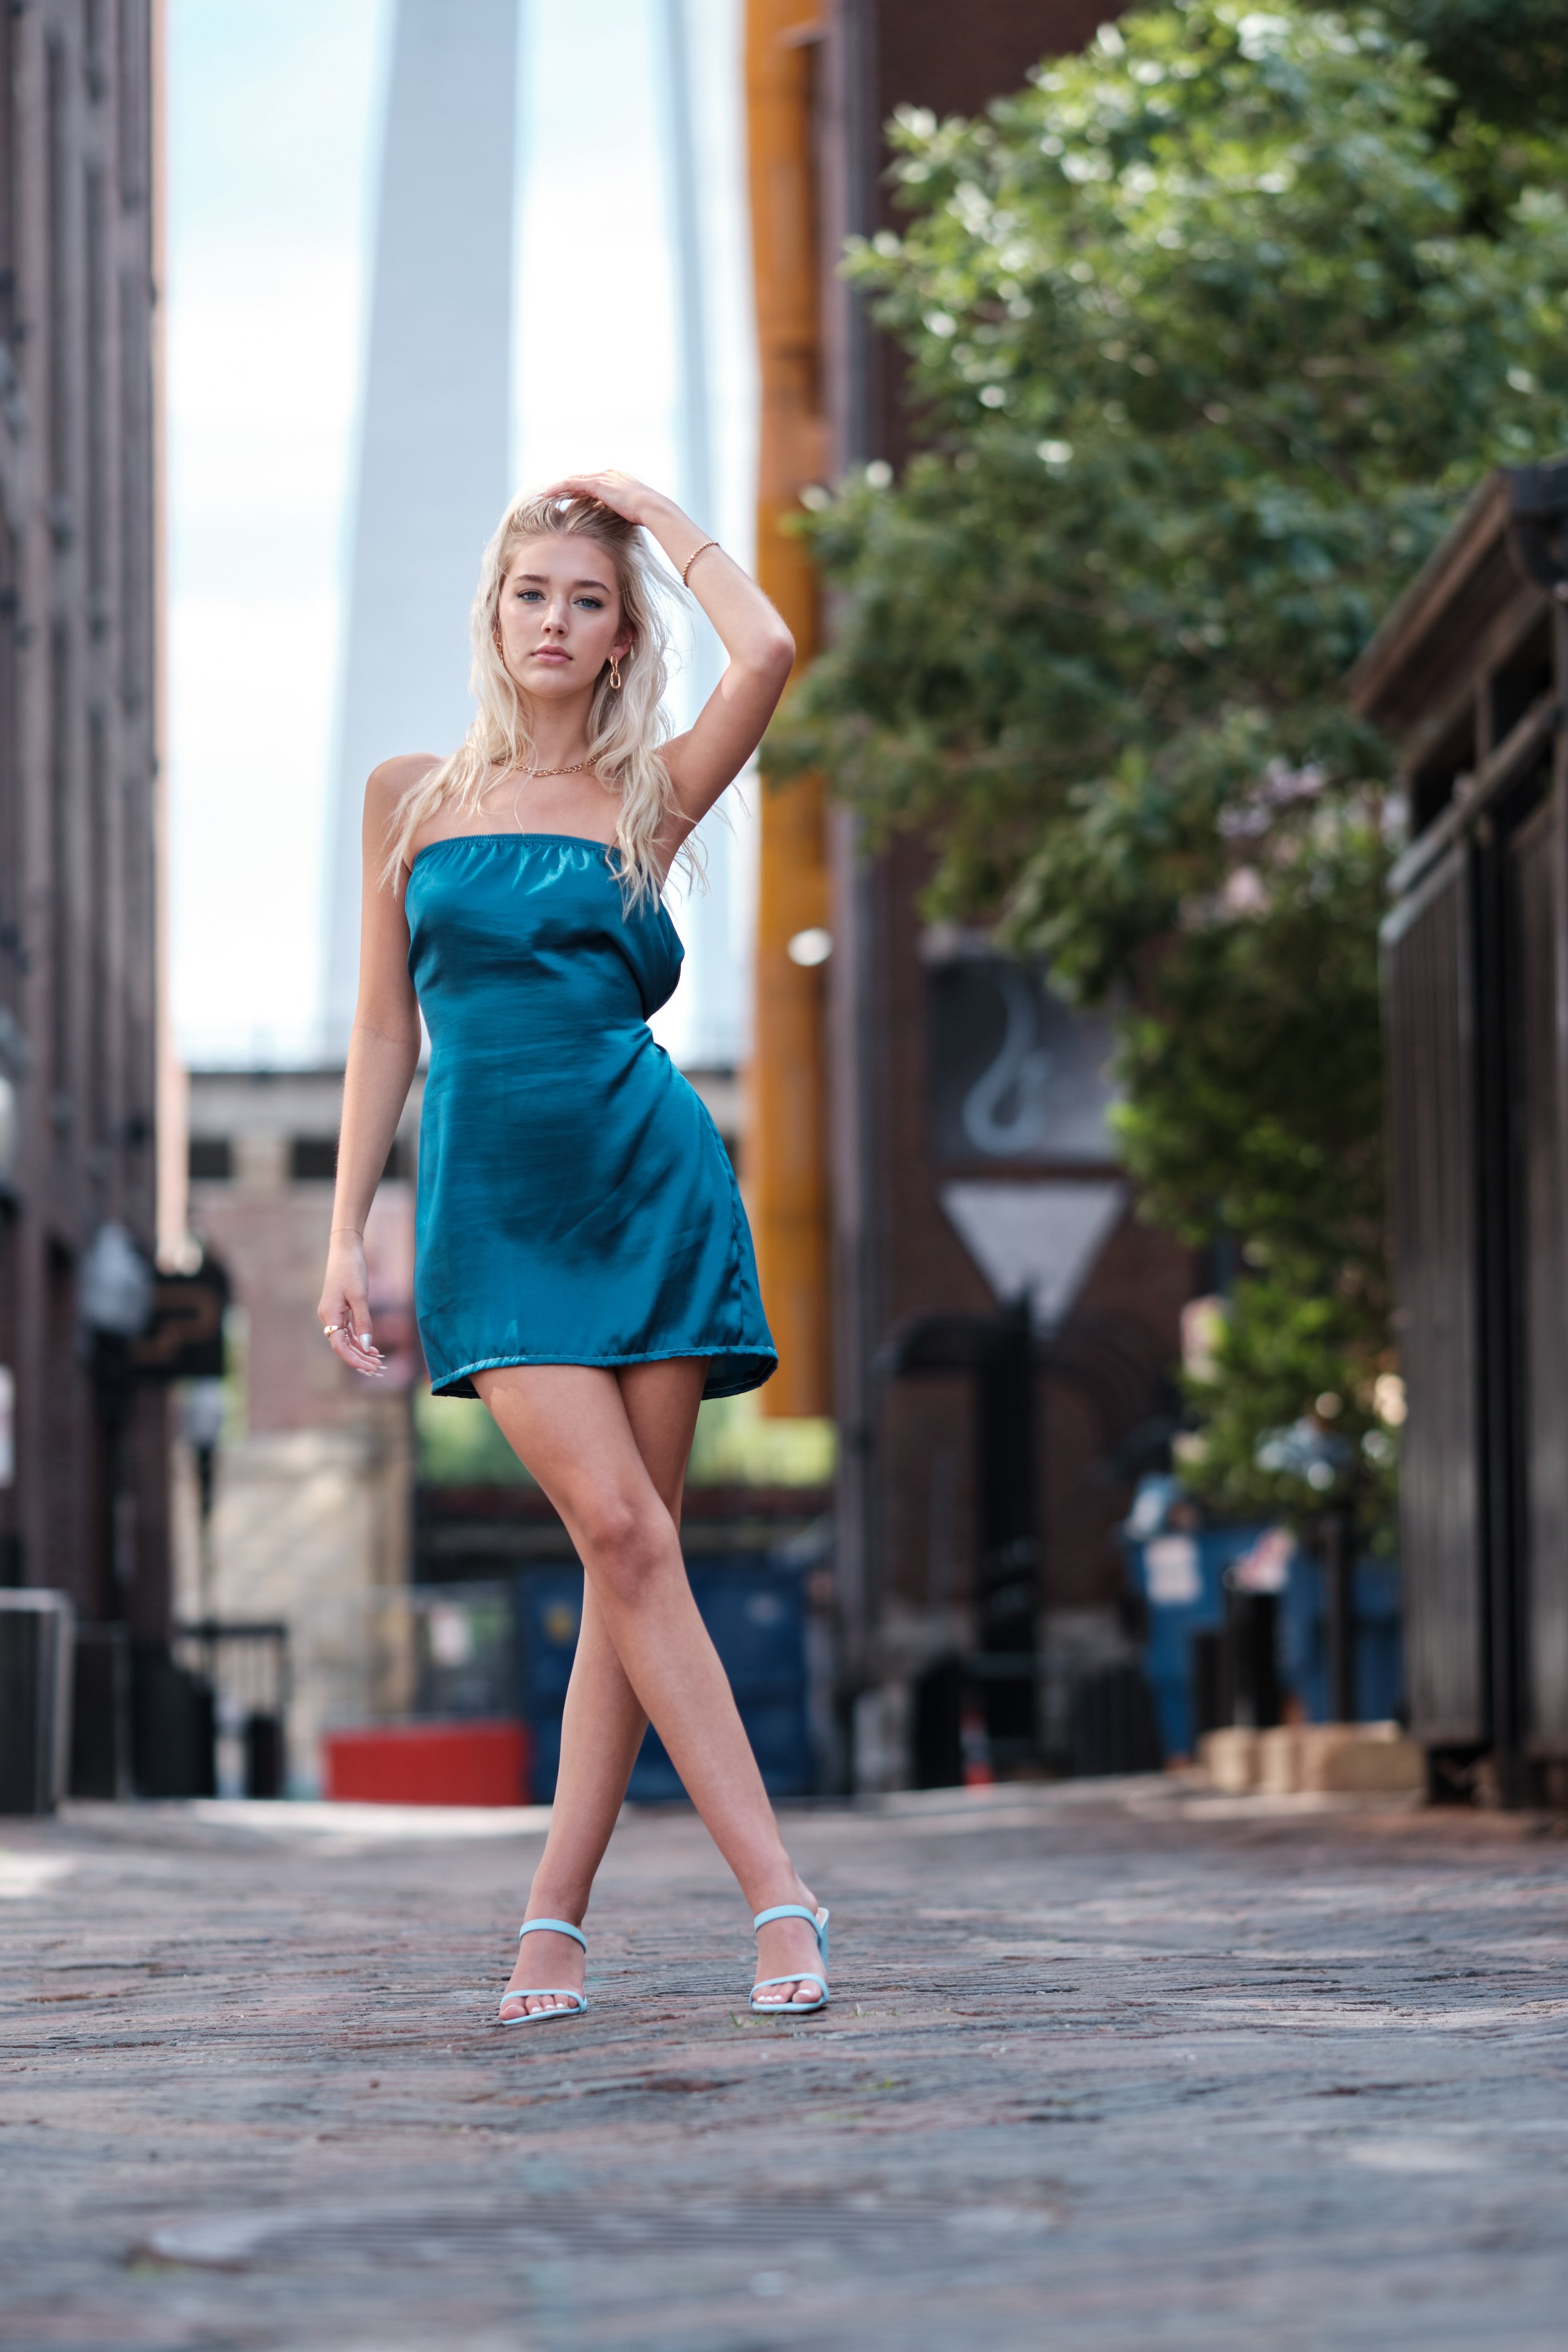
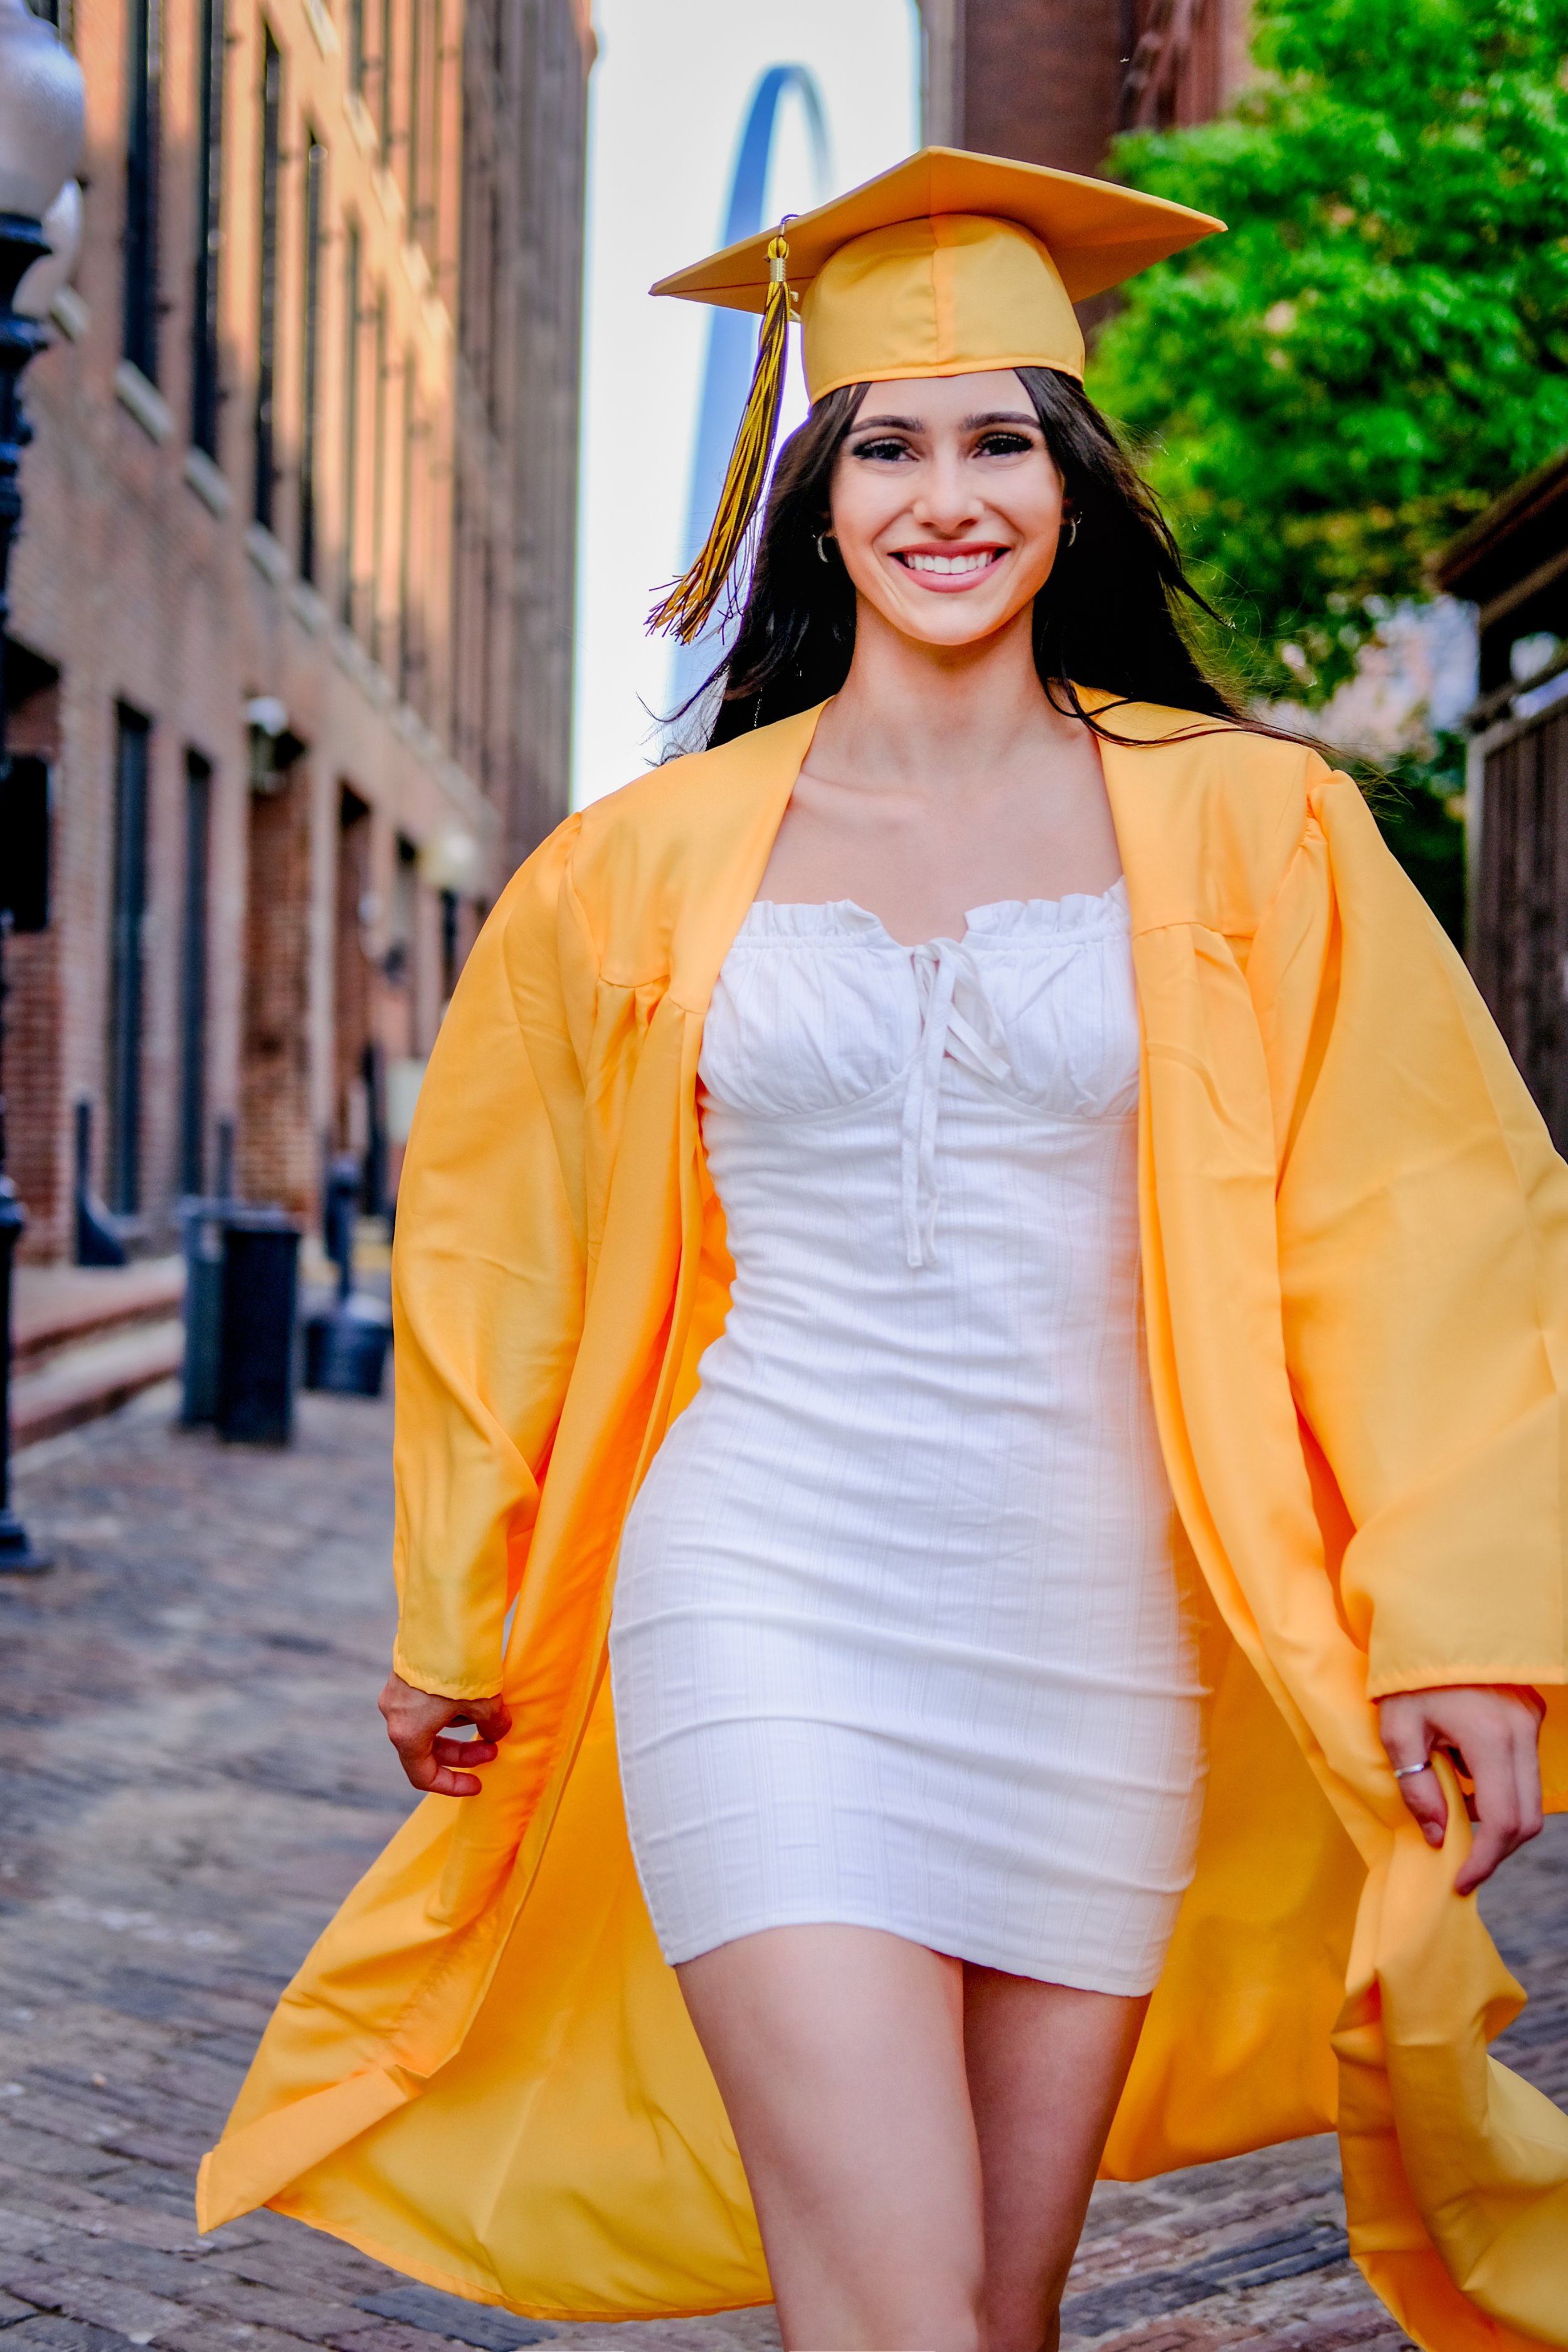
1. Laclede’s Landing
Settled in 1764, this historic area of the city offers a stunning view of the St. Louis Arch, framed by beautiful 19th century architecture and original brickwork.
Laclede’s Landing, the oldest district in St. Louis, is situated on the Mississippi riverfront. It’s known for its cobblestone streets, historic warehouses, and my personal favorite, Eads Bridge. This area is perfect for capturing an urban look.
The Landing is also home to The Old Spaghetti Factory, which boasts original woodwork and sumptuous turn-of-the-century décor. Definitely worth a visit!
Pro tip: Tucked away between Lucas Ave and Morgan street, look for Clamorgan Alley, which offers an iconic view of the Gateway Arch
2. Forest Park
No list of the top photo spots in St. Louis would be complete without the mention of Forest Park. In fact, this sprawling oasis in the midst of the city is perhaps the most photographed location in all of St. Louis. I’m constantly finding new spots within the park, but my current favorites are:
The Muny

Model Sasha Emiri at The Muny, Forest Park - Photo by St. Louis Photographer Henry David
Art Hill
Portrait Photo at Art Hill, Forest Park
3. Castlewood State Park
A 25 minute drive from the city, Castlewood State Park offers one of the most breathtaking views in the St. Louis area. Expect a moderately challenging climb up the nature trail to the summit to catch a view of the river down below.

Golden Hour photography here can produce remarkably beautiful results. The filtered backlight that the woods provide year round can make for very cinematic imagery.
Slow Motion Video Test Lifestyle Portrait Photoshoot in Castlewood State Park, Missouri
4. Pulitzer Arts Foundation & Spring Church
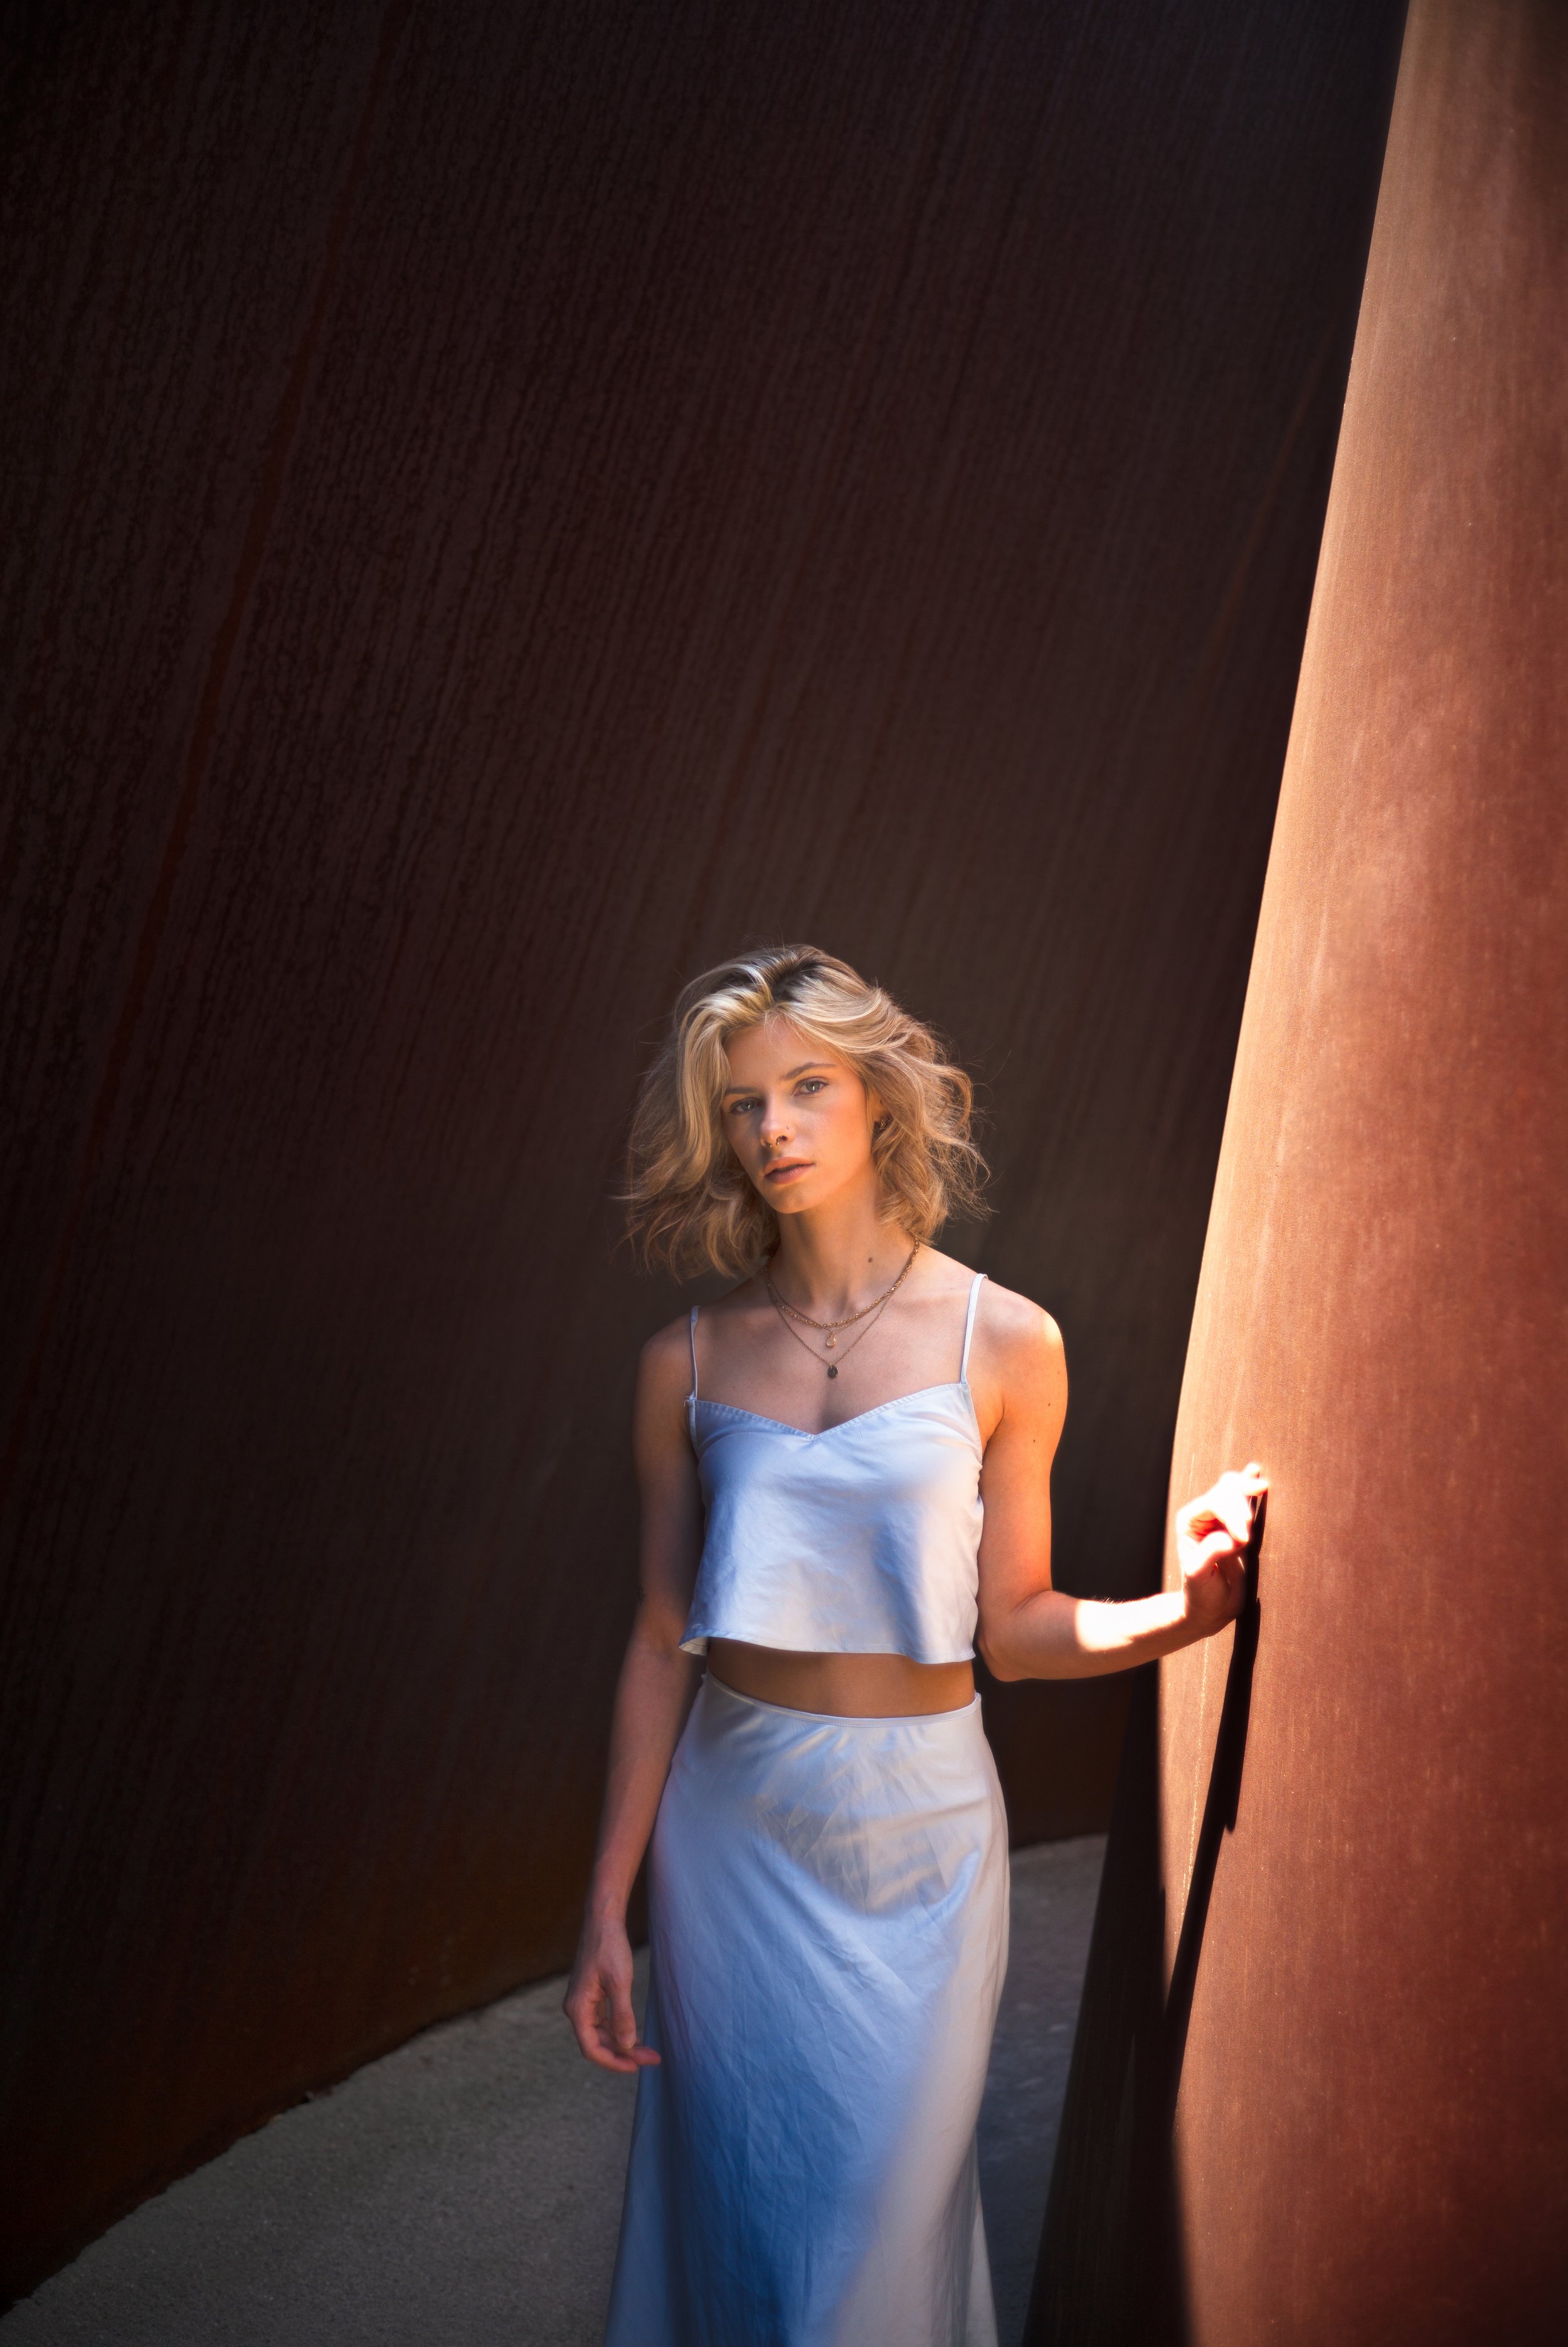
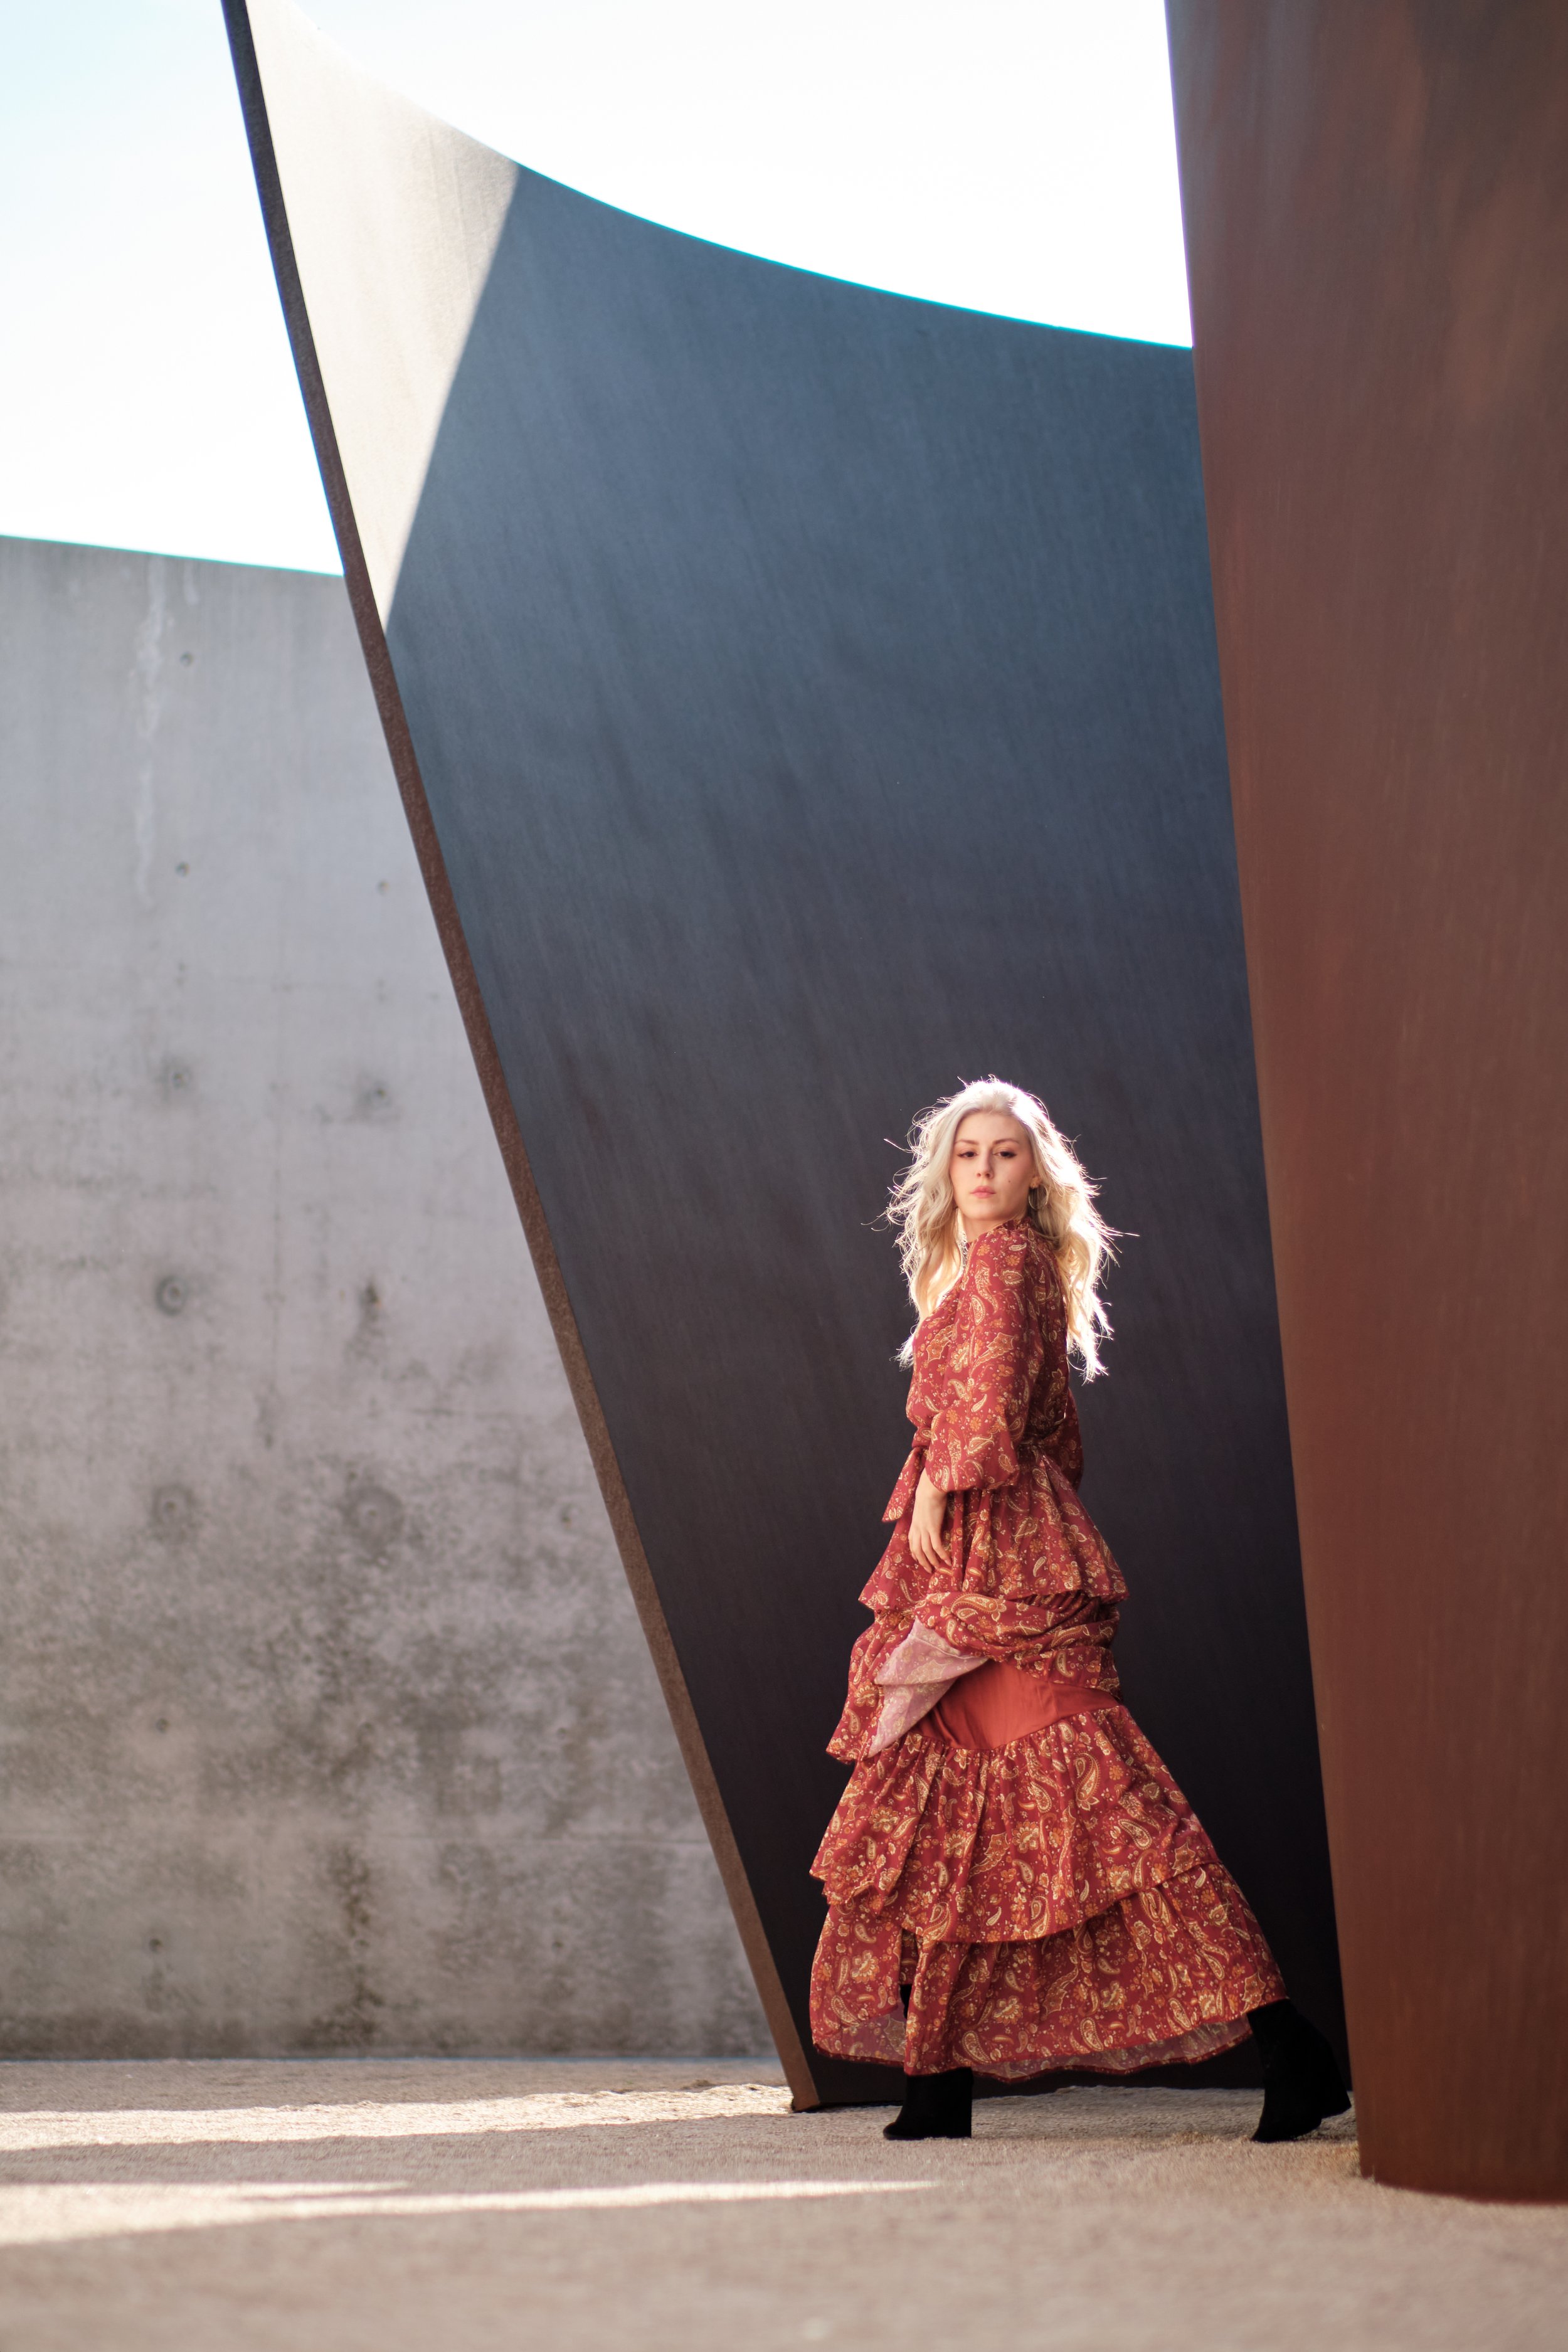
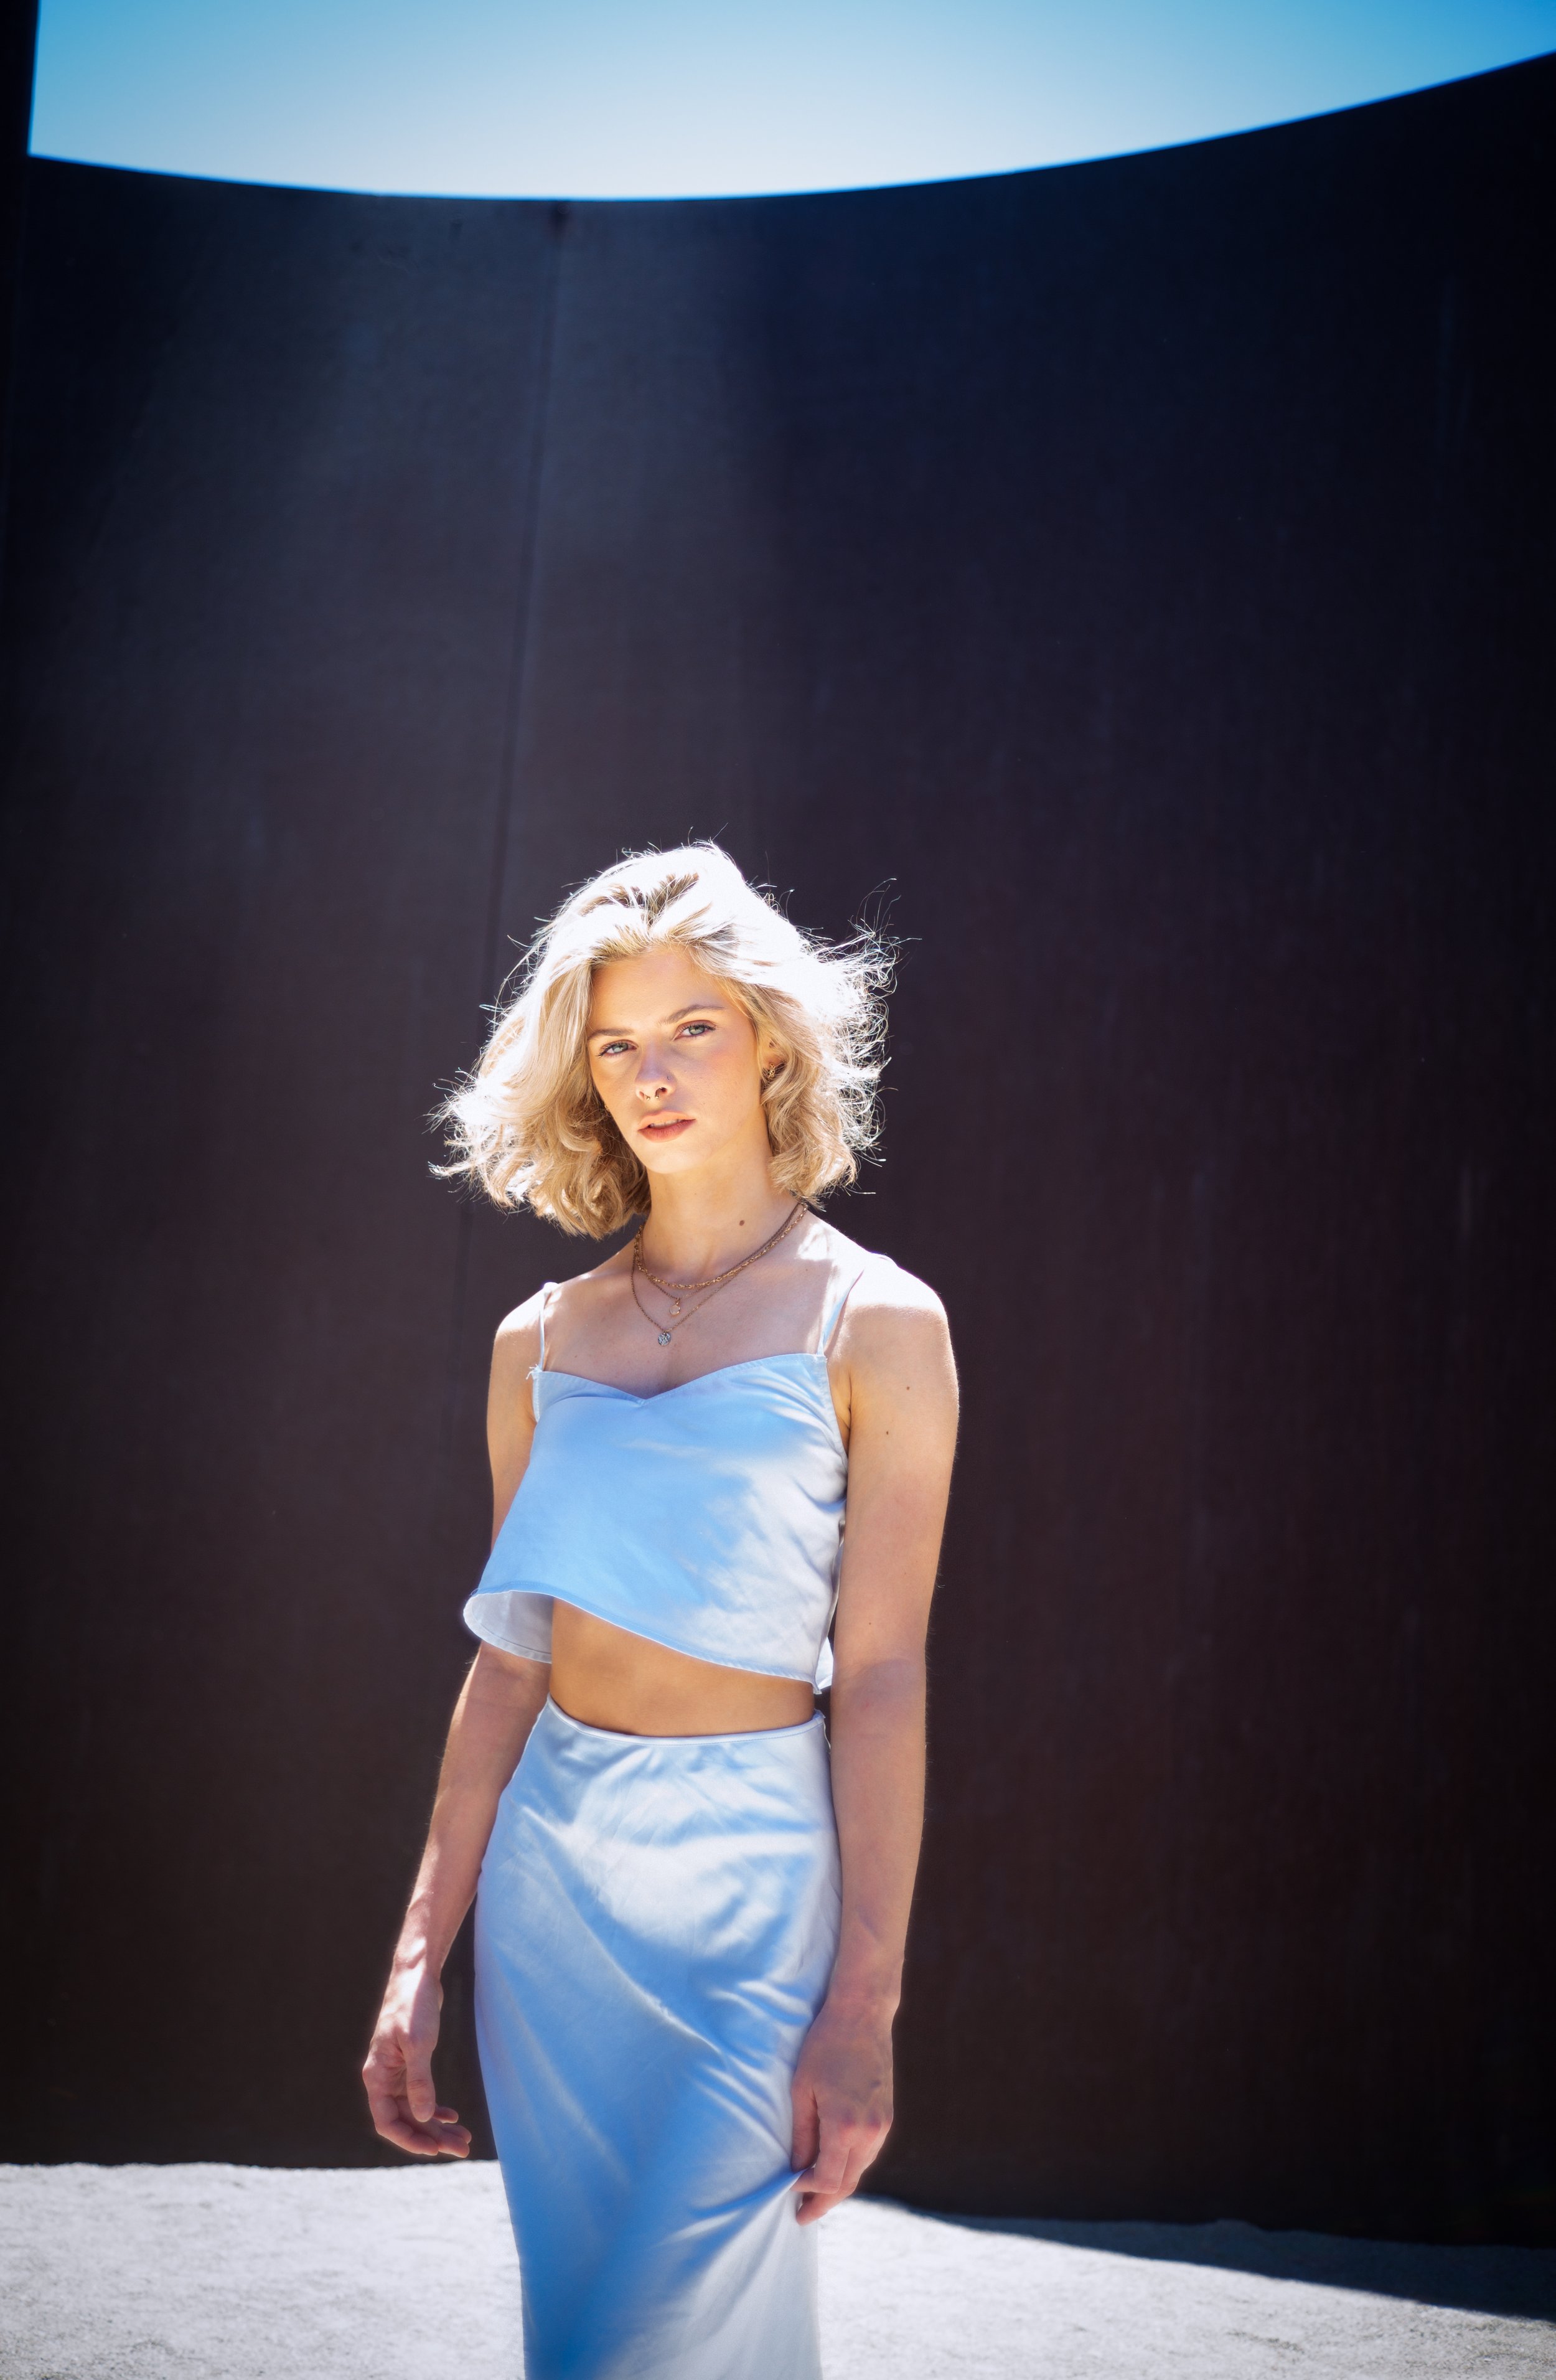
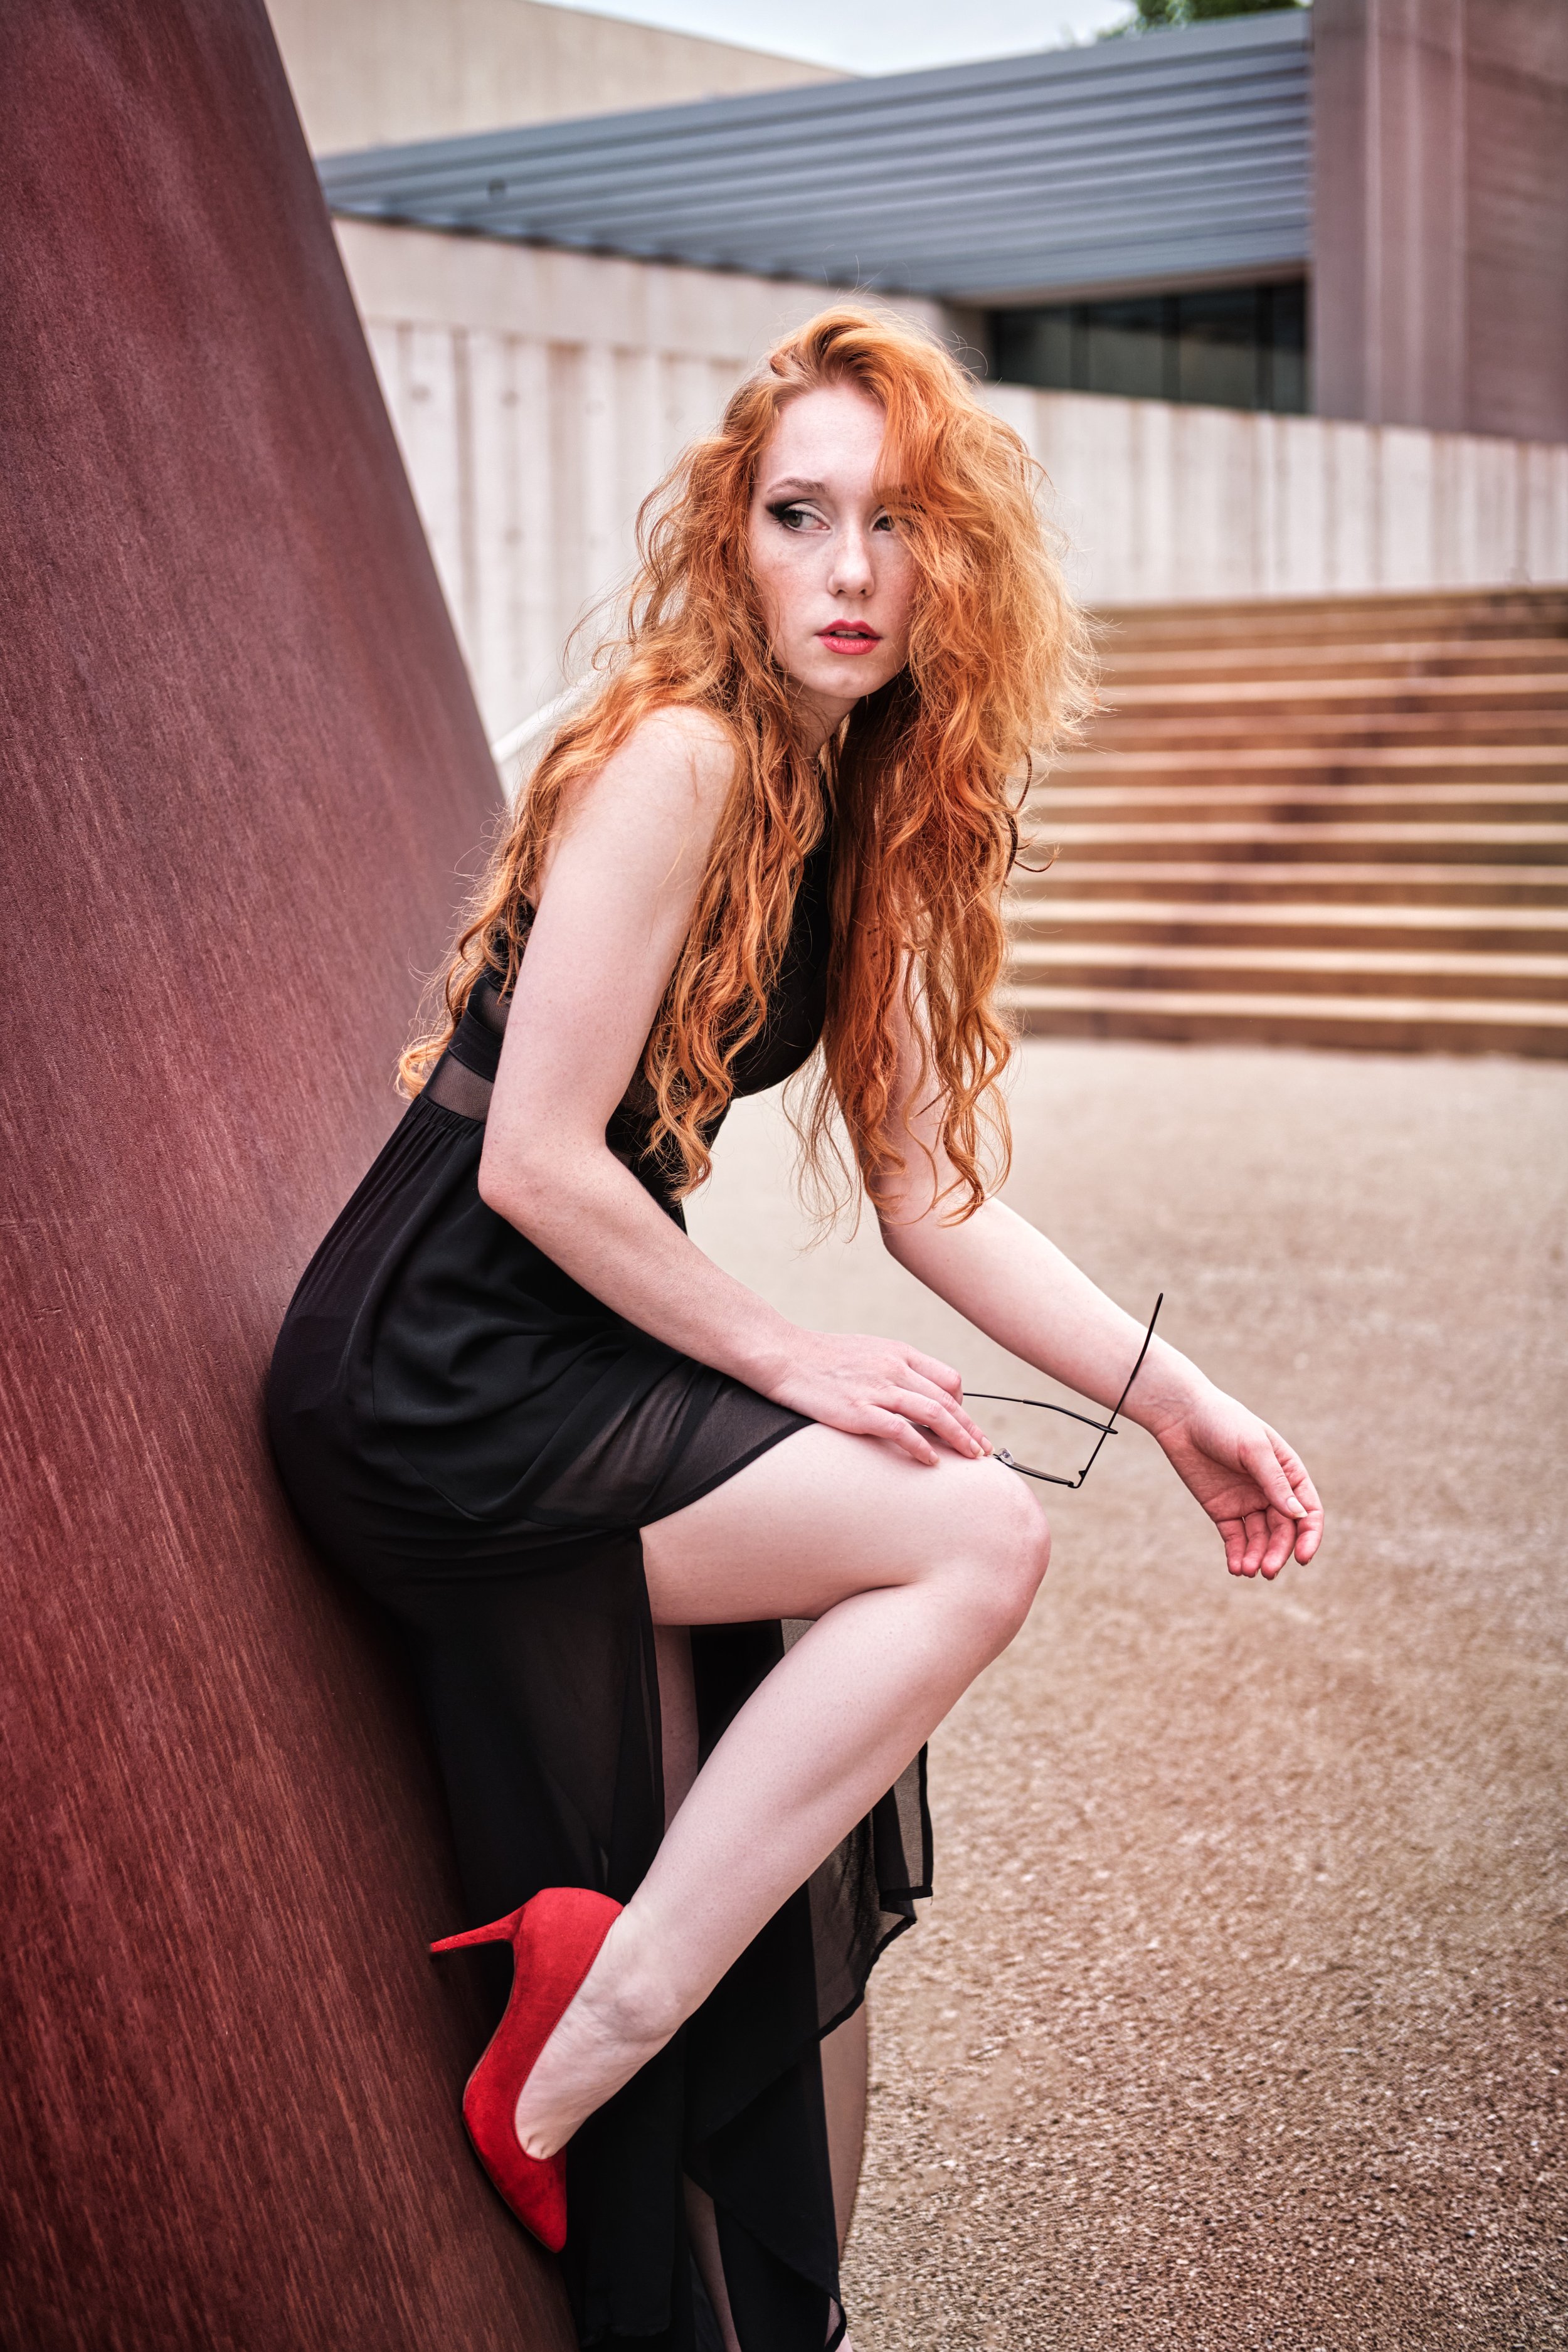
Pulitzer Arts Foundation is one of the best places to take pictures in St. Louis, especially if you like modern architecture, clean lines, and a dynamic contemporary look that doesn’t go out of style.
The Foundation’s courtyard is home to one of the most Instagrammed spots in St. Louis - Richard Serra’s Joe, is an imposing earth-toned spiral sculpture that can’t be missed.
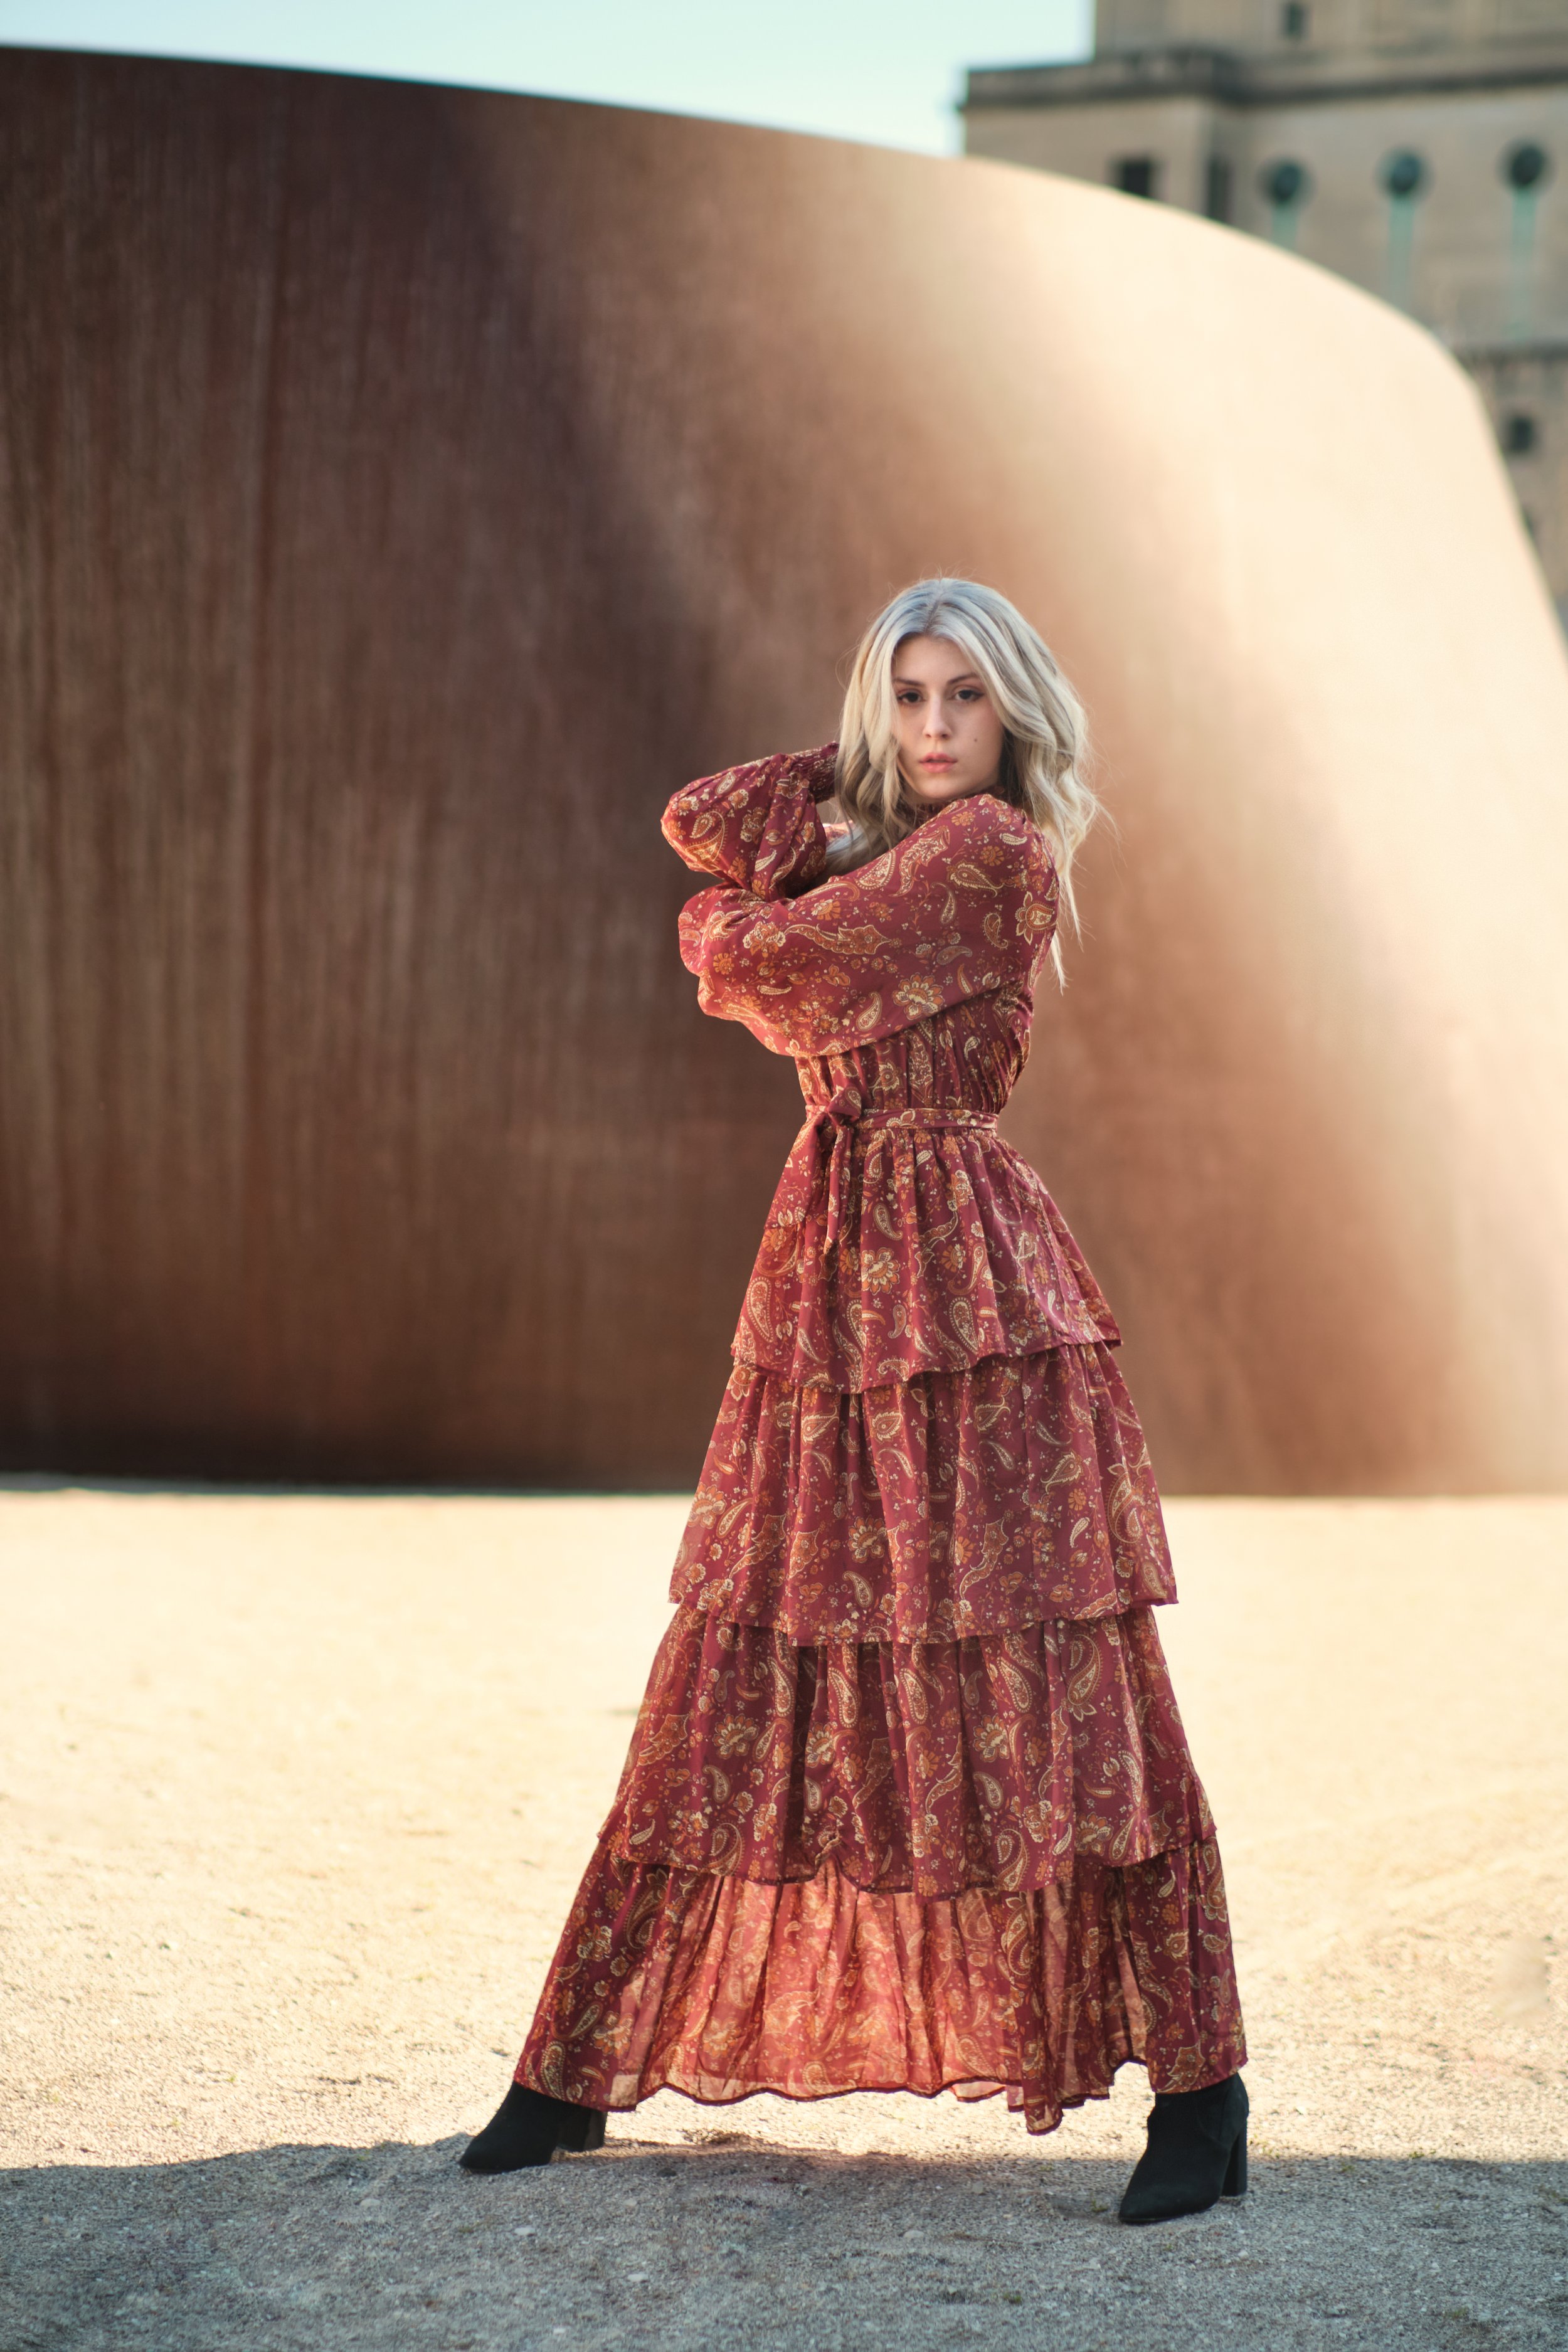
Pulitzer Arts Foundation allows for non-commercial photography without the use of flash.
The nearby roofless Spring Church (just across the street from Pulitzer Arts Foundation) which re-opened in the Fall of 2022, also makes for a very unique photo op:

Inside Spring Church, model Bejda Kaktic
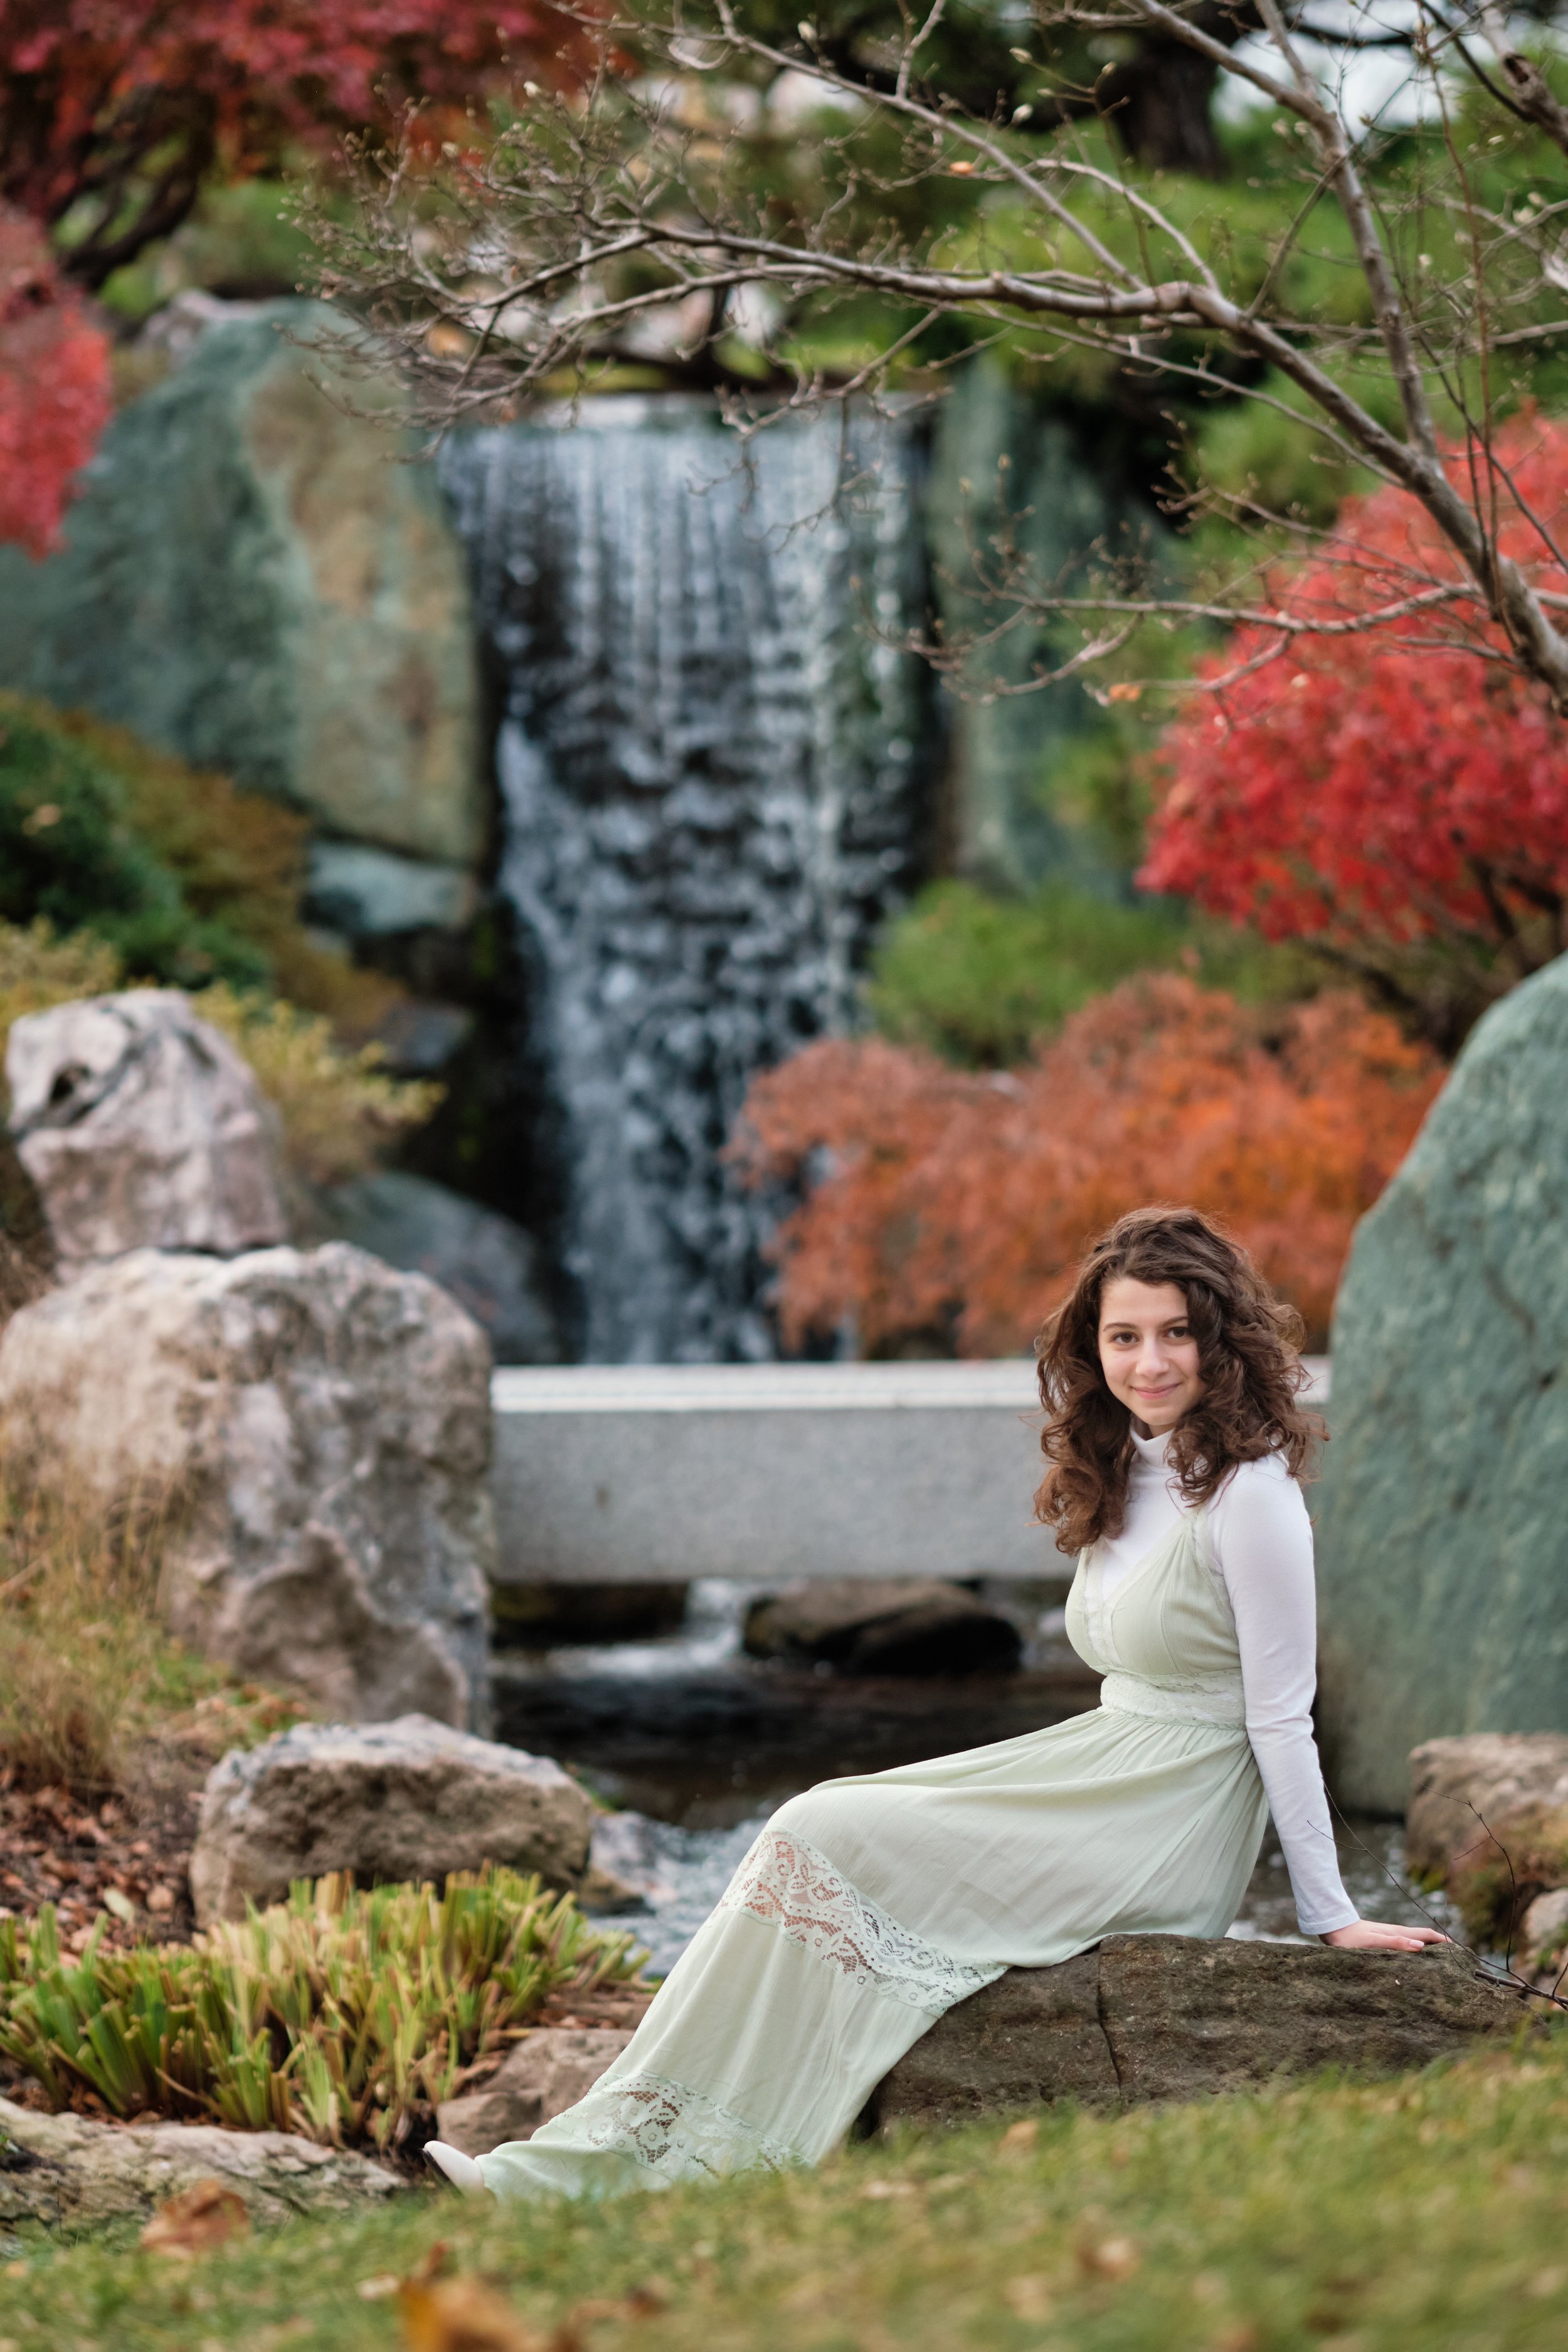
5. Missouri Botanical Garden
Originally founded by businessman Henry Shaw, the Missouri Botanical Garden is a must-visit for tourists and St. Louis residents alike. My favorite spot is at The Japanese Garden, which has traditional bridges and a beautiful waterfall.

Bonus Photo Spot!
Set in the heart of Downtown St. Louis, this spot is perfect for those seeking a one-of-a-kind backdrop for their shoots. Check it out in our feature of the 7th Street Garage in our first volume of Instagram Worthy Spots in St. Louis.
Photography Copyright Henry David 2023. All Rights Reserved.

Studio Lighting and Mood
Simple but powerful, small changes in studio lighting can dramatically change the mood of a portrait.

Small changes in studio lighting can dramatically change the mood of a portrait.
I recently had the pleasure of working with author Dr. Tahir Rahman, Associate Professor of Psychiatry at Washington University in St. Louis.
Clamshell Lighting for Commercial Portraiture
Oxford University Press needed an approachable, commercial looking headshot to promote Dr. Rahman’s newest book.
We used a clamshell setup with a soft key light source above the subject’s face (the top part of the “clamshell”), and a broadly curved reflector for the lower part of the shell.
The key light above provides flattering wrap-around light, while the bottom fills in the shadows and smooths out the skin. I often find that adding a hair light opposite the key light adds depth and provides subtle background separation:

Commercial Portrait with Clamshell Lighting (Angler 48 inch BoomBox + Westcott Eyelighter + Gridded Hair Light)
Single Light Dramatic Portrait
By removing the reflector and hair light, we are left with just the key light. Moving the key light to one side of the subject’s face creates a classic Rembrandt lighting setup with deep shadows cast on the other side of the face. Removing a few light modifiers and changing the placement of our key light creates a profoundly different mood:

Single Light Dramatic Portrait (Angler 48 Octobox, feathered)
Post-Production
Lighting is paramount to controlling the mood of a portrait, but we can go one step further with editing and retouching in Photoshop. Black and White conversion, exposure reduction, contrast rebalancing, and detail enhancing all work together to add a sense of mystery and deepen the drama of the portrait:
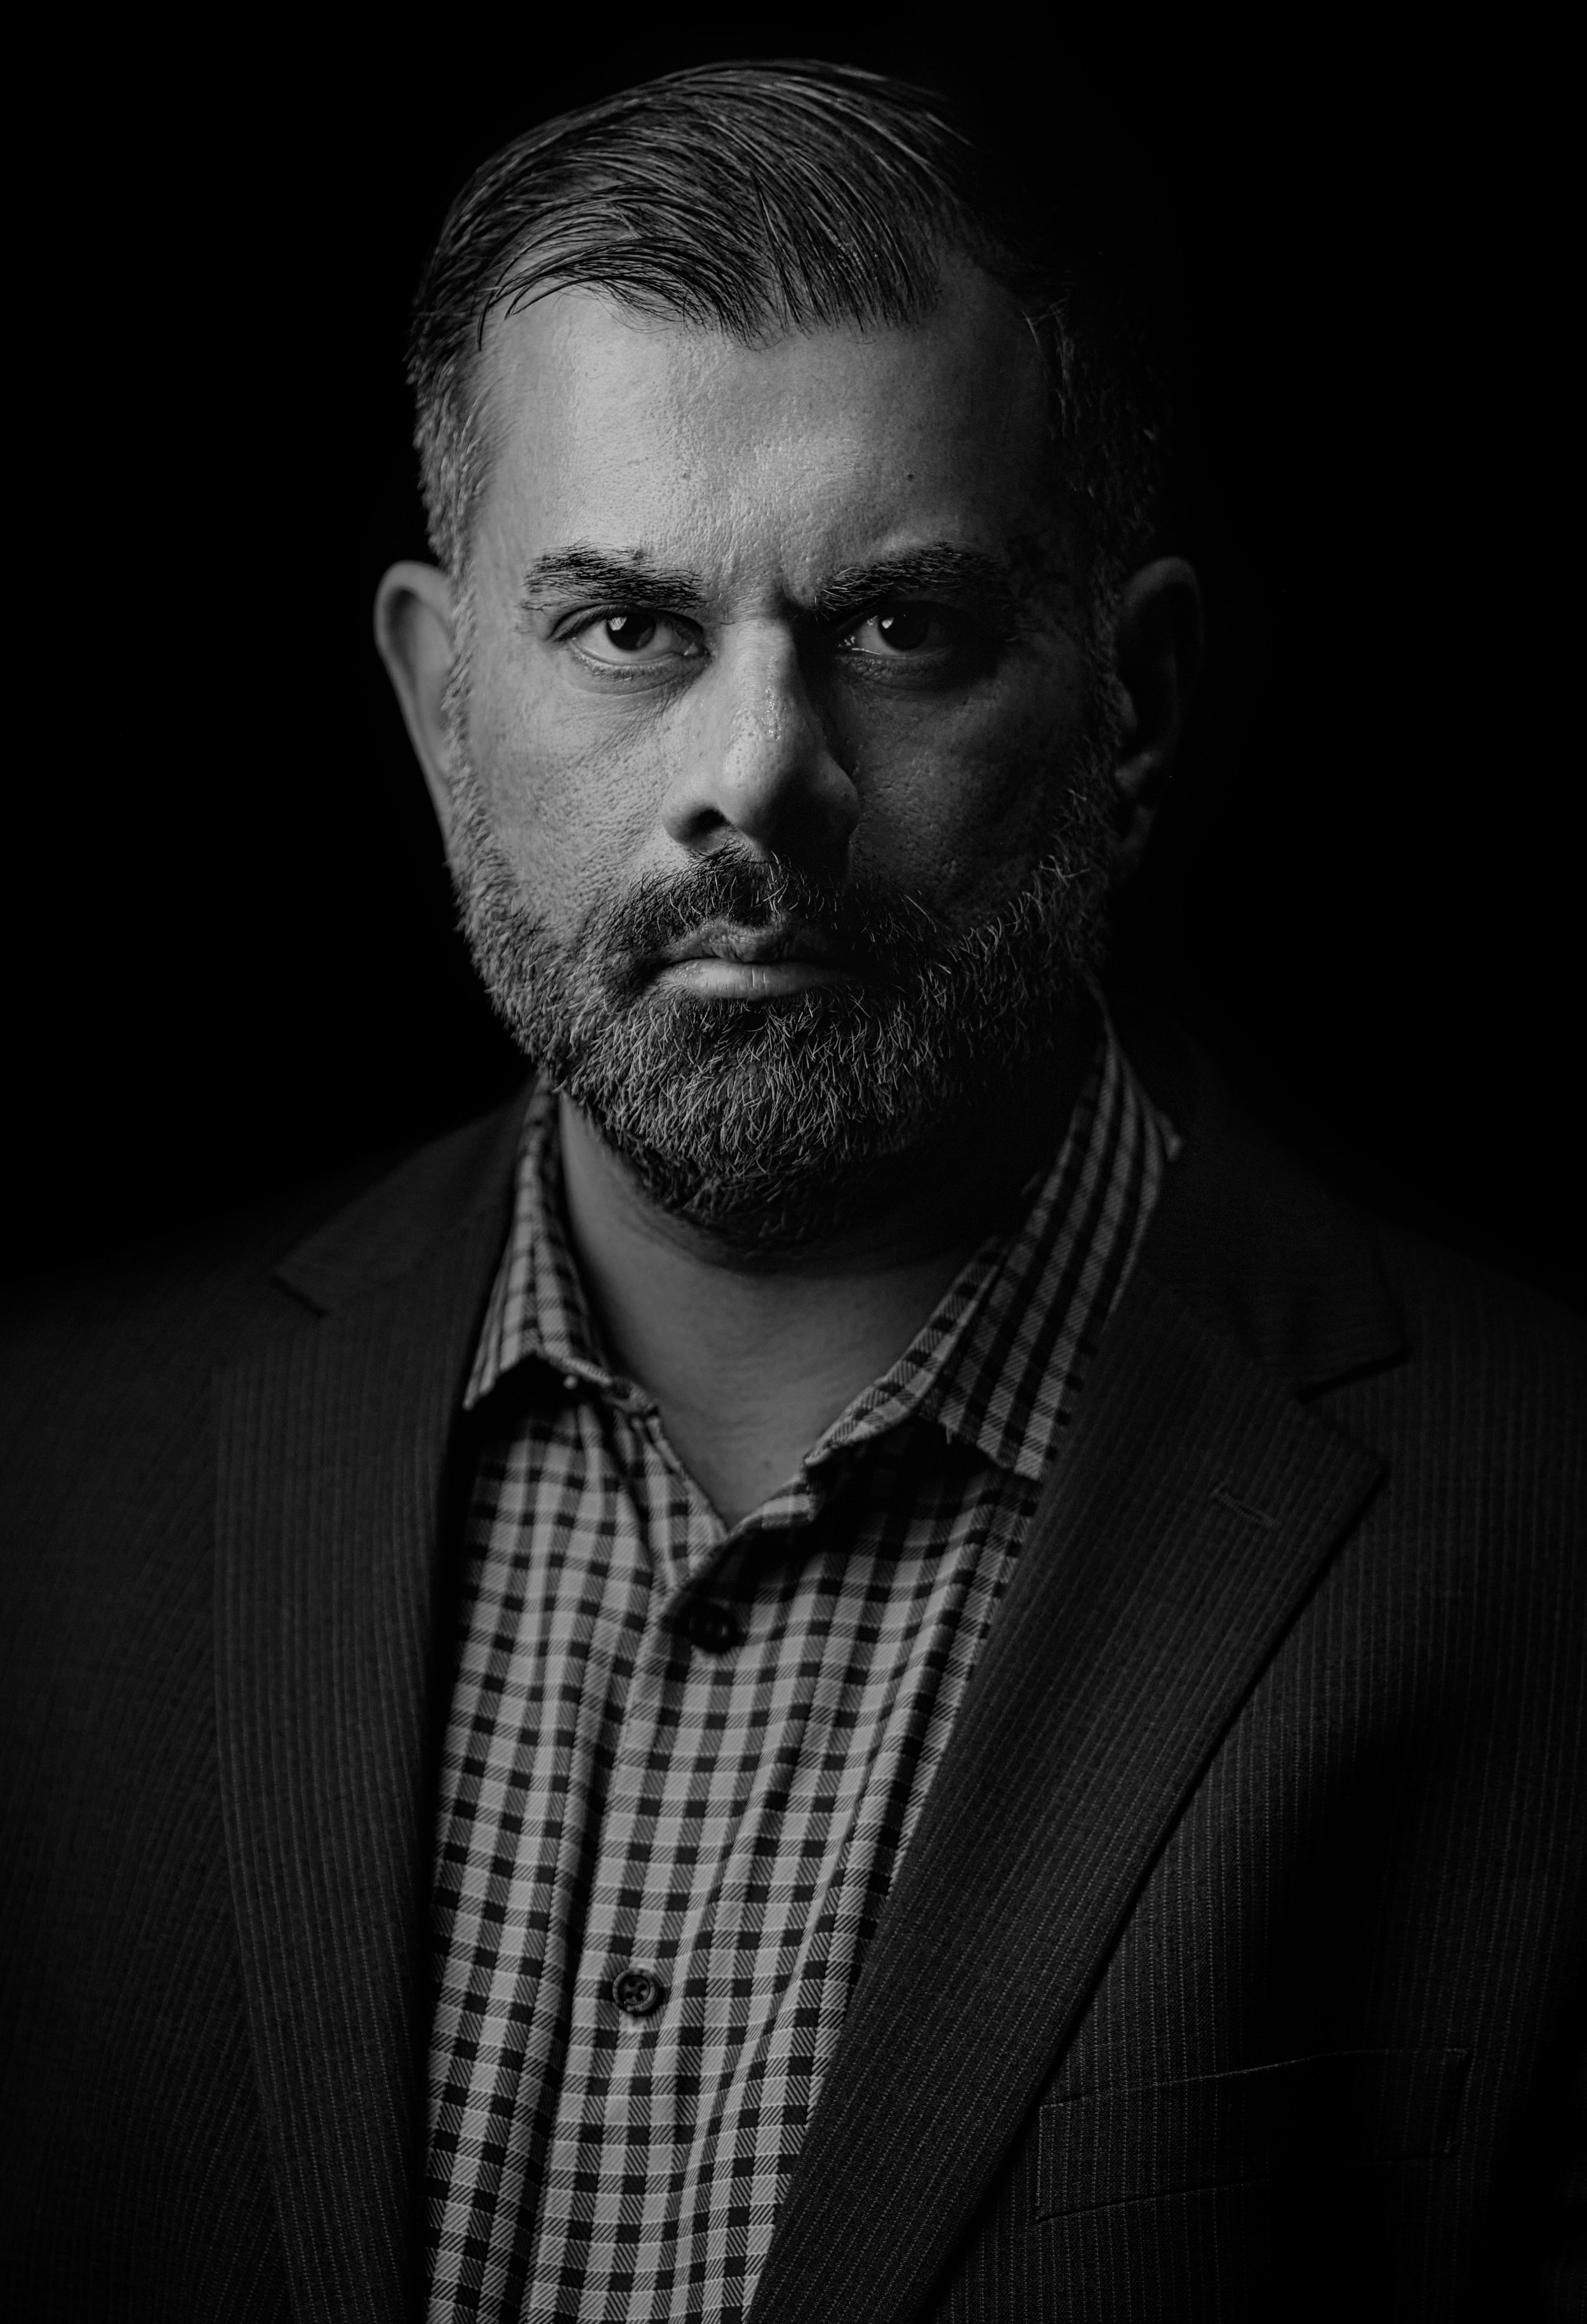
Black and White Edit, Adobe Photoshop