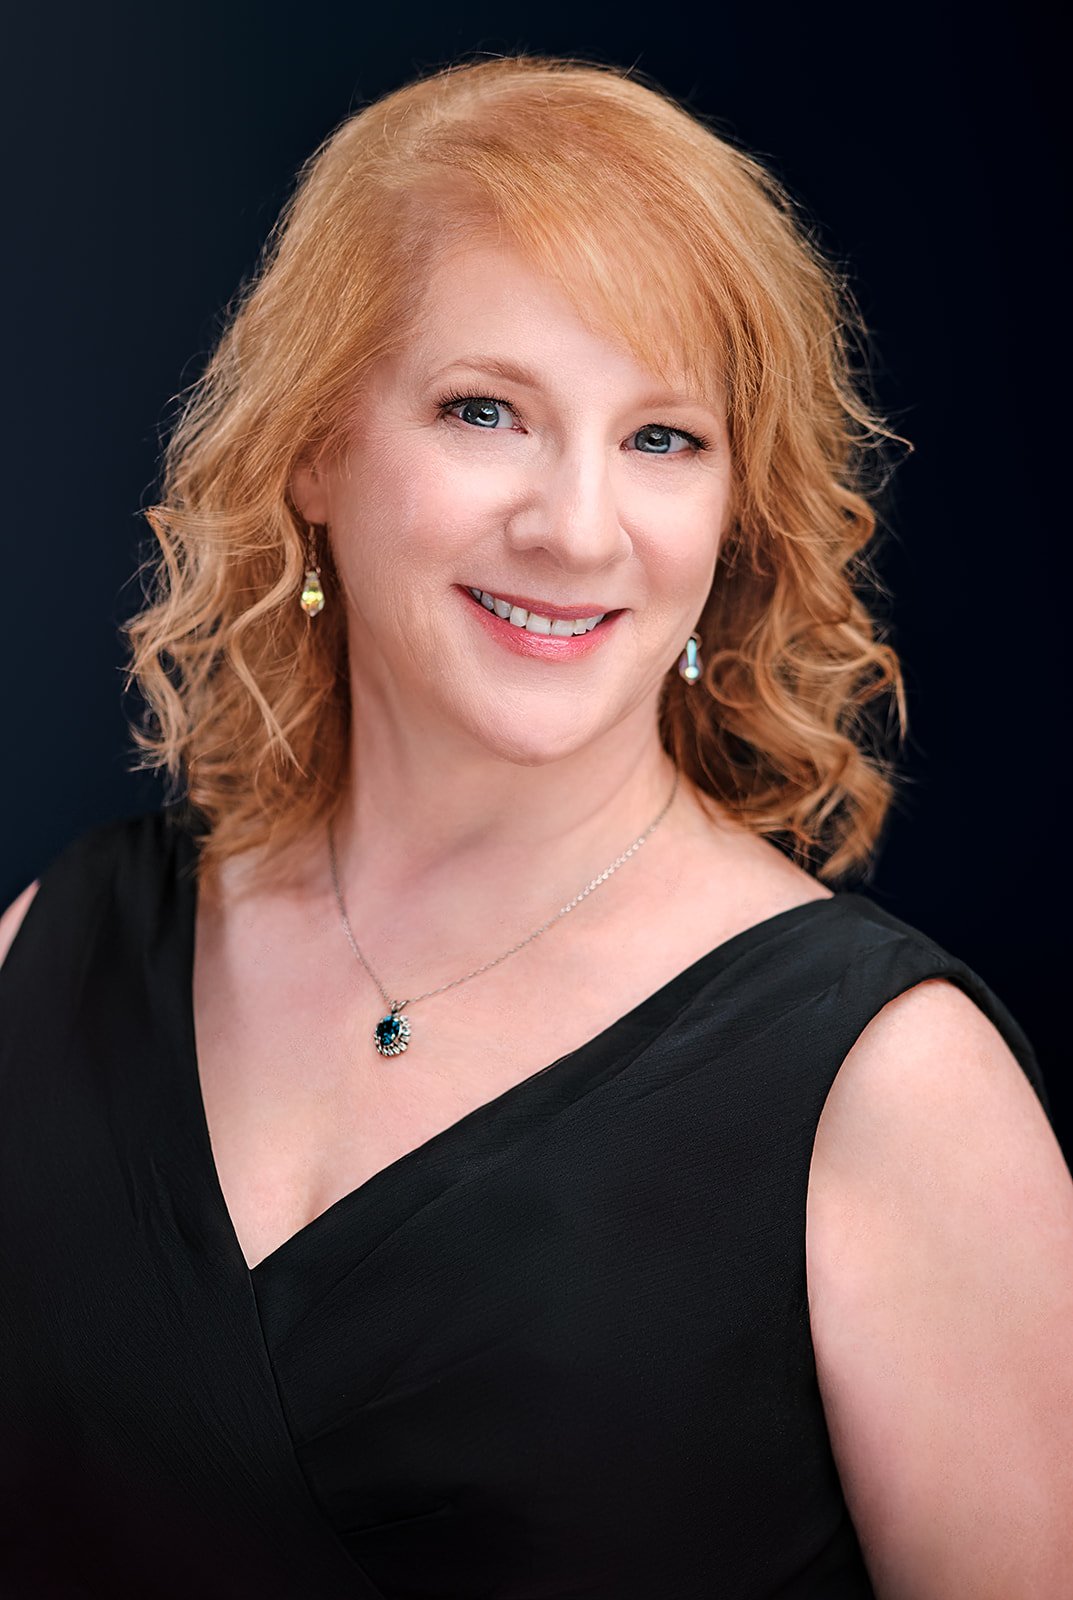
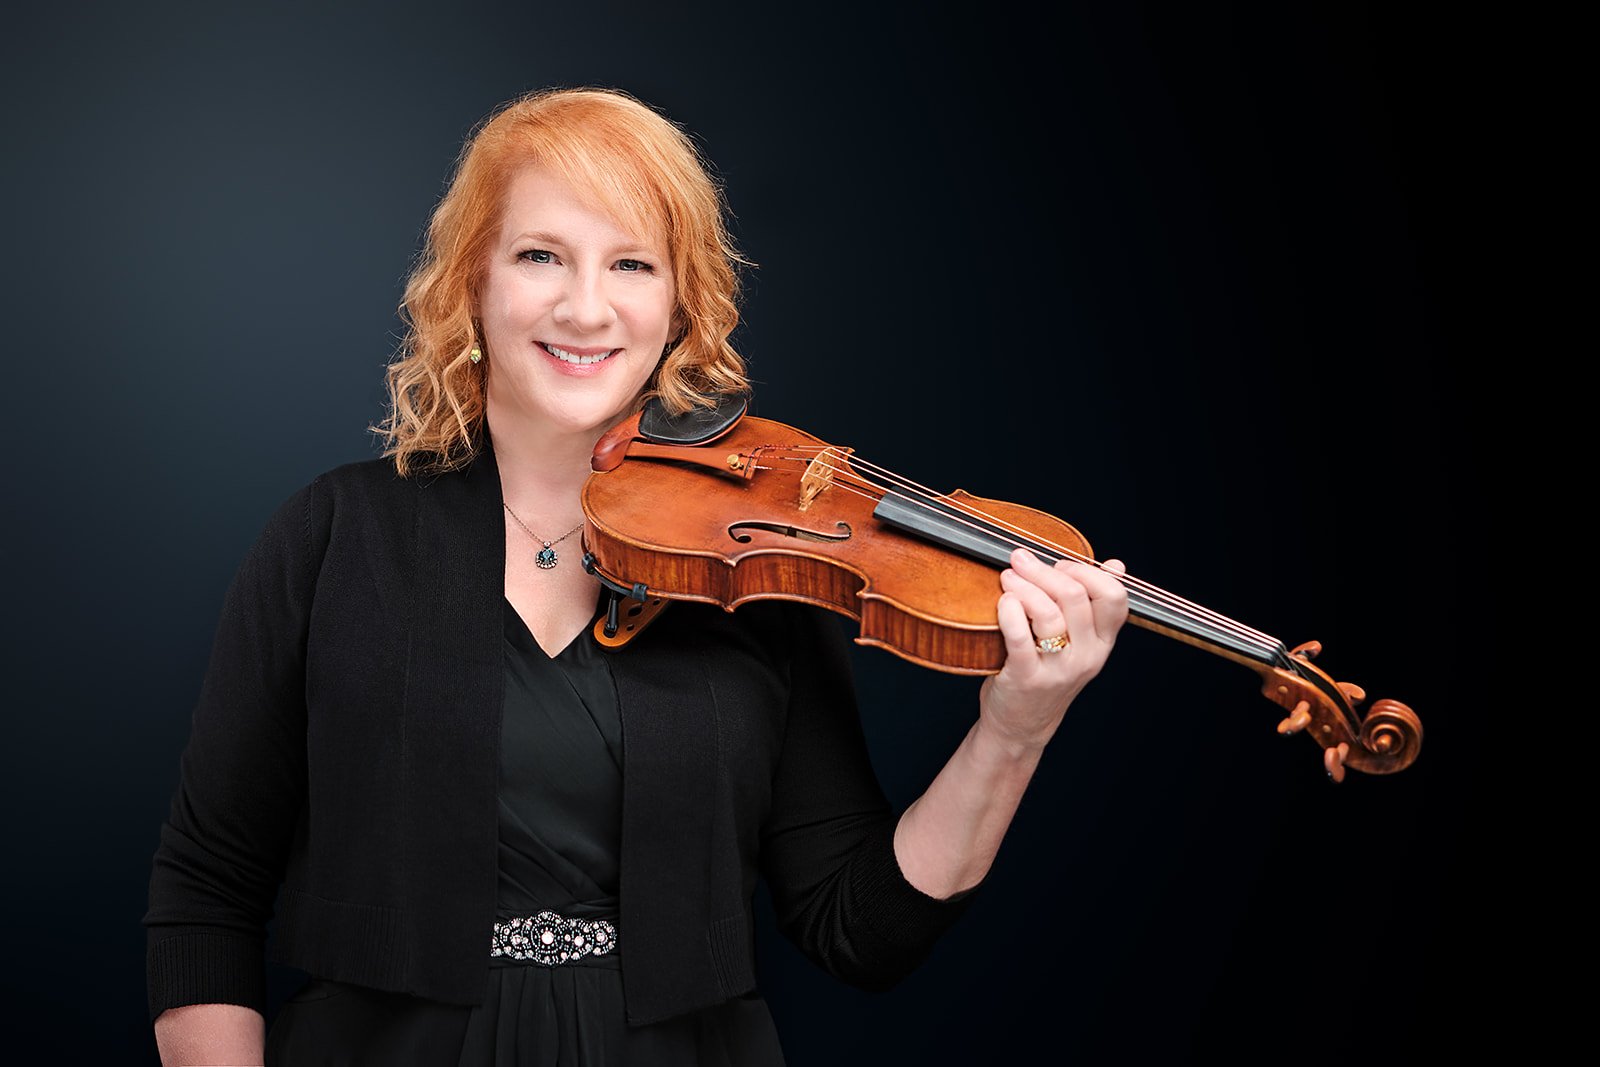
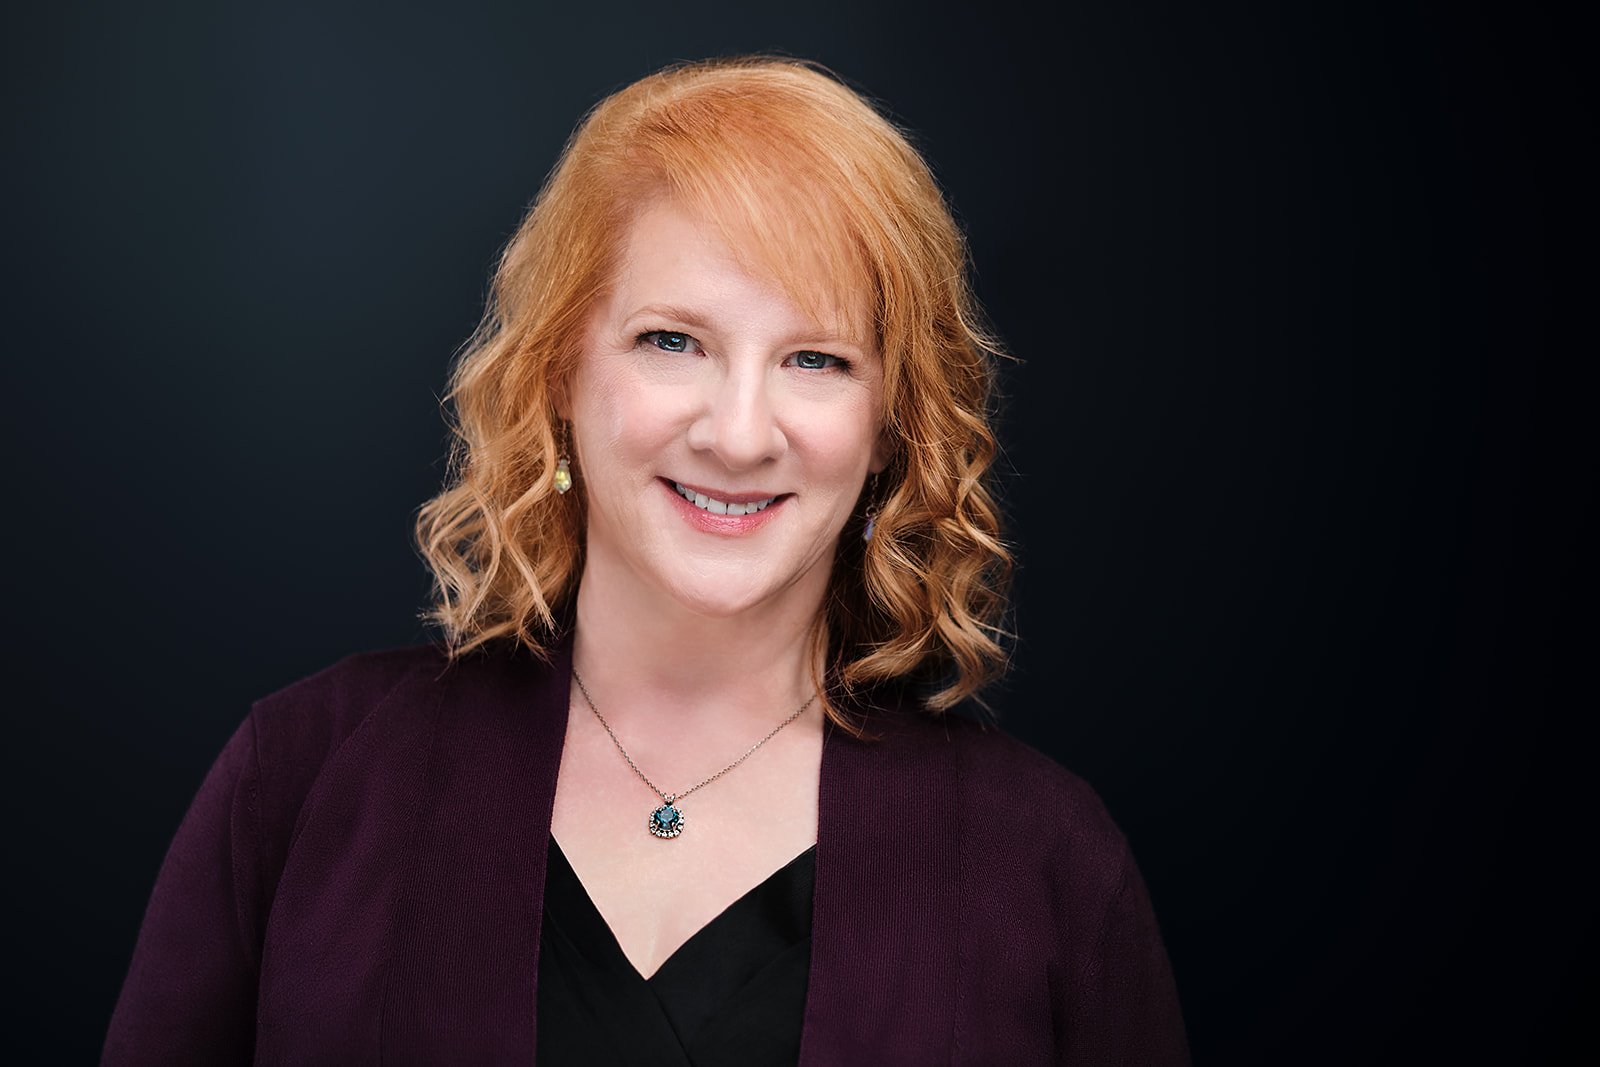
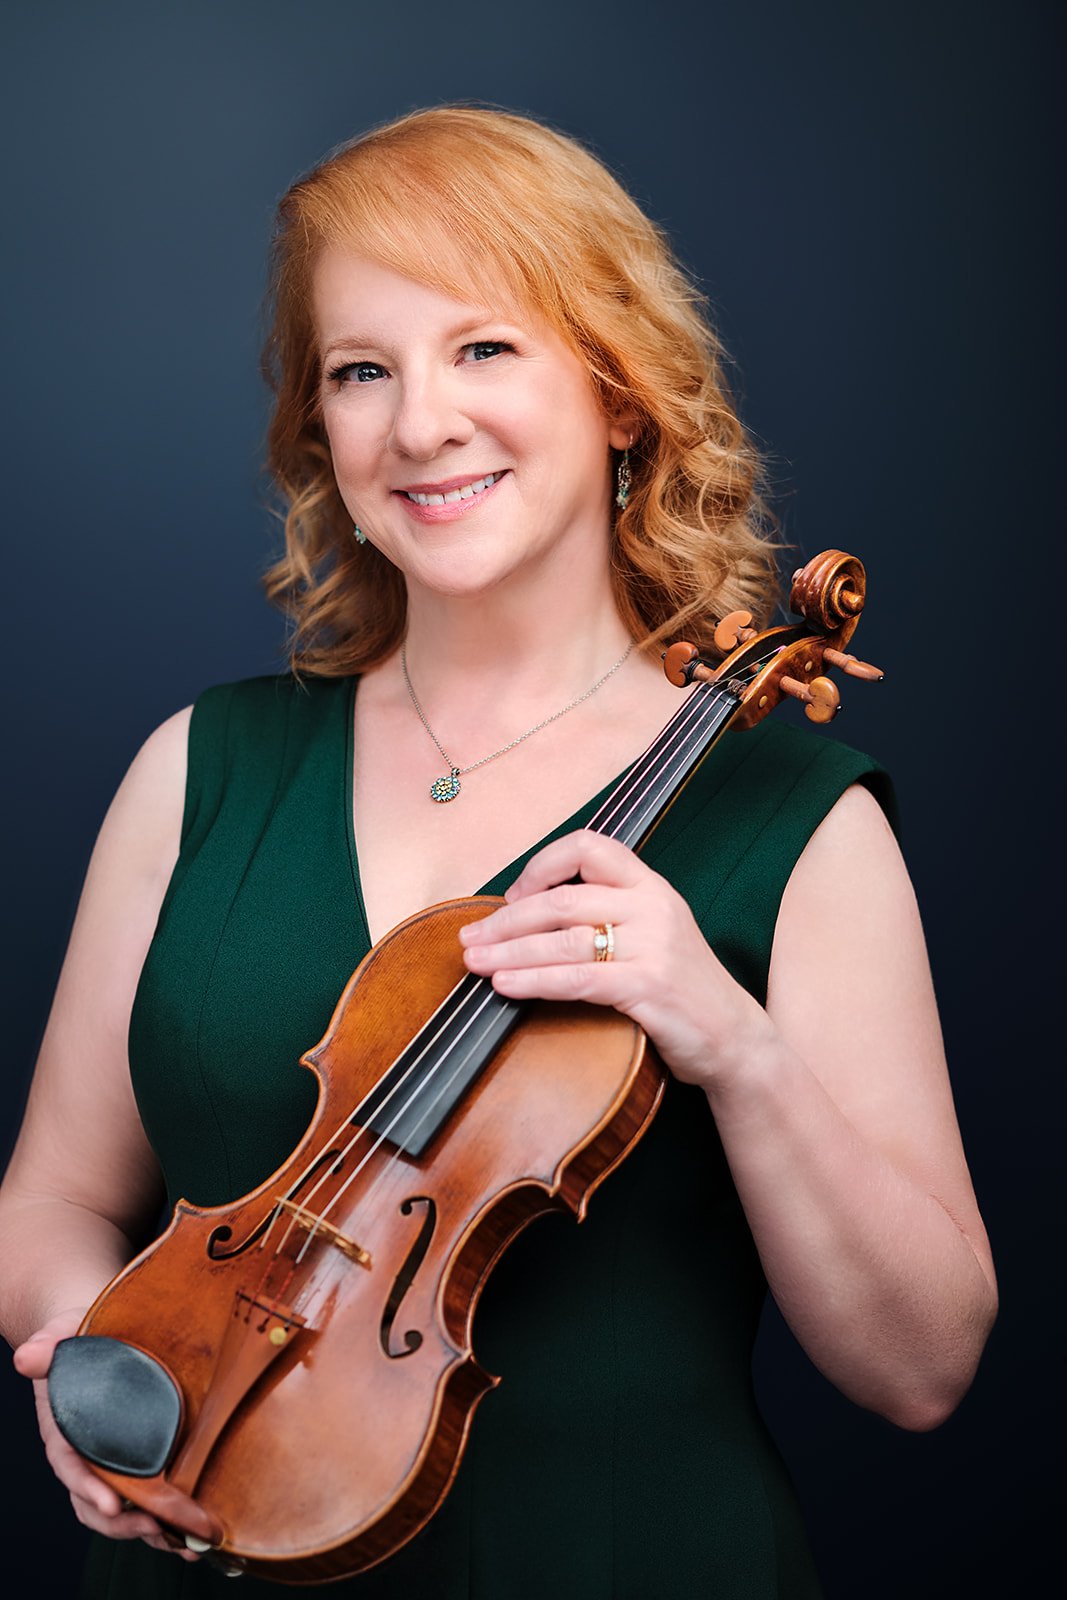
Portrait of an Artist: Professional Photography for Violinist and Suzuki Teacher Trainer Susan McDonald
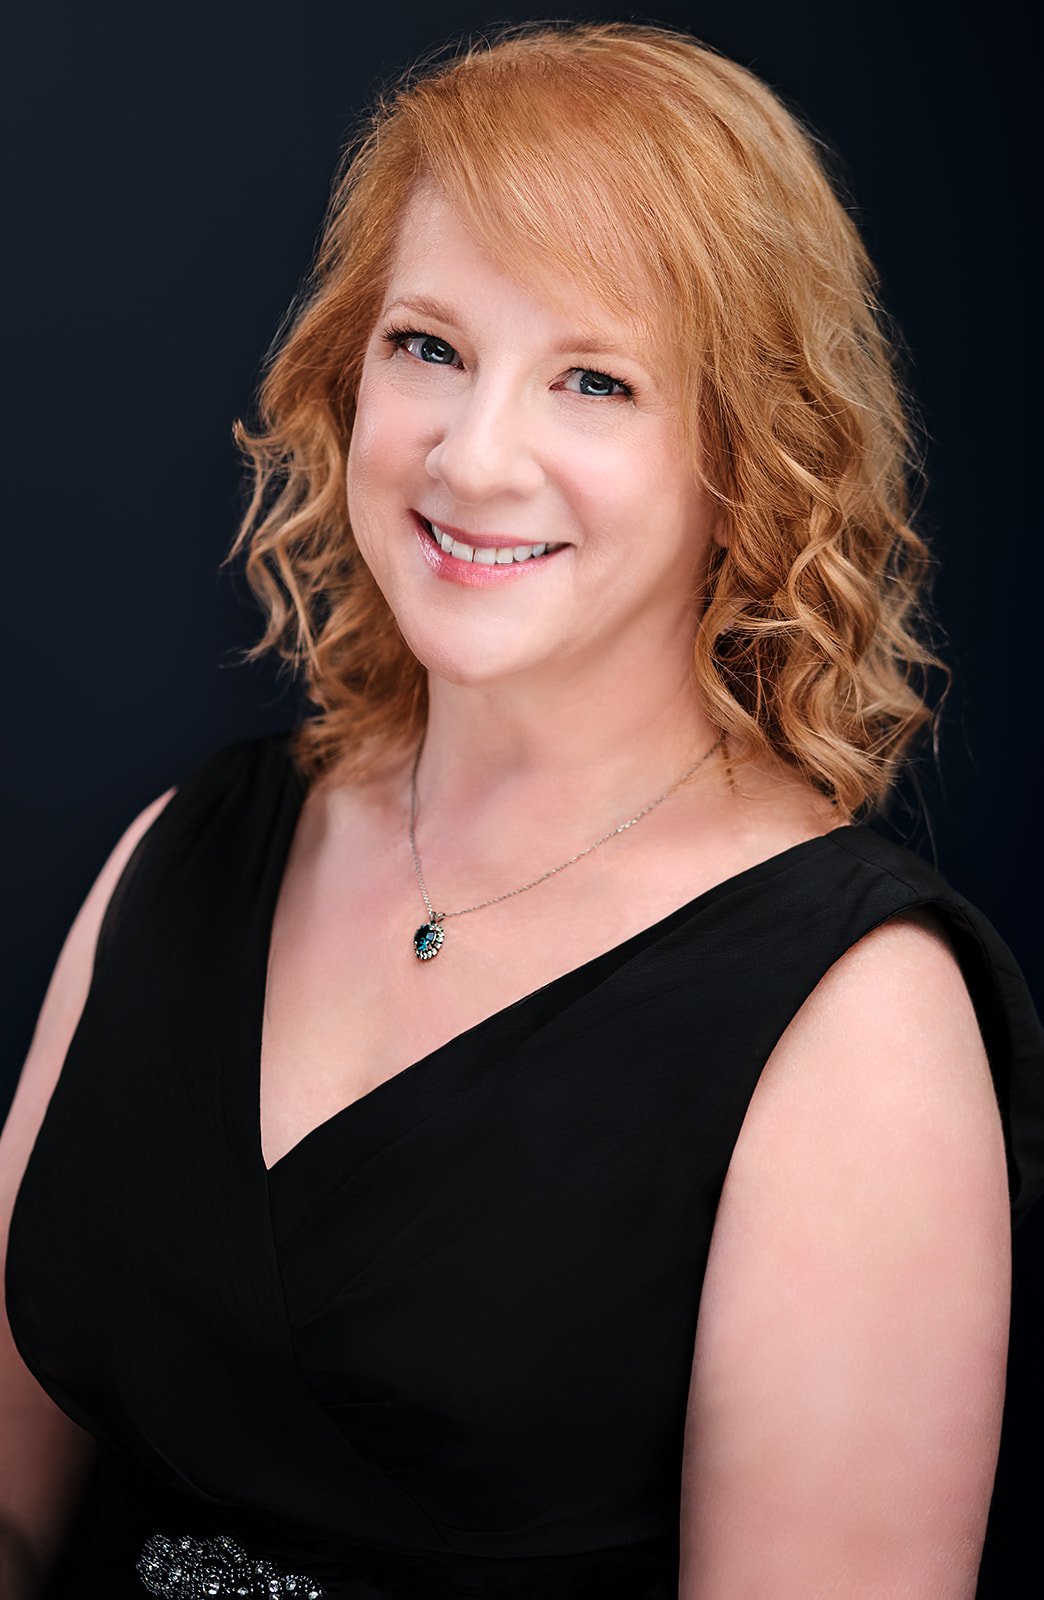
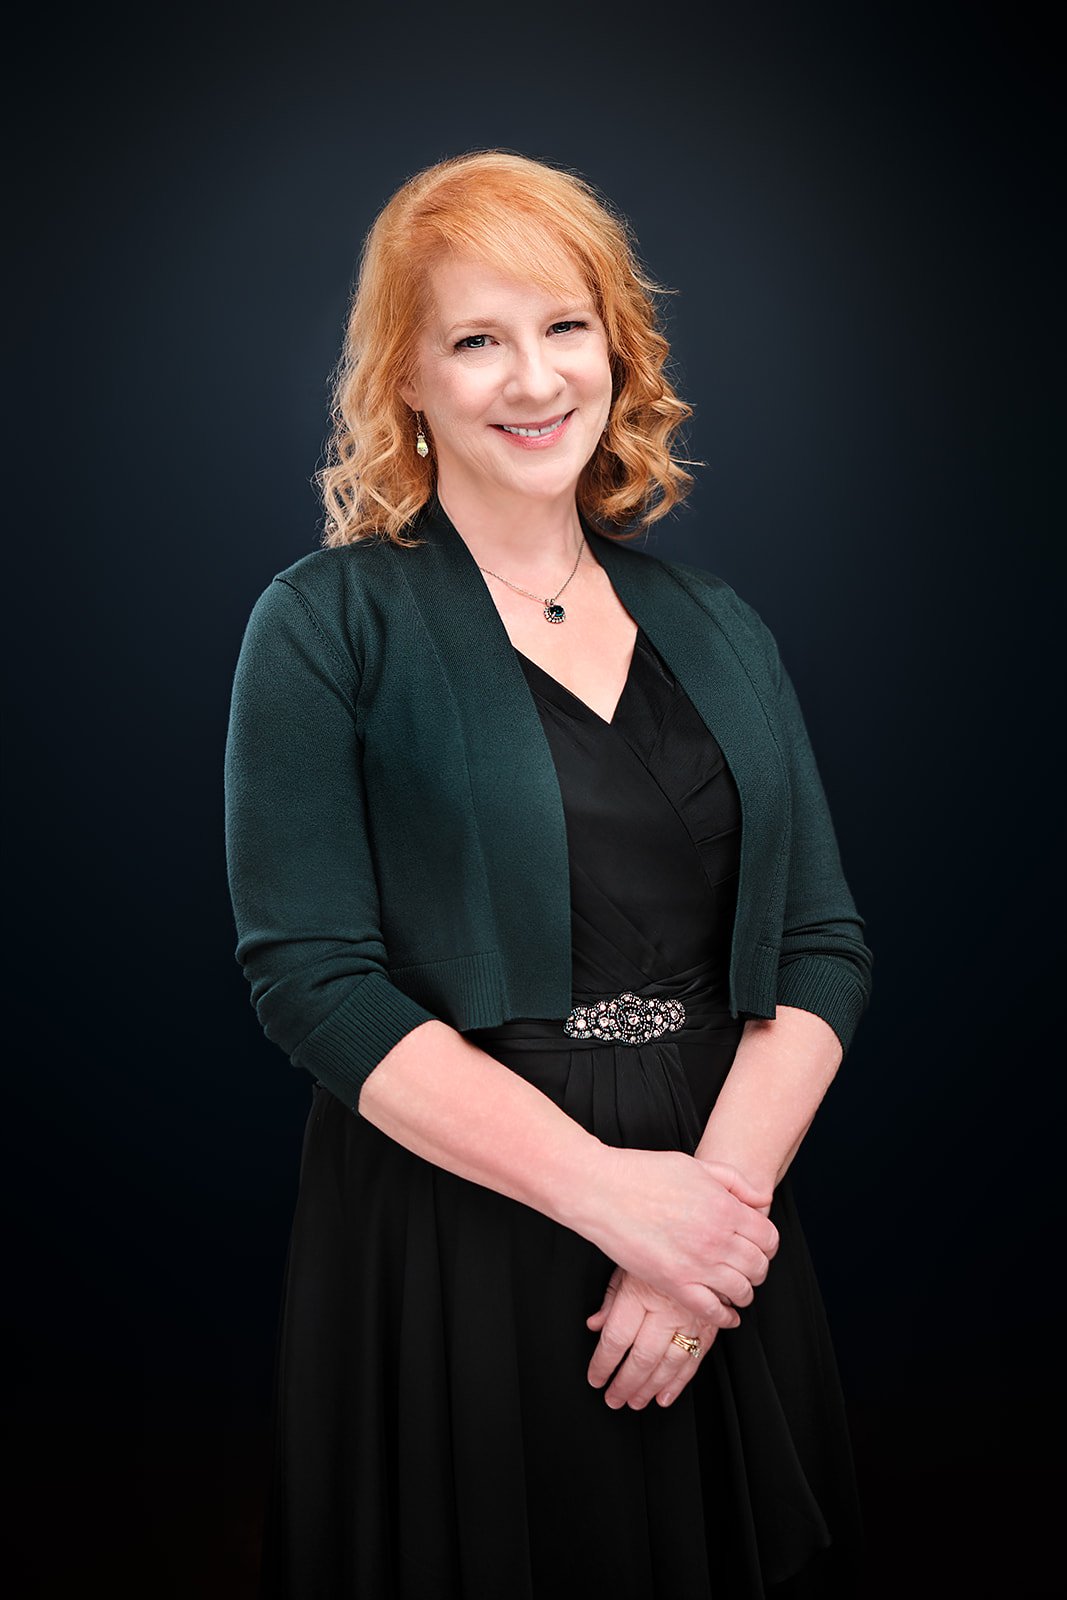
Professional photography for Susan McDonald was a collaborative journey that was about more than capturing pretty photos: it was about unraveling the layers of a talented musician, violinist, and experienced pedagogue.
I recently had the pleasure of working with Susan McDonald, an incredibly talented violinist, teacher, and passionate Suzuki teacher trainer.
It was a collaborative journey that was about more than capturing pretty photos: it was about unraveling the layers of a talented musician, violinist, and experienced pedagogue.
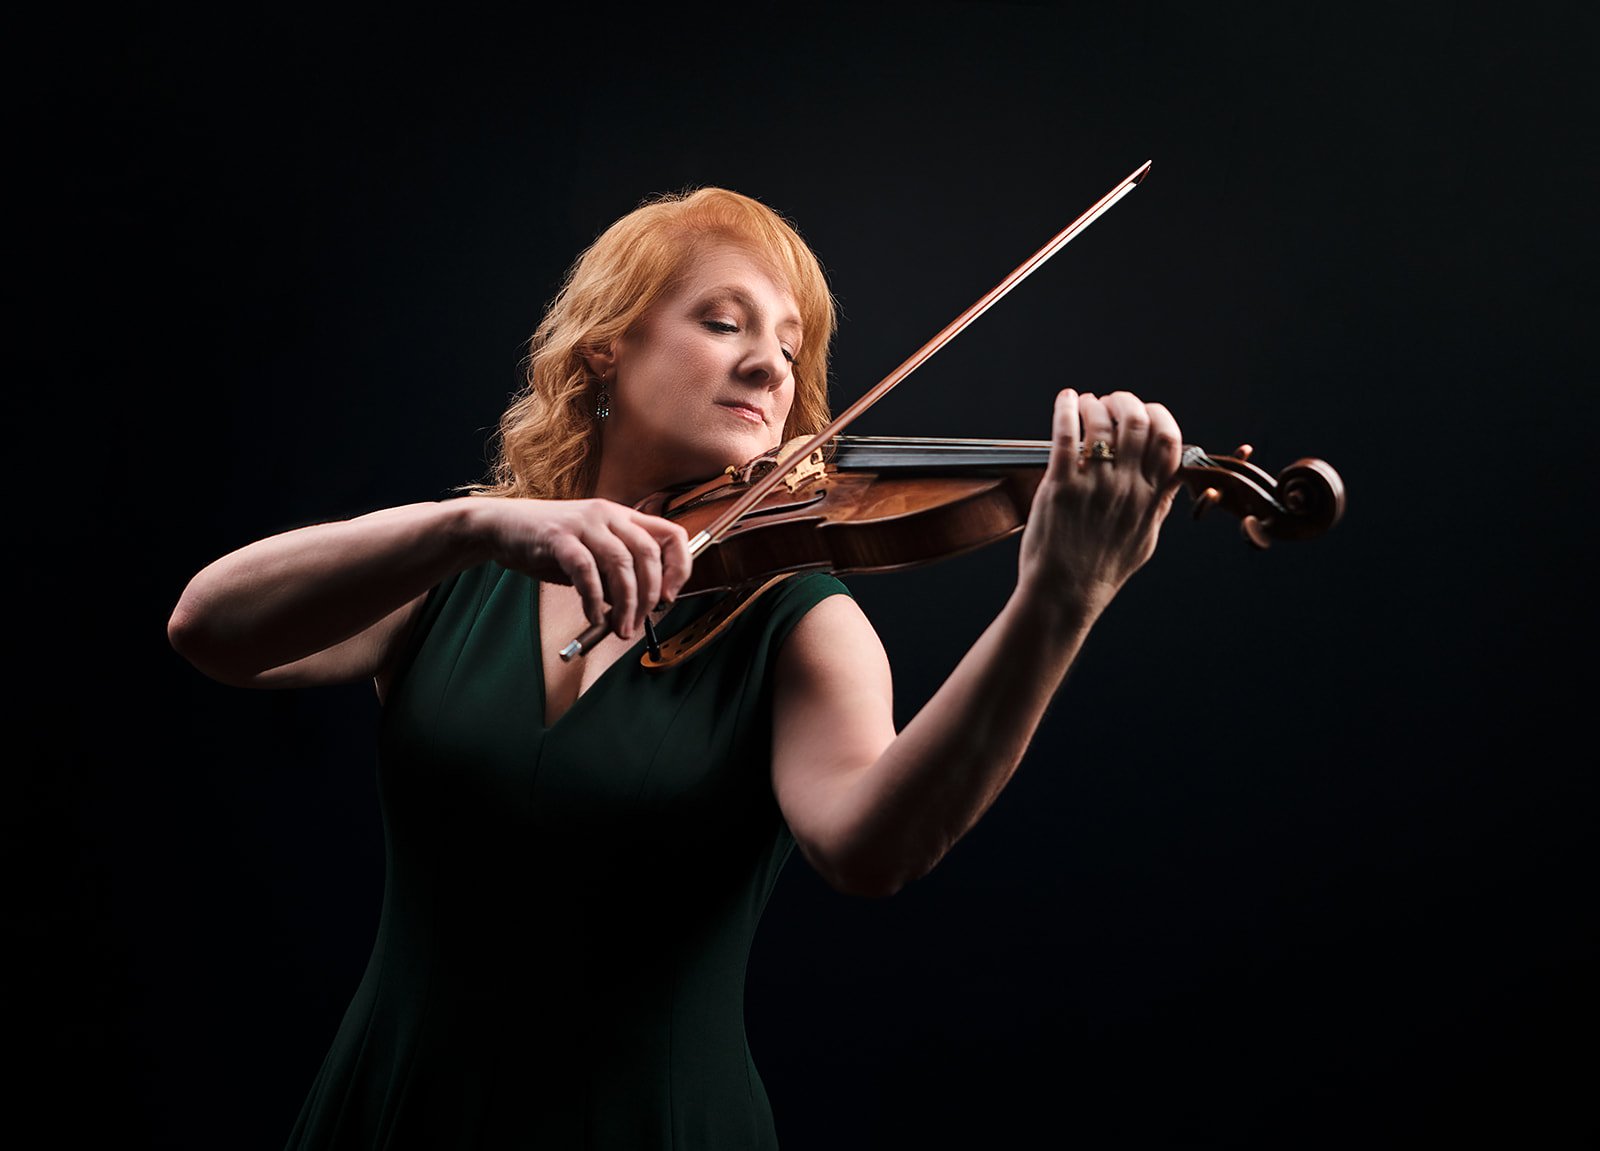
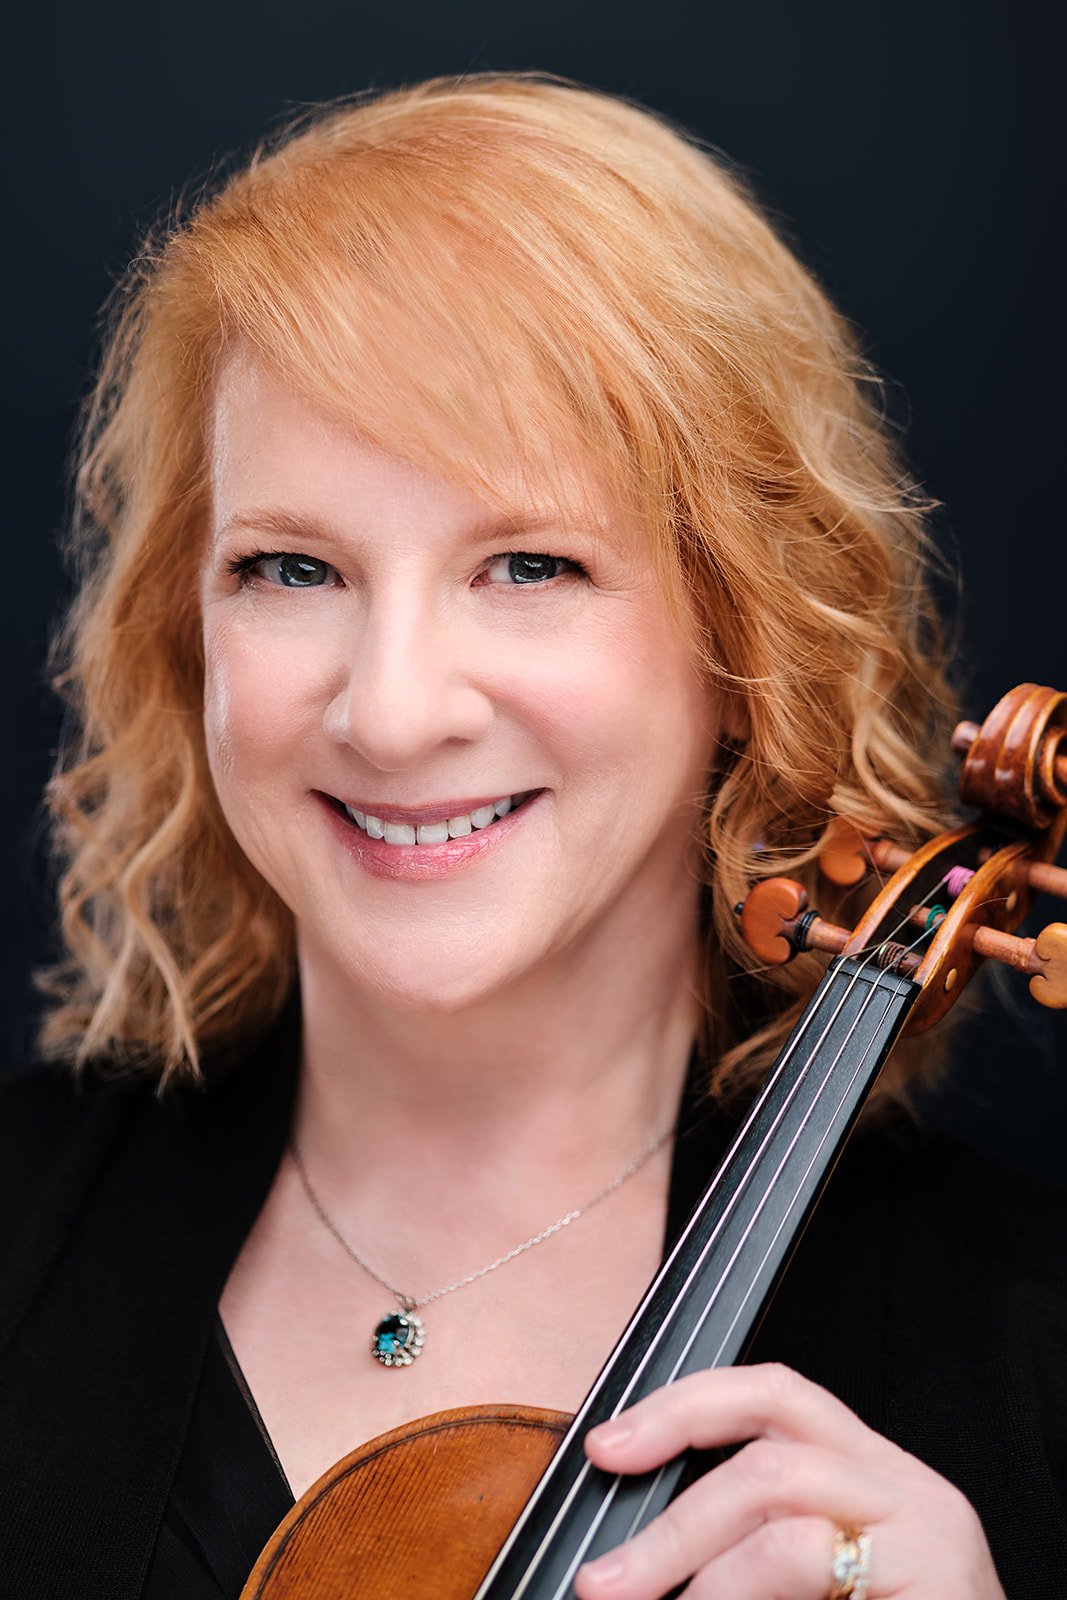
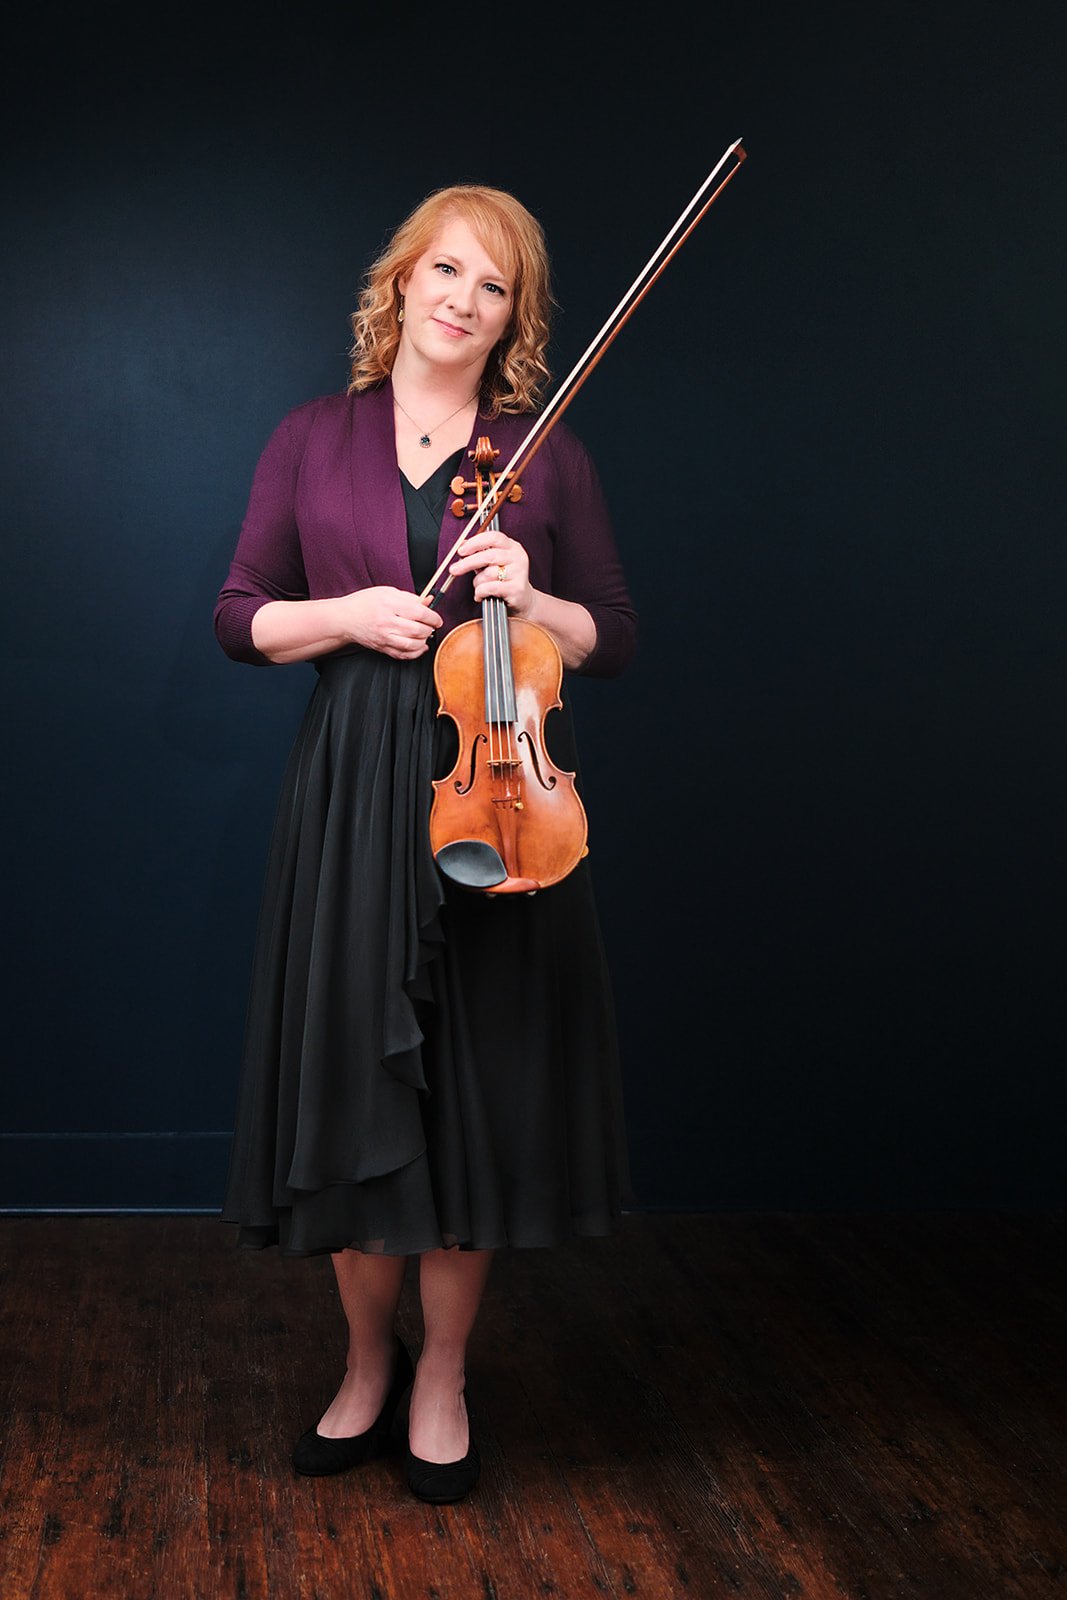
Artist Portrait of Susan McDonald, photo by Henry David Photography
Photoshoot Planning
Although initially camera shy, Susan's innate love for music became the focal point of our work together.
When it comes to artist profiles and headshots, capturing the essence of the individual is crucial. This was Susan’s first professional photoshoot and she came in feeling more than a little nervous.
Feeling apprehensive about having your photos taken is completely normal. Part of my job as a professional photographer is to help my clients get feeling comfortable before we start taking photos.
Getting to know each other as fellow artists helped Susan relax, and our love for the musical arts set the tone for a relaxed photoshoot. This process started even before we met in the studio. Susan is a great communicator, and after she reached out by email we started to discuss what she was hoping to get out of the session.
She showed me references of musician portraits she liked, sent me a few selfies, and shared with me the headshots she was currently using. I appreciated that she was willing to openly share her insecurities and concerns, because it allowed us to be mindful of these aspects as we planned our photoshoot.
We spoke in detail on how we could improve upon her previous headshots at her session, what she could expect from the editing process that would come after the photoshoot, and how we would best collaboratively execute on her vision, going from concept, to studio, and finally into post-production.
Professional Hair & Makeup
Many people worry about looking too glamorous or not like themselves when they hire a professional makeup artist, and rightly so! Finding a balance between looking your best and still looking like you is really important for professional headshots. It's okay to look a better than usual, but it's not good if you look completely different.
Knowing Susan had this concern, I suggested she work with a makeup artist who understands the importance of keeping things looking authentic.
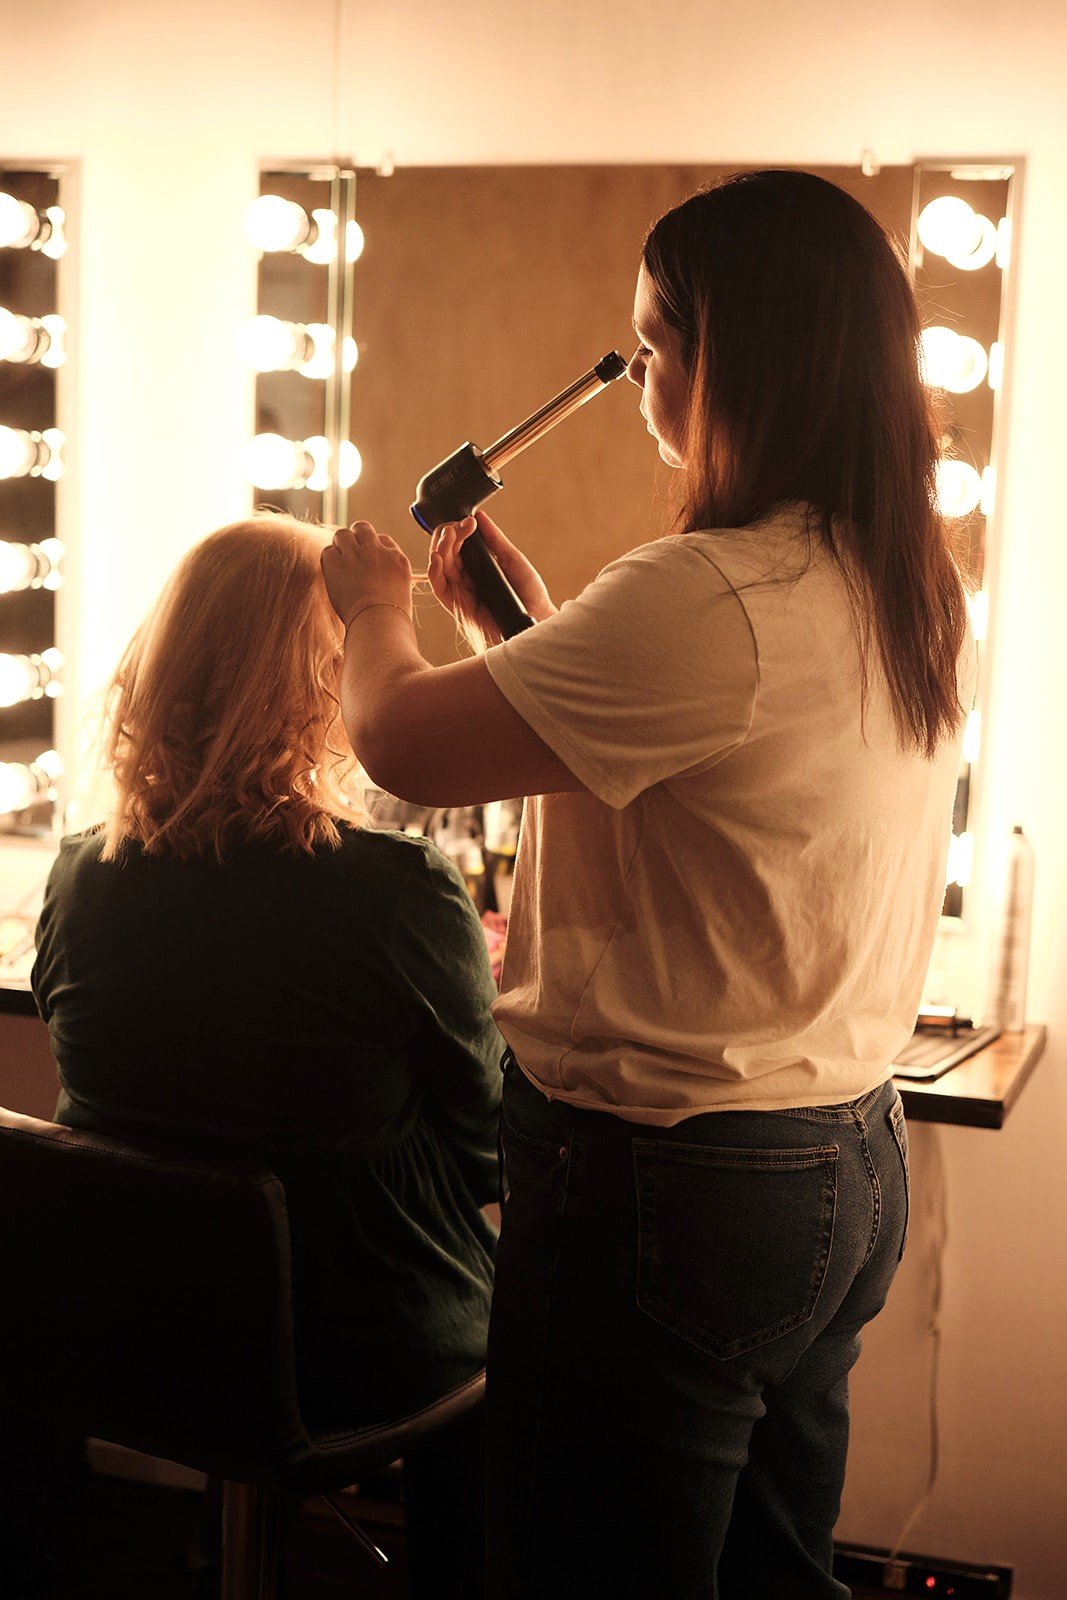
That's when Alexis B from AB Beauty STL came in. She did a great job with Susan's makeup and hair, making sure it looked just right and stayed true to Susan's genuine self.
Makeup Artist and Stylist Alexis B of AB Beauty STL, putting the final touches on Susan’s hair
Studio Photography
Moving in the studio, we took the time to work together, ensuring that every detail was perfect. We knew how important it was to create timeless images that Susan could use to promote herself as a musician and music educator.
Musician photography requires a unique approach. It's about capturing the artist's passion and talent in a visual medium. As a photographer, my goal was to showcase Susan's skills and dedication to her craft through the images we created together. As a photographer with a classical music background myself, I understood her audience and the messaging that would be resonate best with them.
Susan wanted to be sure we’d capture a range of photos and poses for diverse use cases. Our must-have list included a professional headshot, shots with and without the violin, a performance snapshot, and a full-body shot. We also wanted to capture a variety of vibrant outfit options.
“The collaborative conversation Susan and I shared allowed me to have a thorough understanding of her vision and helped us craft great results.”
Editing and Retouching
Reviewing Susan’s photos, I selected the shots that had the best expressions, those with a sparkle and drama that jumped off the screen and communicated something emotional with the viewer. I wanted to pick only the photos that would leave a lasting impression. A great photo isn’t just about high resolution and good lighting, it needs to connect with the viewer and tell a story about the subject.
Susan was delighted with her photos, even with out any editing. She then chose her favorite shots from among her proofing gallery and I went to work on editing.
We went back and forth with a few rounds of editing until we got each image perfect.
Communication is key: The collaborative conversation Susan and I shared allowed me to have a thorough understanding of her vision and helped us craft great results.
Our multiple rounds of editing allowed us to retouch the photographs to perfection, enhancing her features while keeping the authenticity intact.
Working with Susan McDonald was very artistically rewarding: we were able to capture her natural radiance and essence as a musician and create captivating, timeless images that will undoubtedly help her in her career as a violinist, teacher, and Suzuki teacher trainer.
Investing in professional photography is investing in your future as an artist. A well-crafted image has the power to convey your artistry and professionalism before you even step foot on stage. Take the time to find a photographer who can help bring your vision to life and create compelling images that represent you and your talent.
Studio Lighting for Portrait Photography: Mastering the Single Light
The best way to learn about lighting is to experiment with a single light and learn how to use it effectively.
In this article we will discuss how to study light, reverse engineer lighting setups, and how to vary a single light source to create a wide range of looks.
Photography is all about lighting.
Lighting is an important aspect of portrait photography because it helps to create a mood and bring out the best features of the subject. Different lighting techniques can be used to flatter the subject and create a desired effect.
For example, using soft, diffused light can help to create a warm and inviting atmosphere, while using hard light can create a more dramatic and intense effect. Good lighting can also help to reduce the appearance of blemishes and imperfections, and bring out the natural beauty of the subject.
Additionally, lighting can help to set the tone of the photograph and convey a specific message or emotion.
Natural vs. Studio Light
When we shoot portraits outdoors without the use of flash, we are only able to use available light.
Natural light can be very beautiful and effective, and some forms of natural light are very difficult to recreate in the studio.
However, if we want to have ultimate control over what a portrait communicates, it’s imperative that we master studio lighting.
Start with a Single Light
As a beginner photographer, the best way to learn about lighting is to experiment with a single light and learn how to use it effectively.
In the fashion photography world, using a single light is standard. That’s right - most of the magazine covers you’ve seen use just a single key light.
In this article we will discuss how to study light, reverse engineer lighting setups, and how to vary a single light source to create a wide range of looks.
Study the reflection in the eyes
We can reverse engineer the lighting just by looking at the reflection in the eyes. Let’s learn how to recreate most any lighting setup just by looking at the resulting photo.
The reflection made in the eyes (known as a “catch light”) of the subject gives us a lot of information about what lighting setup was used.
Let’s dive in!
In this first example, we see a relatively large reflection that is slightly off center.
The large size indicates that this is a soft light source, which should produce a very blended fall-off from highlights to shadows.
The centering of the light should yield even lighting across the face, with perhaps a bit more shadow on the left (subject’s right-hand side) - opposite the side of the light source.
Here’s what we get:
Soft Overhead (slightly off-center) Lighting Example - Full Photo. Model: Emma Sweeney
Let’s try another one:
The catch light shows a large light source on the very left of the subject's left eye. What should the full photo look like?
Soft Side Lighting Example - Full Photo. Model: Taylor Natvig
Did you guess correctly?
Study the transition between highlights and shadows to determine whether a hard light or a soft light was used.
In photography and lighting, the terms "soft light" and "hard light" refer to the quality of the light source. Soft light refers to light that is diffused and creates soft, gentle shadows. This type of light is often described as warm and inviting. Hard light, on the other hand, is more direct and creates sharp, well-defined shadows. Hard light is often described as cold and harsh. Harsh lighting may sound unflattering but in certain instances, particularly in fashion and contemporary beauty publications, it can be used to great effect, producing bold, eye-catching images.
Examine the size of the catch light. This shortcut reveals a universal rule of photography. As a light source becomes smaller relative to the subject, the light turns from soft to hard.
There are two ways to achieve a smaller light source: 1. use a smaller light modifier, or 2. move the light away from the subject (in this case you will need to turn up the power to correct for exposure).
Notice how tiny the white catch light appears in the model’s eye. Without seeing the shadows and highlights in the rest of the photo, we can expect to see defined harsh shadows.
From the placement of the light (in the upper left hand side, but not on the extreme left) we can also predict that the lighting will be “Rembrandt” lighting, resulting in the characteristic “triangle shadow” on the opposite side of the nose.
Hard Lighting Example - Full Photo. Model: Sasha Emiri
Here’s the triangle shaped shadow that invariably results from using a Rembrandt lighting setup where the key light is positioned/angled 45 degrees toward the subject, both from above and on either side.
Rembrandt Lighting Shadow, abrupt transition from highlight to shadow
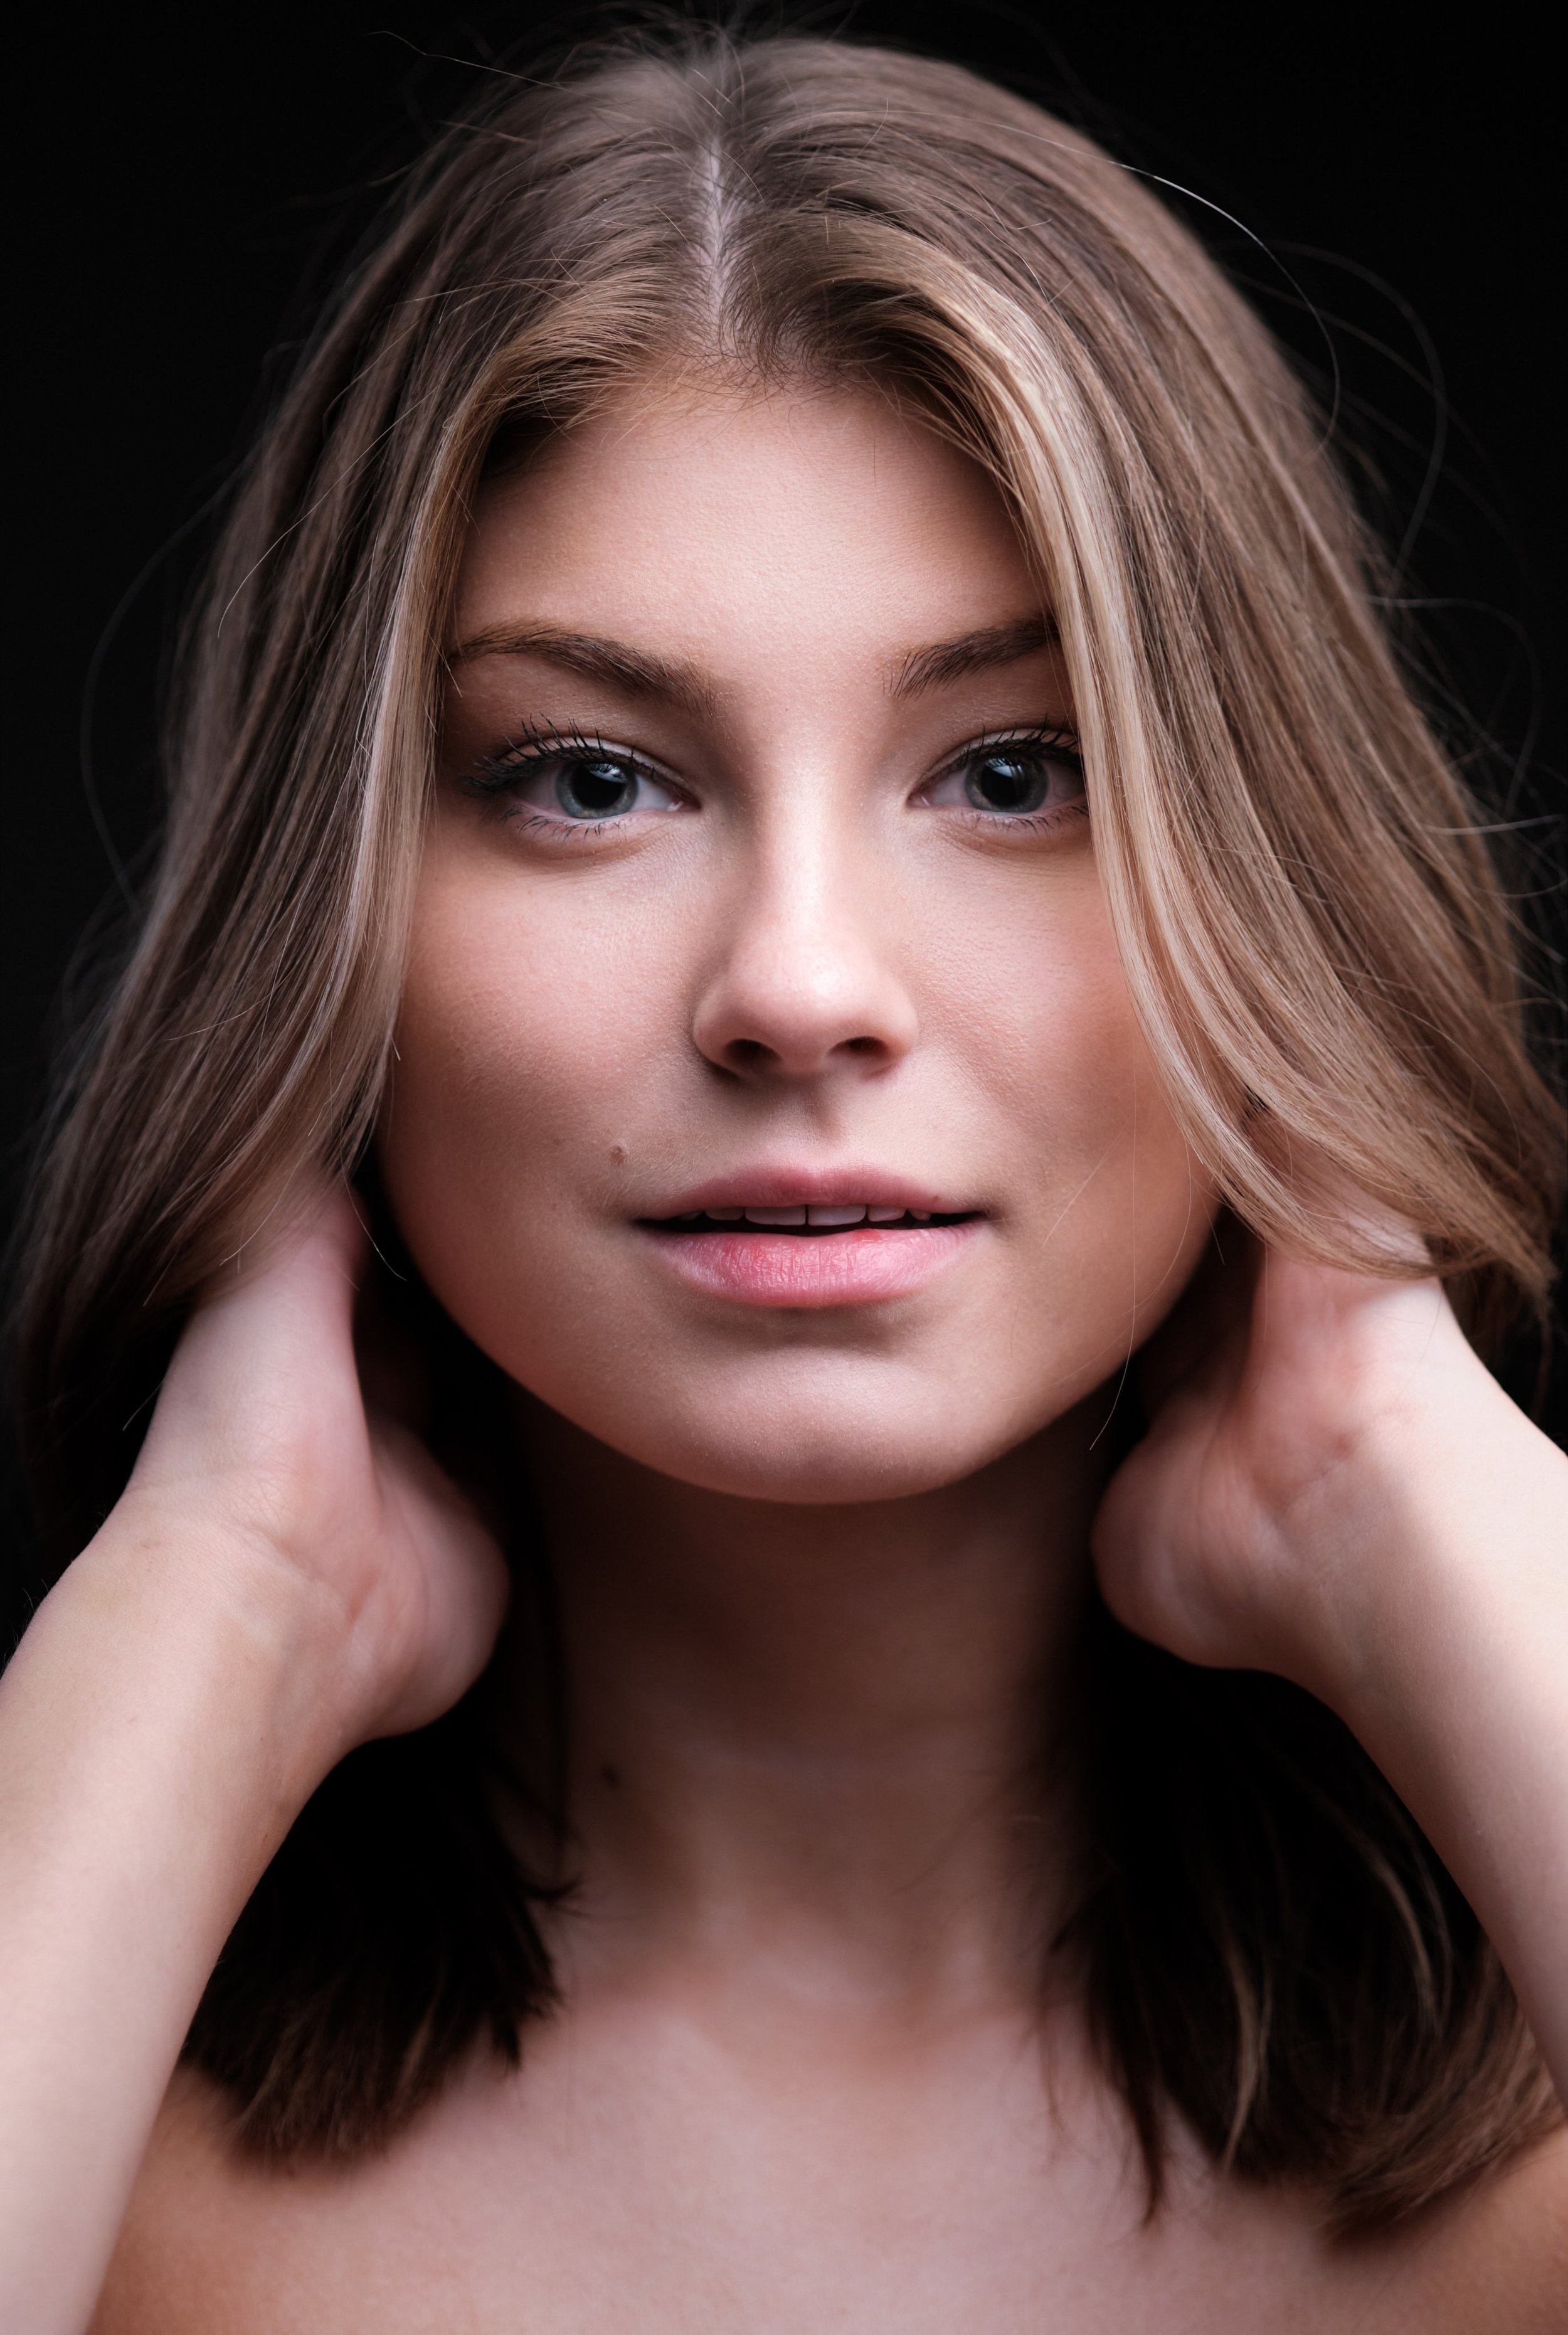
I’ll leave you with a slightly more advanced single light setup. Can you tell where the light is positioned relative to the subject, just by looking at the reflection of the eyes and the pattern of highlights and shadows?
What type of light source was used? Where was it positioned?
Model: Emma Sweeney
The Gear
The question I’m most often asked is what gear do I use? Although I love cameras, lenses, and lighting equipment as much as the next photographer, it’s important to remember that the gear is not nearly as important as how you make use of it and what you put in front of the lens.
All the photos above were taken with the Fujifilm X-T4 using the Fujinon 90mm f/2 shot wide open, and the light modifier used was a 7 foot Westcott Parabolic Umbrella (with diffusion for the soft light shots) and the Godox AD600 Pro Flash Strobe.


